
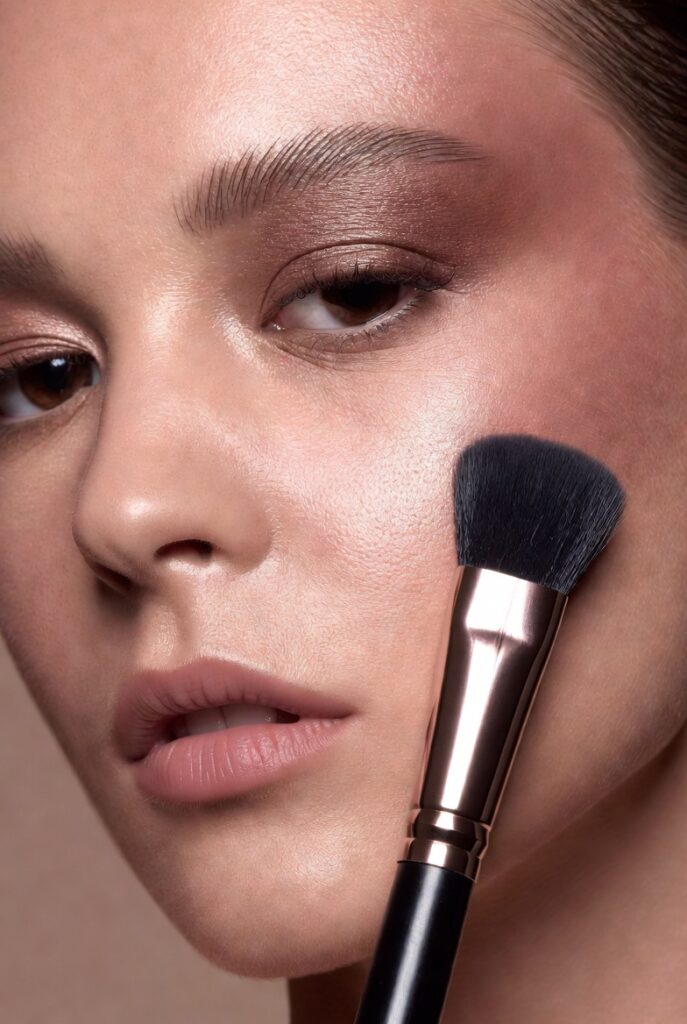
Face Makeup A round face is beautifully soft and youthful, but finding the right makeup placement can feel like a puzzle. You want to enhance your natural curves without adding unwanted width, and the secret lies not in heavy contouring but in strategic highlighting and shadowing. Whether you’re preparing for a busy workday or a night out, these twenty placement ideas will help you create definition, lift, and balance—without following a rigid, one‑size‑fits‑all rulebook.
Let’s dive into techniques that work with your unique bone structure, not against it. Each idea focuses on a specific area of the face, using light and shadow to reshape the way your features are perceived. No complicated steps, just simple shifts in where you put your bronzer, blush, and highlighter.
1. Diffused Blush on the Upper Cheekbones
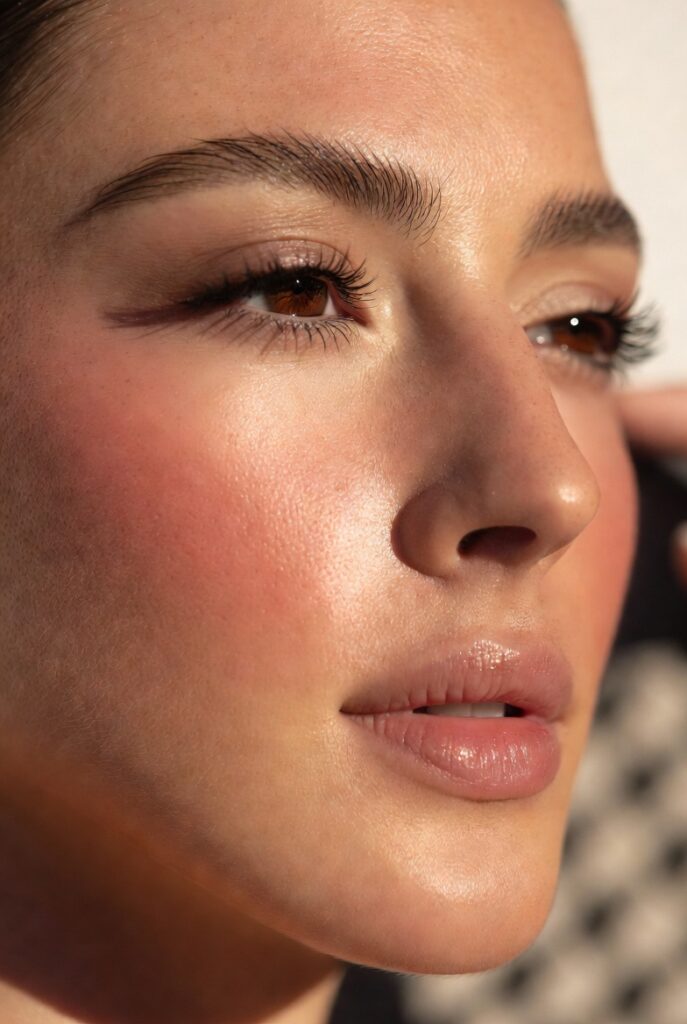
Instead of swirling blush onto the apples of your cheeks, which can make a round face appear fuller, place it slightly higher. Start just below your outer eye and blend the color diagonally upward toward your temples. This placement mimics a natural lifted effect, drawing attention to the upper part of your face and creating the illusion of higher cheekbones. Use a fluffy brush and a soft, buildable formula so the pigment melts into your skin without harsh edges.
The key is to keep the blush concentrated above the hollow of your cheek, not dipping down toward the nose. A dusty rose or peach tone works beautifully because it adds warmth without competing with your natural contours. When you blend, make small circular motions that fade the color as you move outward, leaving the most intensity on the upper cheekbone area. This subtle shift changes the entire geometry of your face.
2. Vertical Bronzer Placement Along the Sides of the Forehead
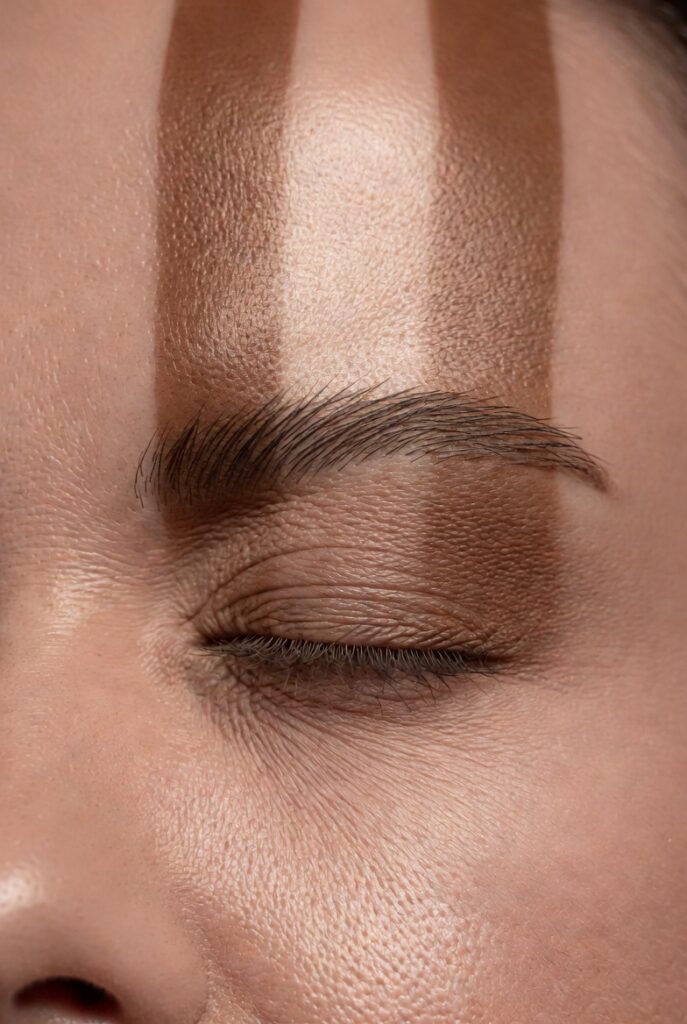
Many people apply bronzer in a “3” shape along the hairline, but for a round face, a more vertical approach is better. Take a tapered brush and sweep bronzer straight down from your temples to the outer corners of your eyebrows, then continue along the sides of your forehead. This creates a narrowing effect because the eye is drawn vertically, reducing the visual width of the upper face. Keep the color most concentrated near the hairline and blend inward softly.
Avoid taking bronzer across the center of your forehead, as that horizontal stripe can widen the appearance. Instead, think of two gentle vertical stripes on the left and right sides. Use a matte, neutral‑toned bronzer that’s only one or two shades deeper than your skin. The goal is subtle shadow, not obvious stripes. When done correctly, this placement makes your forehead look slimmer and more oval‑shaped.
3. Highlighter in a Tight Triangle Under the Eyes
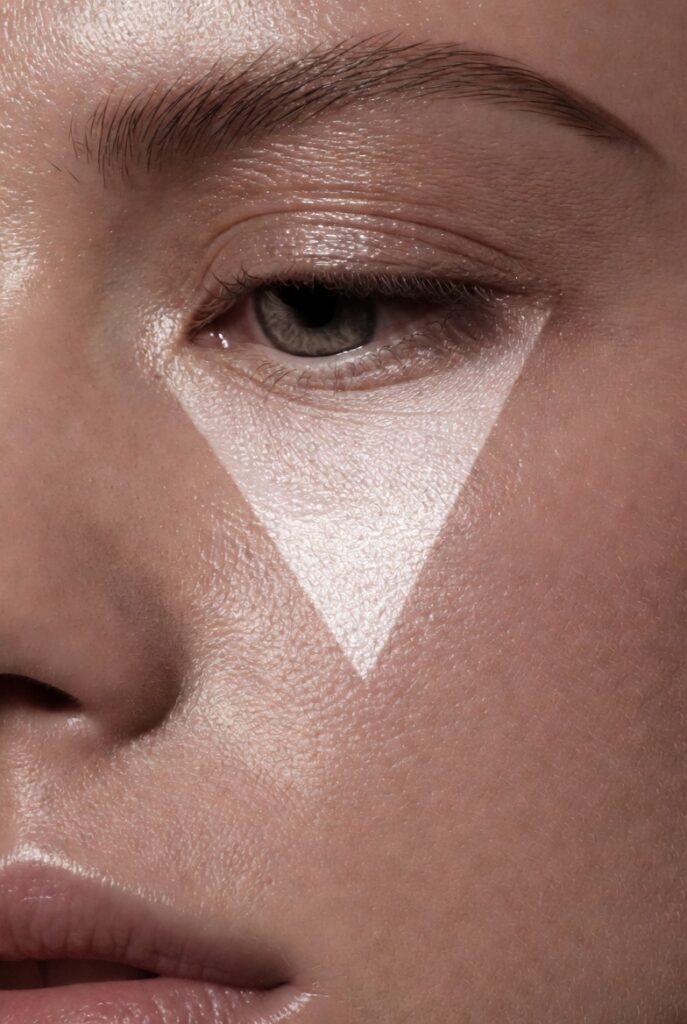
Placing highlighter in a small, concentrated triangle directly under each eye—with the base along your lower lash line and the point aiming toward your nose—brings light to the center of your face. This technique lifts the eye area and reduces the appearance of roundness by creating a focal point in the middle. Use a liquid or cream highlighter with a fine, shimmer‑free finish for a natural glow. Pat it with your ring finger so it melts into your concealer.
The triangle should not extend past the outer corner of your eye or drop below the top of your cheekbone. Keeping it compact prevents the face from looking wider at the mid‑point. This placement also helps disguise dark circles and adds a rested, hydrated look. Pair it with a soft matte foundation everywhere else, and the center of your face will appear brighter and more forward, adding dimension without contour.
4. Contour Below the Jawline Only on the Outer Third
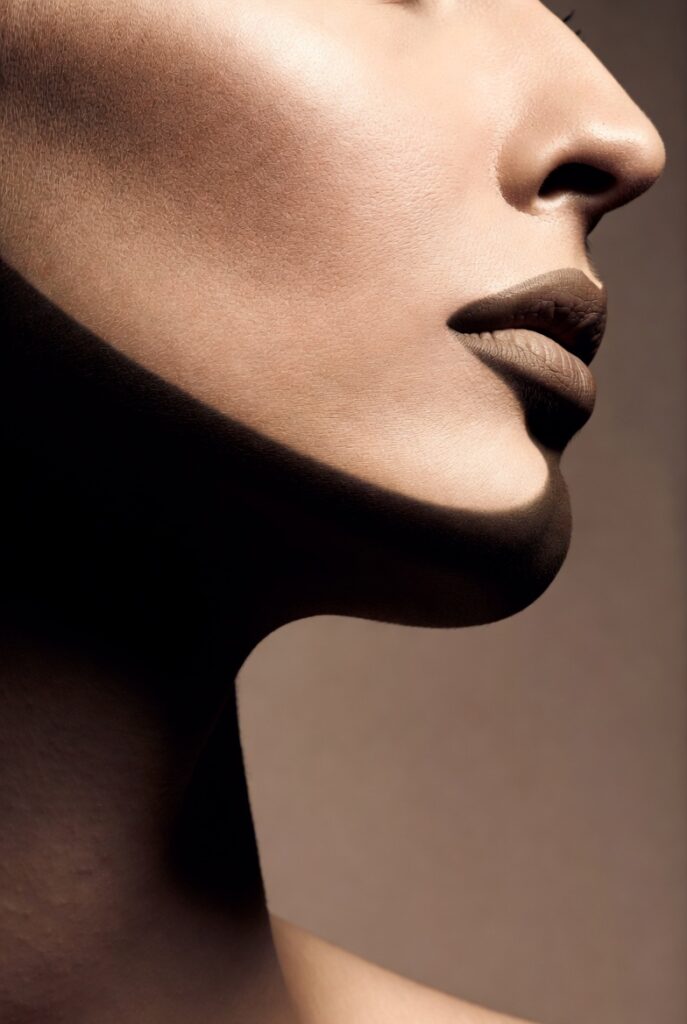
For a round face, the jawline can be softened with contour, but placement is everything. Instead of lining your entire jaw, apply a cool‑toned contour powder or stick only along the outer third—from just below your earlobe to about an inch past the corner of your mouth. Blend downward toward your neck, not upward onto your cheek. This creates a shadow that visually trims the lower side of your face while leaving the front of your chin untouched.
Why avoid the whole jaw? Because shading the entire perimeter can box in a round face, making it look heavier. By concentrating only on the ends, you maintain the natural curve of your chin while slimming the sides. Use a light hand and a dense, angled brush. The result should be barely visible but effective: a sharper transition between your face and neck that adds angularity without harsh lines.
5. Lip Color Concentrated in the Center of the Mouth
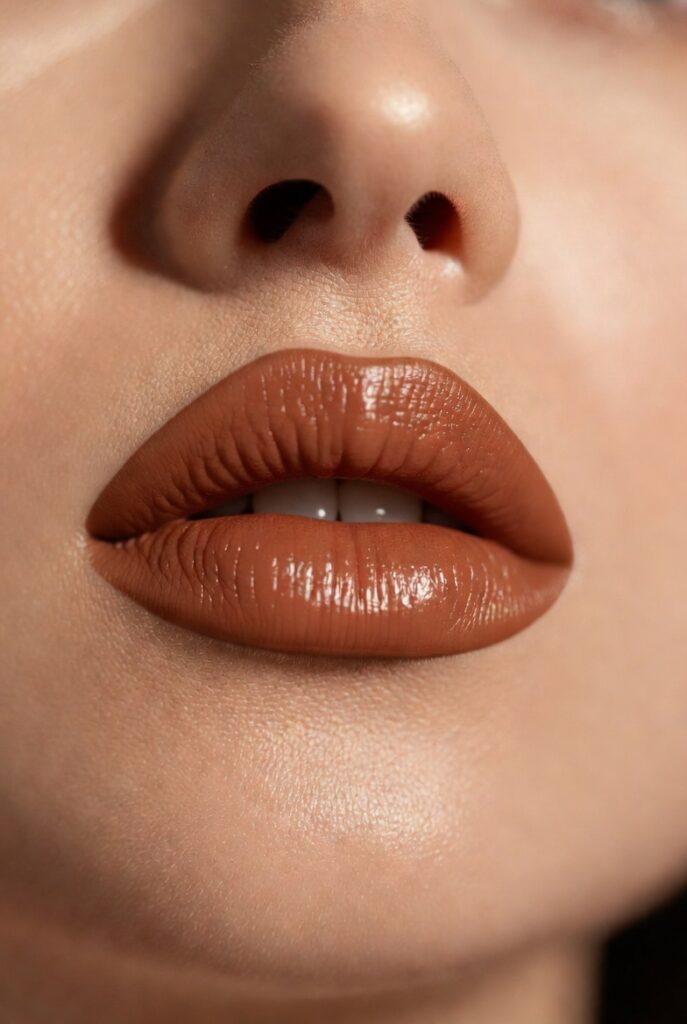
Instead of lining your entire lip perimeter, apply a slightly deeper lipstick or gloss just to the center third of both lips and blend outward with your finger. This draws the eye to the middle of your face, creating a vertical focal point that counteracts horizontal width. A berry, rose, or brick tone works well because it adds depth without making your lips look overly wide. Keep the outer corners of your lips bare or use only a clear balm to soften the edges.
The result is a subtle gradient effect—often called the “ghost lip” or “center gradient” look—that makes your mouth appear fuller in the middle and narrower at the sides. For a round face, this placement is especially clever because it prevents the lips from visually stretching the lower third of your face. Pair it with a light dusting of powder on the outer lip corners to ensure they stay matte and recede, while the center pops with shine or pigment.
6. Brow Highlight Placed Only on the Inner Half
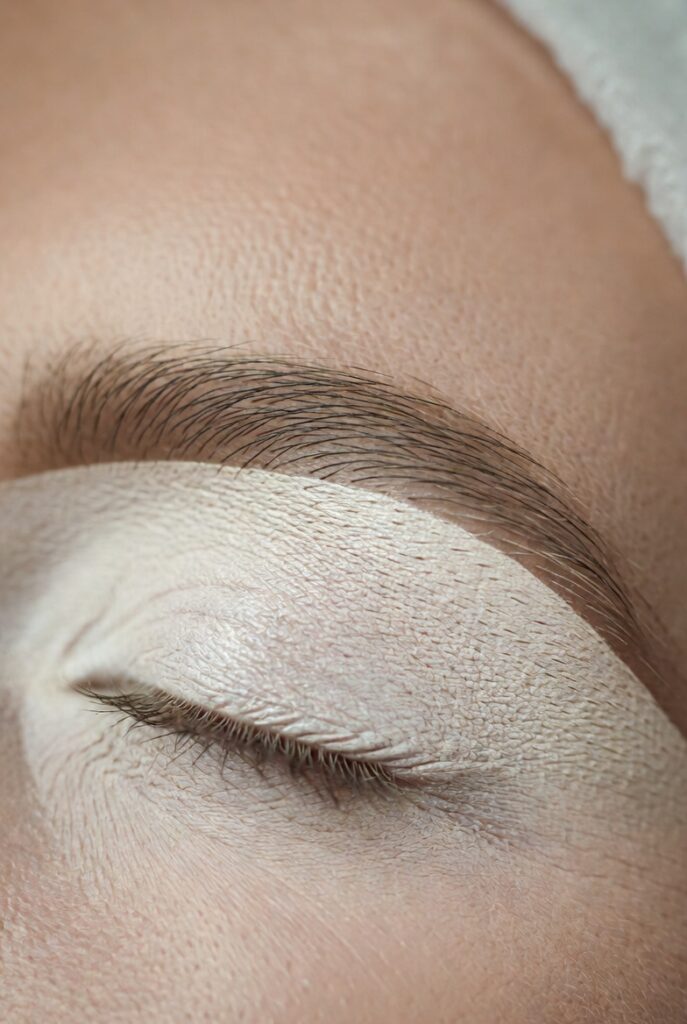
Take a matte or softly shimmering highlight shade—nothing too metallic—and apply it just under the inner half of each eyebrow, from the start of the brow to the arch. Do not extend the highlight to the tail. This placement lifts the outer corner of your eye area without adding unnecessary width across the brow bone. Use a small, flat brush or your pinky finger to pat the product precisely, then blend upward into the brow hair itself.
Why only the inner half? Because highlighting the entire brow bone can actually make a round face look wider by reflecting light across the entire upper face. By stopping at the arch, you create a natural upward angle that pulls attention toward the center of your face. This trick also makes your eyes appear more open and awake. Choose a shade that’s one tone lighter than your skin, with no glitter, for a believable, soft‑focus lift.
7. Blush Placed in a C‑Shape Around the Eye Socket
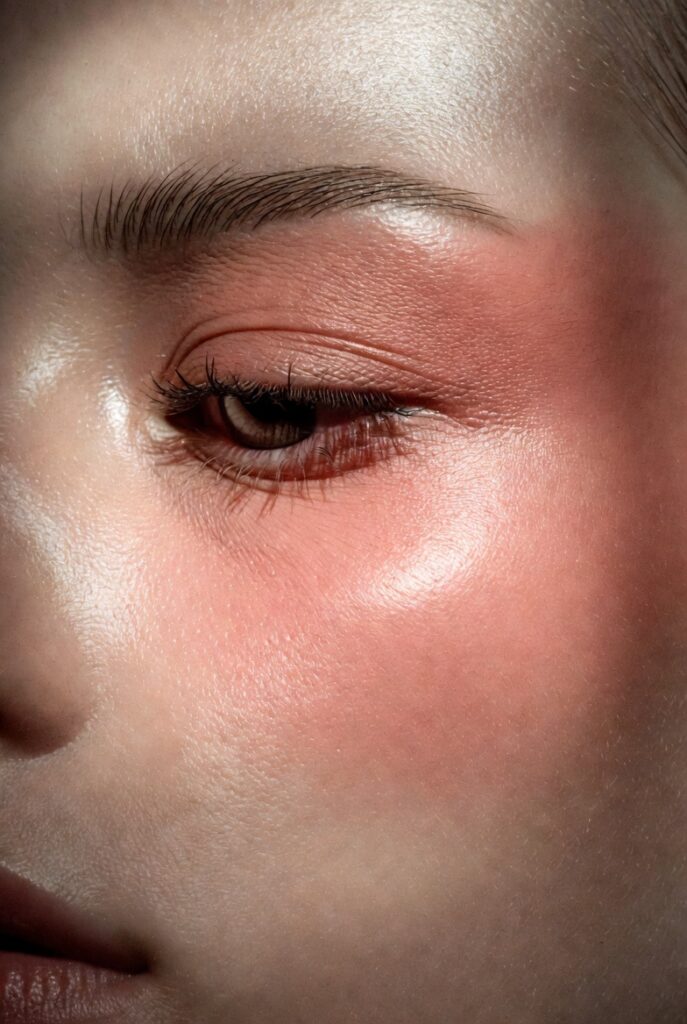
For an unexpected but highly effective placement, use a cream blush to draw a soft C‑shape from the outer corner of your eye, curving under the brow bone and down toward the top of your cheekbone. This connects your eye makeup to your cheek color in one fluid motion. Blend thoroughly so there are no harsh lines; the blush should look like a natural flush that travels from your temple to the high point of your cheek. This technique elongates the side of your face visually.
The C‑shape placement works because it breaks up the roundness of the cheek by adding diagonal movement. Avoid bringing the blush into the center of your cheek or below your nose. A sheer, dewy formula in a muted coral or soft pink is ideal. When you smile, the blush should stay above where your cheeks naturally lift. This placement is especially flattering for daytime wear because it mimics the way sun naturally hits the high points of a rounded face.
8. Contour on the Sides of the Nose, Not the Bridge
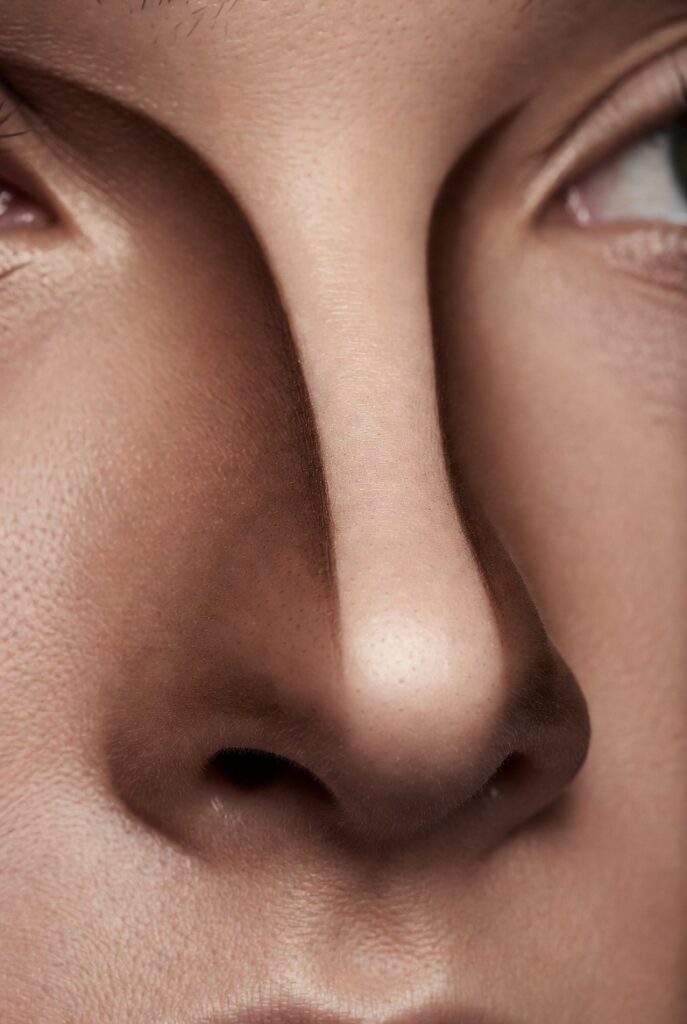
Many people contour the entire length of their nose, but for a round face, that can make the center of your face look heavier. Instead, apply a cool‑toned contour shade only to the sides of your nose, from the inner corner of your eye down to the nostril flare. Leave the bridge completely bare or highlight it. Use a thin, angled brush and blend inward toward the center of the nose, not outward. This narrows the nose without adding bulk to the midface.
By keeping the bridge bright and the sides shadowed, you create vertical definition that pulls the eye up and down rather than side to side. This placement is particularly effective if your nose is already straight or has a soft shape. Blend the contour into the shadow of your nostril so there’s no visible line. The goal is a naturally sculpted nose that anchors your face without drawing attention to its width.
9. Highlighter as a Thin Vertical Line Down the Center of the Chin
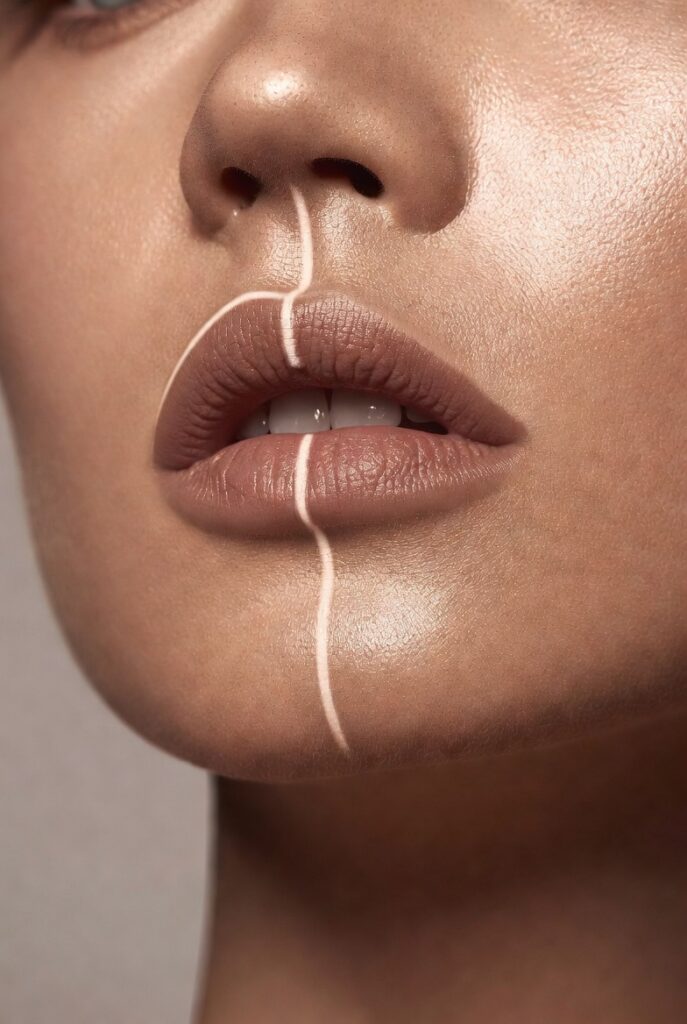
Apply a liquid highlighter in a thin, straight line from the bottom of your lower lip down to the tip of your chin. No wider than your pinky nail. This tiny vertical stripe reflects light downward, making your chin appear slightly longer and more oval‑shaped. Pat it gently with a damp sponge so it melts into your foundation. Avoid putting highlighter on the sides of your chin or along the jaw, as that would widen the lower face.
Most people forget about the chin entirely, but this placement is a game‑changer for round faces. The vertical highlight lengthens the lower third without contouring. Combine it with a matte finish everywhere else on your chin, and the contrast will subtly elongate your entire face shape. Use a highlighter with a fine, non‑glittery shimmer—think candlelit glow rather than disco ball. This trick works especially well in photographs.
10. Bronzer Swept Along the Temples in a Diagonal Line
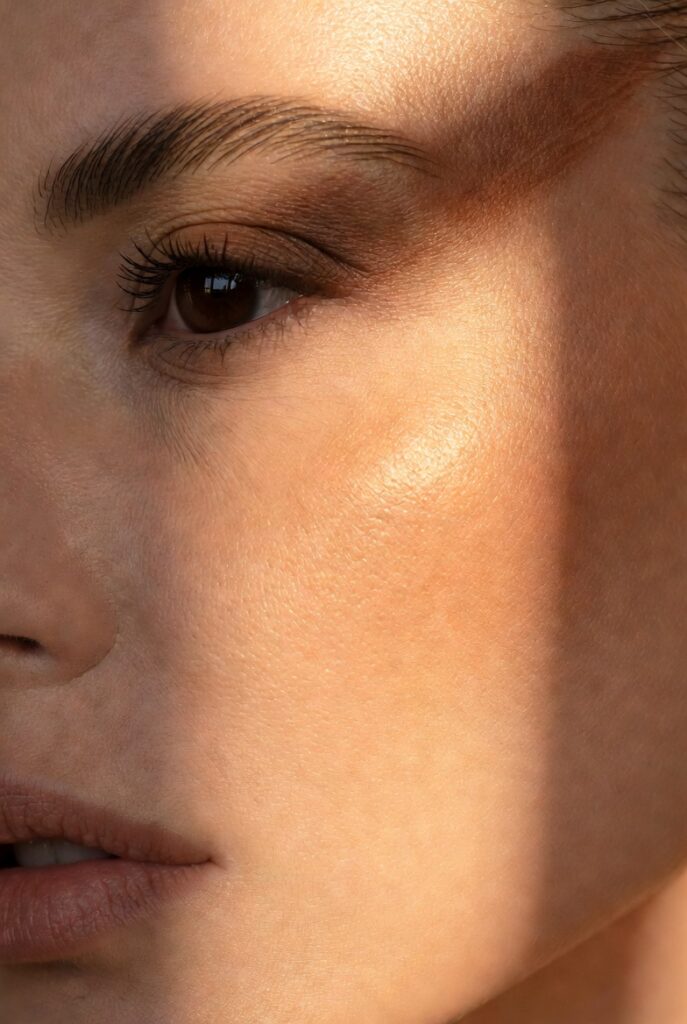
Take a fluffy bronzer brush and apply a warm, matte bronzer in a diagonal line from the top of each temple down toward the middle of your cheekbone, stopping just past the outer corner of your eye. This is different from the traditional “3” shape because it doesn’t curve back in. The diagonal line breaks the roundness of the upper face and creates an angular frame. Blend toward your hairline at the top and toward your ear at the bottom.
Keep the bronzer concentrated on the outer edge of your face and avoid bringing it anywhere near your nose or the center of your forehead. A light hand is key—you want a sun‑kissed look that adds structure, not a muddy stripe. This placement works beautifully with a dewy foundation because the bronzer adds matte contrast. When you turn your head side to side, you’ll see a natural shadow that makes your face look slimmer from every angle.
Read also:23 skin tint ideas: Achieve a Flawless, Natural Glow That Boosts Your Confidence Every Day
11. Eyeshadow Darkest at the Outer Corner and Blended Upward
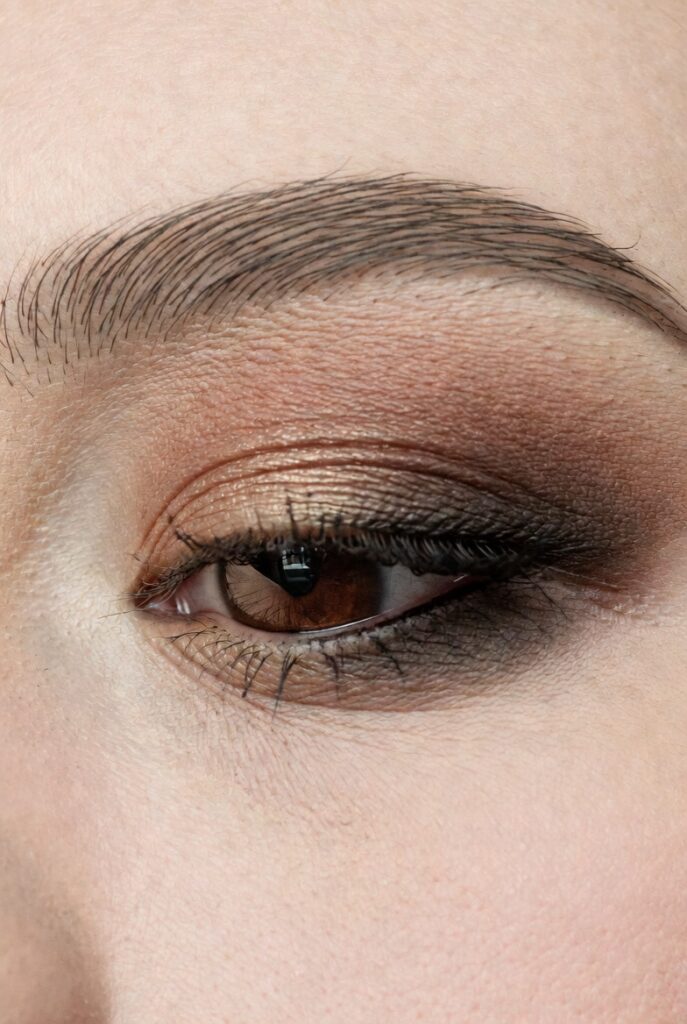
For eye makeup, place your deepest shadow shade only at the very outer corner of each eye, then blend it upward toward the end of your eyebrow in a wing‑like shape. Do not bring dark shadow into the crease near the center of your eye. Use a small, dense brush to pack the color into the outer V, then soften with windshield‑wiper motions that travel diagonally. This creates an uplifted, elongated eye shape that counteracts roundness.
A round face often has round eyes, and this placement breaks that cycle. By adding height and outward length to the eye area, you draw attention diagonally rather than horizontally. Pair a matte taupe or brown in the outer corner with a bright, shimmery shade on the inner half of your lid. The contrast will make your eyes appear more almond‑shaped while balancing your face’s natural curves. Finish with a thin line of eyeliner that also flicks upward.
12. Blush Placed Under the Outer Half of the Lower Lash Line
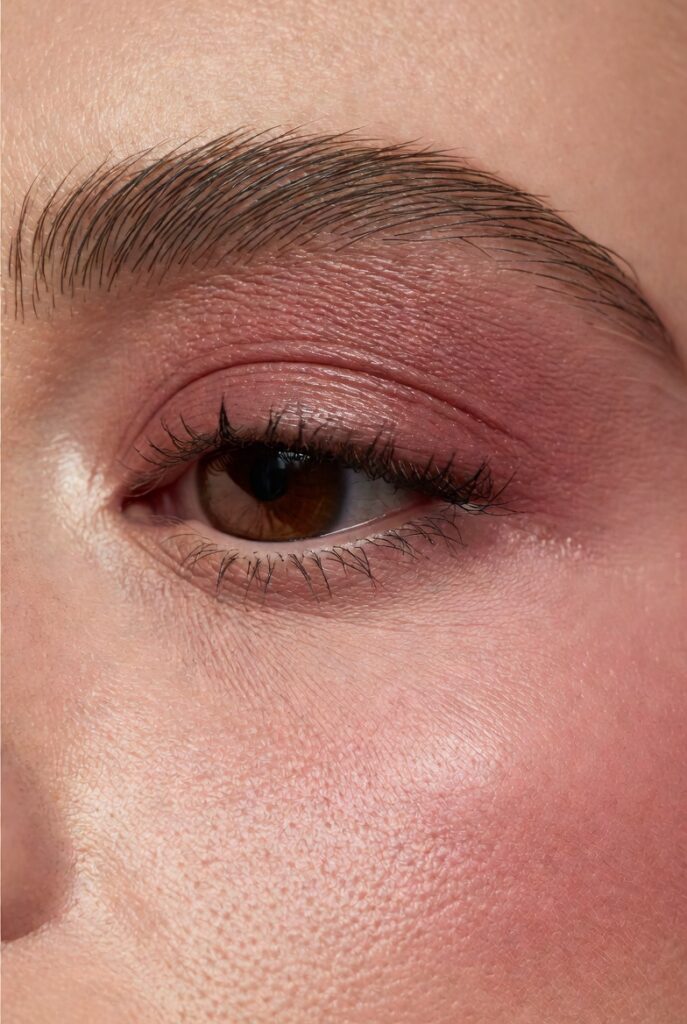
This is a delicate technique: use a small, pointed brush to pat a very small amount of matte cream blush directly under your lower lash line, only on the outer half of each eye. Blend it downward just a few millimeters, so it looks like a soft, sleepy flush. Do not extend past the middle of your pupil. This placement mimics the natural redness that appears when you’re tired or emotional, but in a controlled, flattering way that adds youthful dimension to a round face.
Why does this work? Because it lowers the visual center of the eye area slightly, which breaks up the wide‑open roundness of the cheeks and eyes combined. Keep the color sheer—think of a watered‑down rose or peach. This is not contour but rather an artistic shadow that adds intrigue. Use it only on days when you’re wearing a full base, and blend carefully so there are no harsh edges. The effect is subtle but surprisingly slimming.
13. Contour in the Hollows of the Cheeks—But Stopped Early
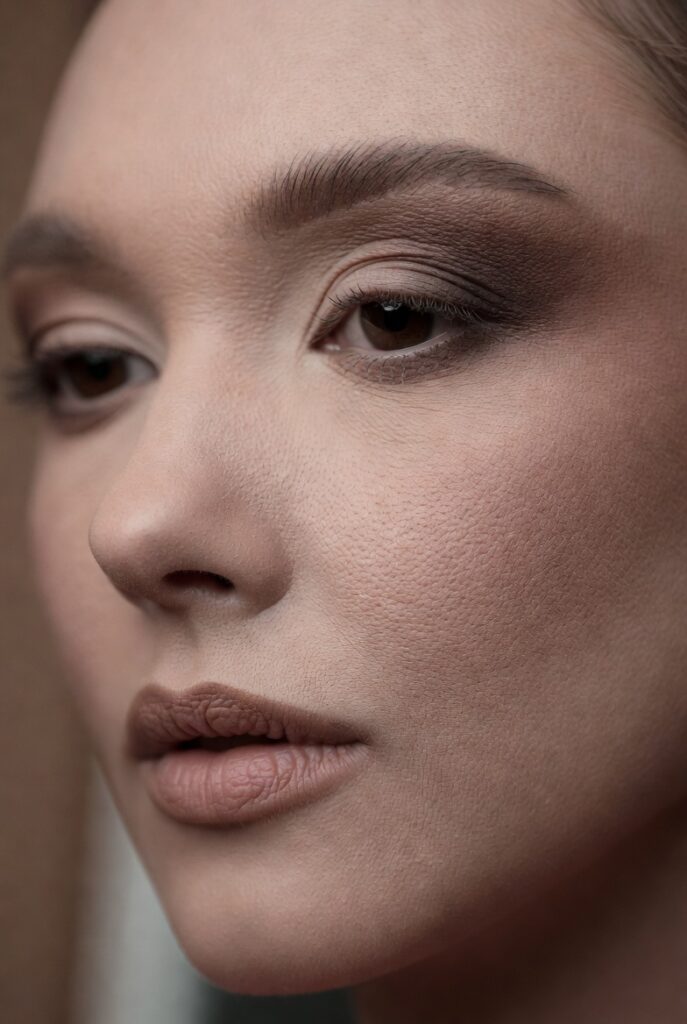
Instead of drawing a contour line from your ear all the way to your mouth, stop at the middle of your pupil when you look straight ahead. So, start at your ear, go along the natural hollow of your cheek (suck in your cheeks to find it), and stop directly below the center of your eye. Blend the end of the line into a soft fade. This creates a half‑contour that adds depth without pulling the cheek down or making your face look wider.
If you take contour all the way to your mouth, you risk creating a sagging illusion on a round face. By stopping early, you keep the lifted appearance intact. Use a creamy contour stick and blend with a damp sponge in upward strokes. The visible shadow should be strongest near your ear and disappear completely before reaching the apples of your cheeks. This placement pairs perfectly with a bright blush placed above the contour line.
14. Highlight on the Bridge of the Nose Only, Not the Tip
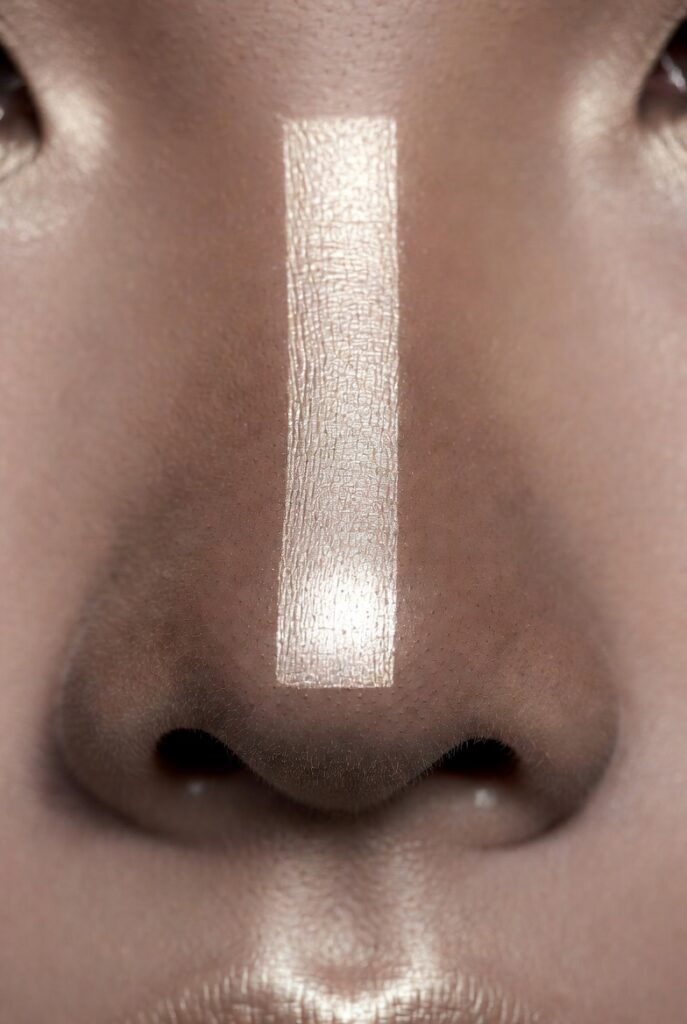
Apply a tiny dot of highlighter to the middle third of your nose bridge—between your eyes and just above the tip. Use your ring finger to pat it into a thin, vertical stripe no wider than the width of your nostril. Do not highlight the tip of your nose or the area between your brows. This placement lengthens the nose visually while keeping the tip matte, which prevents a button‑like roundness that can make a round face look even softer.
The matte tip of the nose recedes, while the illuminated bridge pulls the eye upward. This creates a longer, straighter nasal appearance that adds angularity to the center of your face. Choose a highlighter with a fine, natural finish—nothing chunky. Blend the edges so the stripe isn’t obvious. For extra effect, lightly dust a cool‑toned powder shadow on the sides of the nose tip to further narrow it, but keep the very bottom completely matte.
15. Bronzer Swept Under the Cheekbones in a Flat Horizontal Line
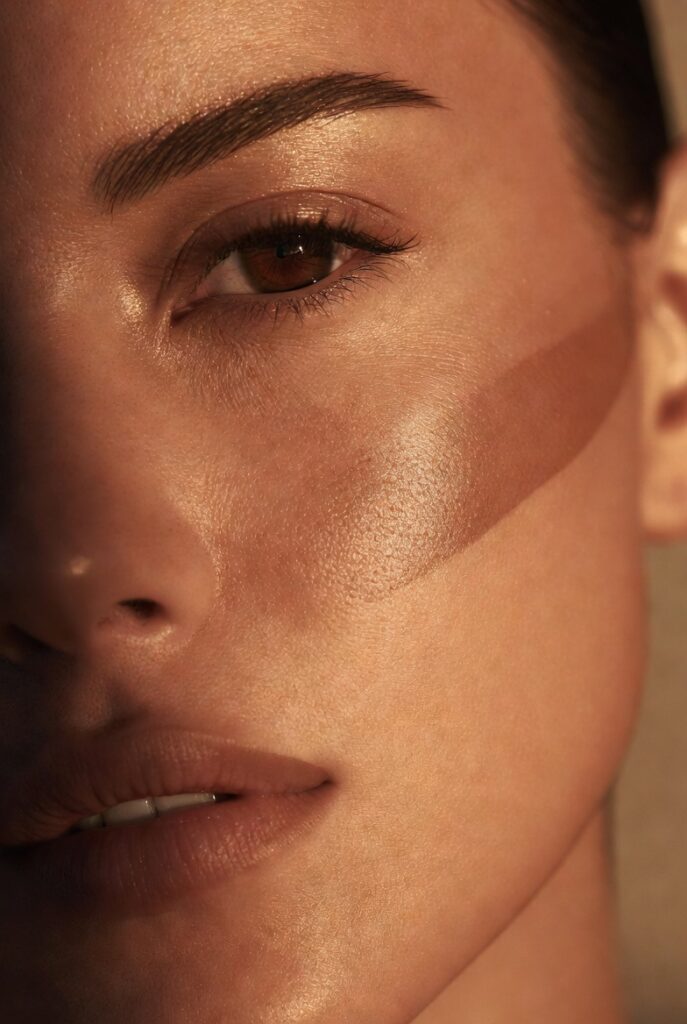
Here’s a counterintuitive idea: take a very light, warm bronzer and sweep it in a straight horizontal line directly under your cheekbones, from the edge of your nostril to your ear. Keep the line thin—no more than a finger’s width. Blend it sharply so it looks like a natural shadow rather than dirt. This technique creates a sharp horizontal break in the roundness of the cheek, giving the illusion of a more angular bone structure.
Normally, horizontal lines widen a face, but under the cheekbone, they actually flatten the curve and make the cheek appear more chiseled. Use a matte bronzer that’s only one shade darker than your skin. Sweep it with a flat, dense brush and set with a translucent powder. This placement works best on round faces with high cheekbones that need definition. Pair it with a bright blush above the line for contrast, and your face will instantly look more sculpted.
16. Highlight in a Small Dot on the Tip of the Cupid’s Bow
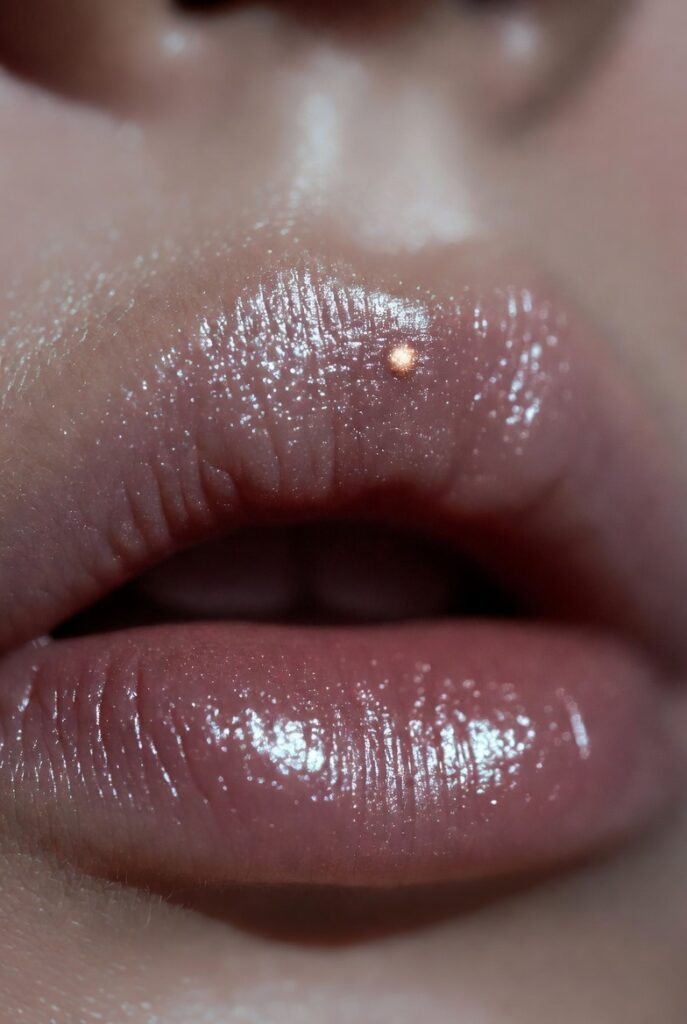
Place a tiny, precise dot of liquid highlighter directly on the highest point of your cupid’s bow (the V‑shape of your upper lip). Use a fine‑tipped brush or a toothpick dipped in highlighter. This tiny light reflection makes your upper lip appear more defined and slightly lifted, which draws attention to the center of your lower face without adding width. Blend it slightly upward toward your nose but keep the dot concentrated.
For a round face, a bright cupid’s bow breaks the softness of the mouth area and adds a sharp, glamorous detail. Do not highlight the entire lip line or the bottom lip—only that one small spot. This trick also makes your lips look fuller without overdrawing. Use a cream or powder highlighter with a subtle pearl finish. The effect is almost imperceptible but highly effective in photos and in person, especially when you smile.
17. Contour Placed on the Sides of the Forehead Near the Hairline
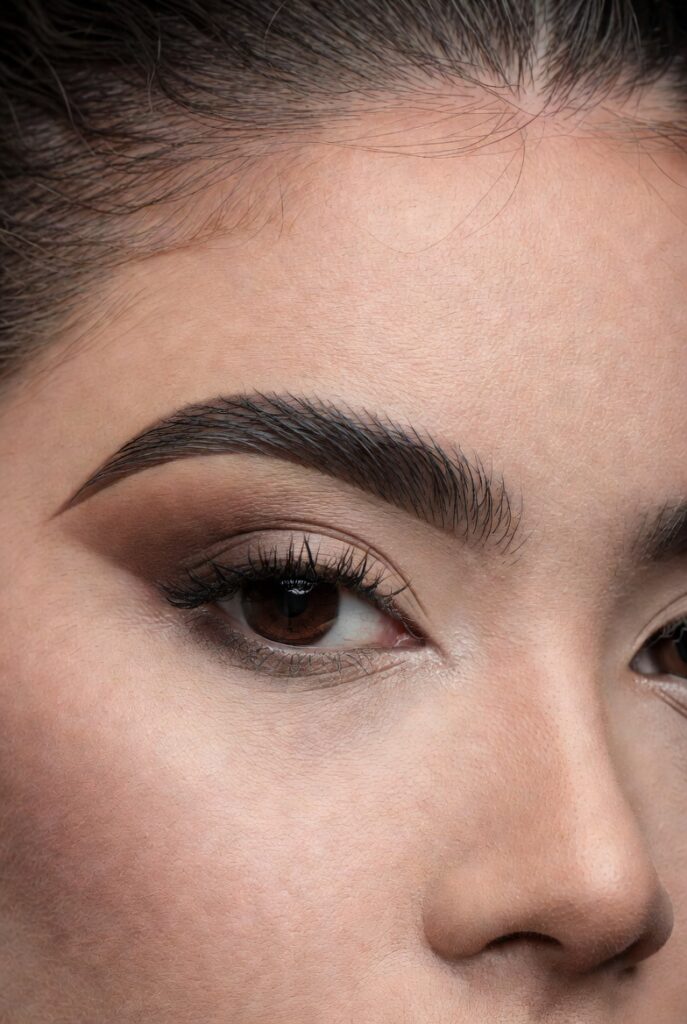
Take a small, tapered contour brush and apply a cool‑toned contour powder directly to the left and right sides of your forehead, right where your hair begins. Keep the contour within the first inch of your hairline, and do not bring it downward past your brow bone. Blend inward toward the center of your forehead using small, back‑and‑forth motions. This creates shadow that visually pushes the sides of your forehead back, making it appear narrower.
Avoid contouring across the top of your forehead near the middle, as that would shorten your face. Instead, think of two vertical parentheses on either side. This placement is especially effective if you have a naturally round or wide forehead. Use a light hand and build slowly. The goal is to make your forehead look more oval, which balances the rest of a round face beautifully. Finish with a powder brush to soften any harsh edges.
18. Highlighter as an Inner Corner Eye Teardrop
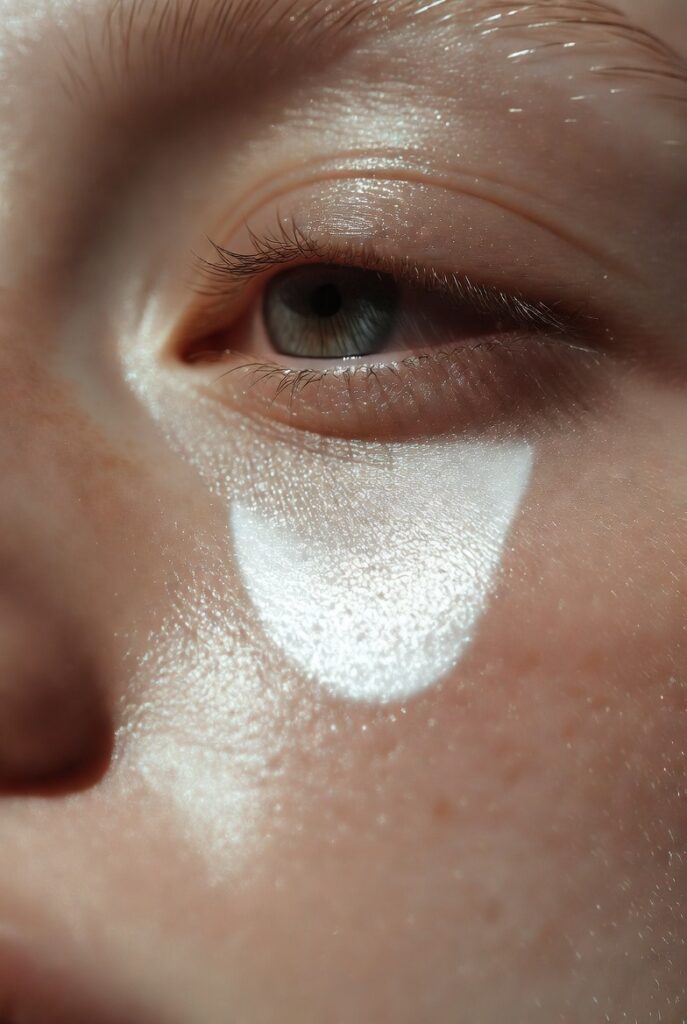
Place a small, teardrop‑shaped dab of highlighter in the inner corner of each eye, with the point of the teardrop aiming down toward your nose. This is larger than a typical inner‑corner highlight—about the size of a grain of rice. Blend it slightly downward onto the side of your nose bridge. This placement pulls light into the center of your face while creating a vertical line that lengthens the eye area.
Most people only highlight the very inner corner of the eye, but extending it into a teardrop shape adds extra length. For a round face, this trick counteracts the natural width between your eyes. Use a champagne or pearl shade with no visible glitter. Apply with a small pencil brush for precision. When you look straight ahead, the teardrop should be visible without turning your head. It’s a small detail that makes a big difference in how balanced your face appears.
19. Blush Placed as a Soft Band Across the Nose Bridge
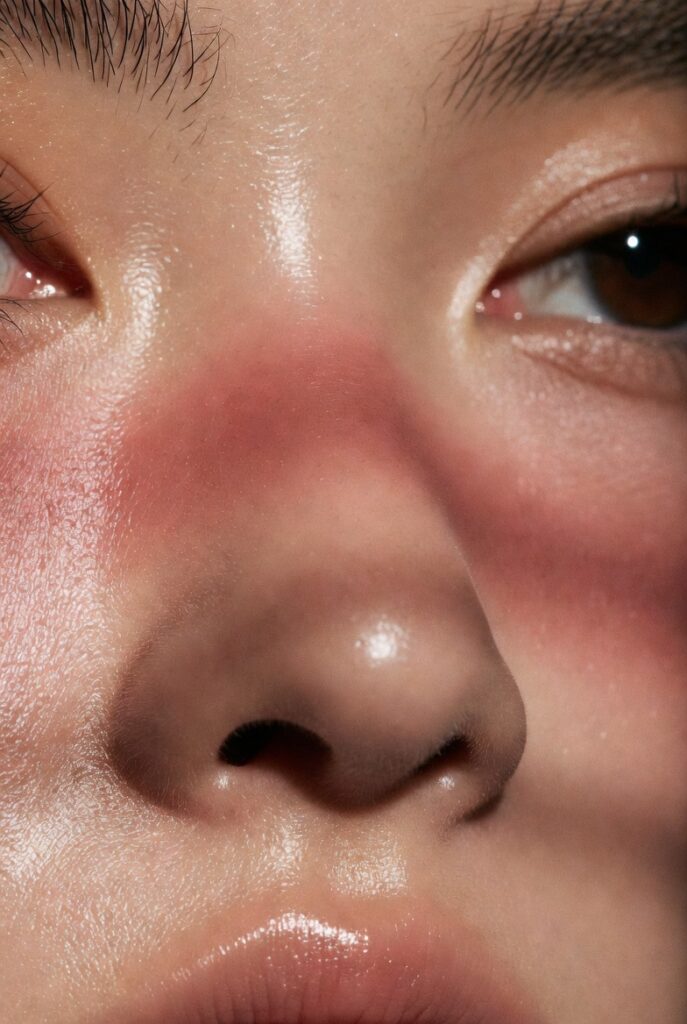
For a fresh, youthful look (often called “sunburn blush” or “Igari style”), take a sheer, matte blush and sweep it softly across the bridge of your nose, connecting your two cheeks in one continuous band. Keep the blush highest on the nose bridge and fade it as it moves toward the apples of your cheeks. This placement breaks the face into horizontal thirds and adds a playful, dimensional flush that distracts from roundness.
The key is to use a very light hand and a fluffy brush so the color is diffused, not striped. A warm pink or apricot works best. This technique actually widens the center of your face slightly, but in a way that makes the overall shape feel more intentional and balanced. It also mimics natural sun exposure, which flatters round faces by adding a healthy, active glow. Avoid this if you have redness‑prone skin; otherwise, it’s a fun, editorial twist.
20. Matte Powder Only on the Outer Perimeters of the Face
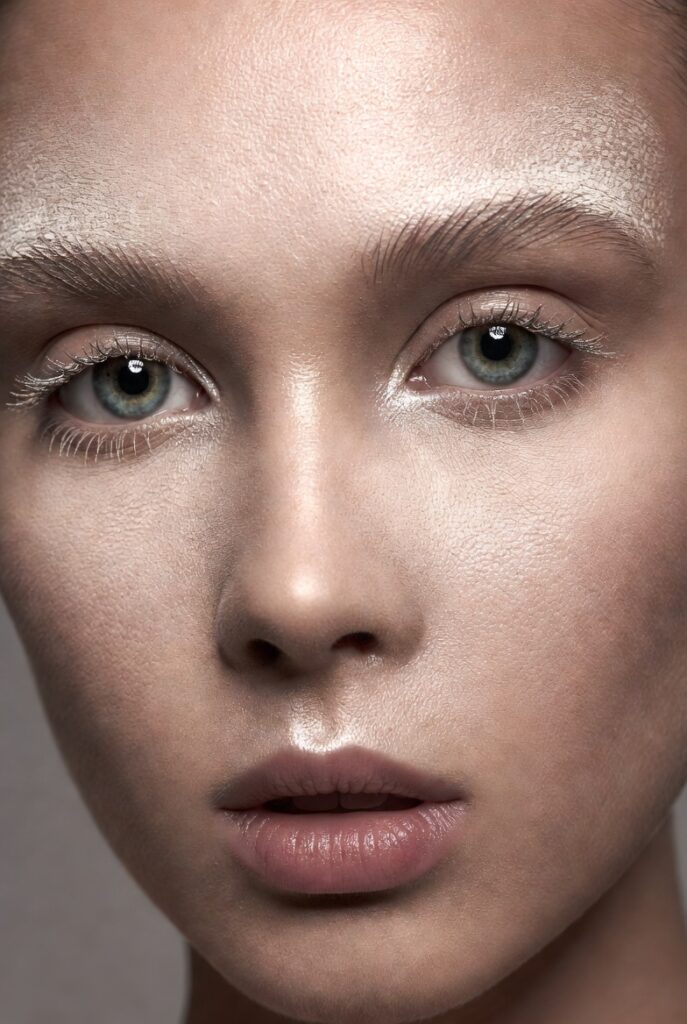
Finally, take a translucent matte powder and apply it exclusively to the outer edges of your face—your temples, the sides of your jaw, and the hairline area. Leave the center of your face (nose, under eyes, center of forehead, and chin) completely dewy or natural. This creates an optical illusion where the matte edges recede and the luminous center advances, making your face appear longer and more oval.
Use a large powder brush and press the powder gently into the outer perimeter. Do not sweep it toward the middle. This placement is the ultimate finishing touch for a round face because it combines shadow (matte) and light (dewy) without any contour product. It works with any foundation finish. For extra effect, pair it with a cream highlighter in the very center of your face. You’ll look sculpted, fresh, and effortlessly balanced in under a minute.
Conclusion
Makeup placement is more about geometry than product. For a round face, the goal is always to add vertical lines and diagonal movement while softening horizontal curves. You don’t need heavy contouring or a dozen new products—just small shifts in where you apply what you already own. Try two or three of these ideas at a time, see what feels right for your unique features, and build from there. The most flattering makeup is the one that makes you feel confident, sculpted, and still completely yourself.

Mehboob Ahmad is the founder and writer behind BeautyVibeWorld. With a genuine passion for skincare, makeup, and everyday beauty routines, Mehboob started this platform to share simple, practical, and research-backed advice that real people can actually use without the confusion of conflicting trends and overhyped products.
Every article on BeautyVibeWorld is written with care, backed by research, and regularly updated to stay accurate and relevant. Mehboob believes good beauty advice should be honest, easy to follow, and free of unnecessary complexity.
Outside of writing, Mehboob enjoys exploring new beauty trends and staying up to date with the latest in skincare and haircare research to keep bringing fresh, reliable content to BeautyVibeWorld readers.