
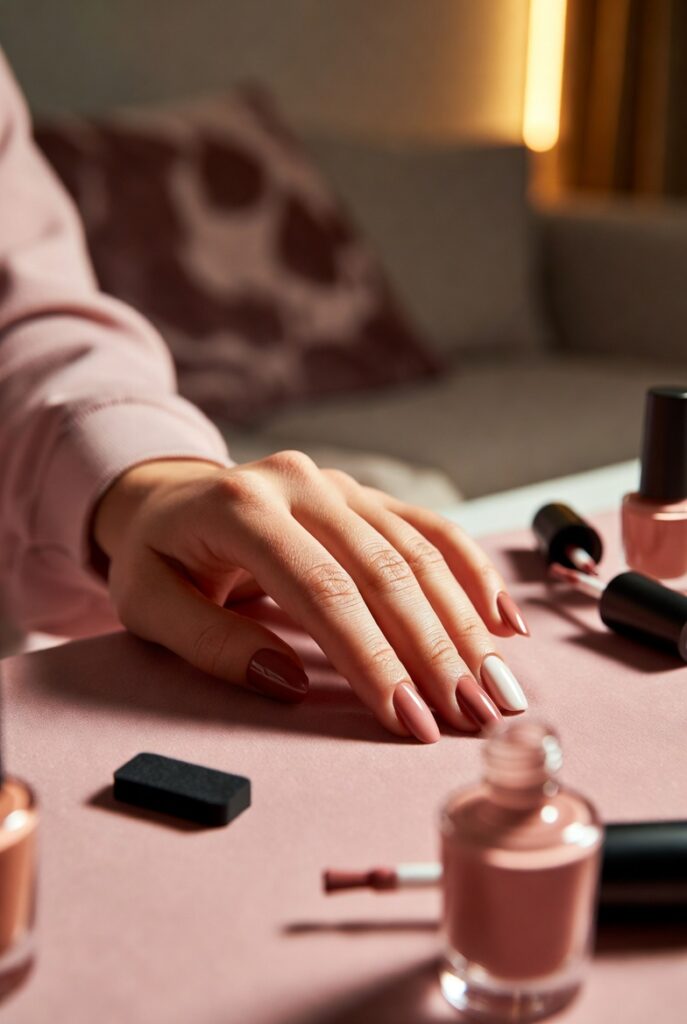
There is something incredibly satisfying about achieving a flawless gradient manicure without ever booking a salon appointment. Ombre nails tutorial at home methods have grown increasingly popular as more people discover that this stunning blended effect is far more achievable with basic tools than most would expect. From soft pastel transitions to bold color fades, learning to create this look yourself opens up endless creative possibilities while saving both time and money. This article walks through a variety of approaches and color combinations that make mastering the ombre technique at home an enjoyable and rewarding experience.
Understanding the Sponge Blending Method
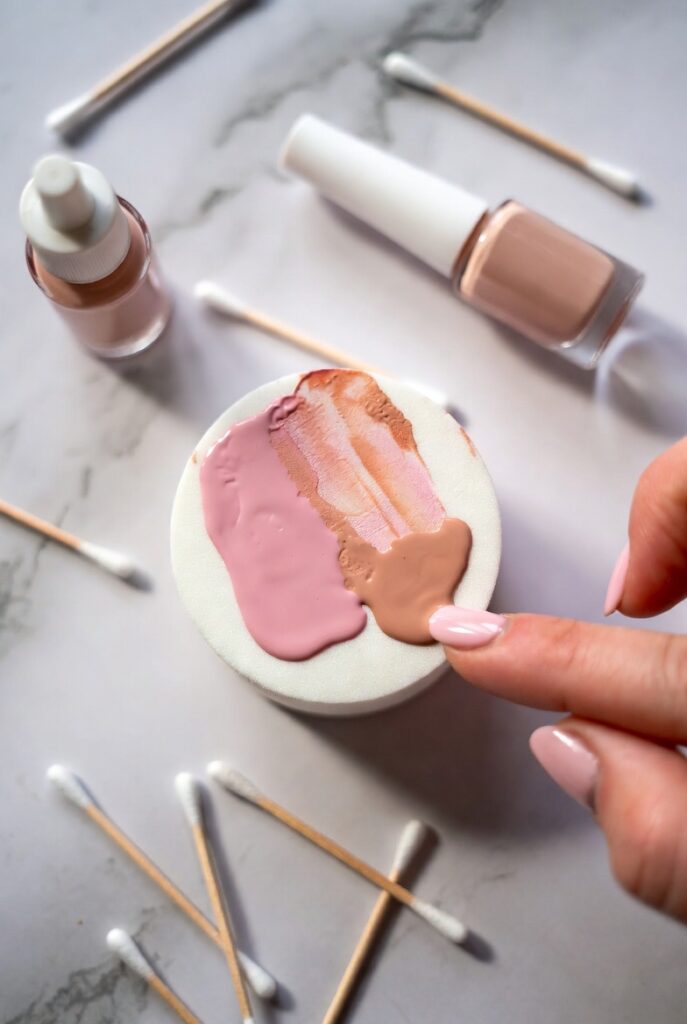
The sponge technique remains one of the most accessible ways to achieve an ombre nail effect at home, relying on a simple makeup sponge to blend two or more polish colors directly onto the nail. This method works by applying stripes of color onto the sponge itself, then pressing it gently against the nail in a dabbing motion to transfer a soft, blended gradient. The beauty of this approach lies in how forgiving it is, since even slight imperfections in application tend to blend naturally into a soft, diffused finish.
What makes the sponge method particularly appealing for beginners is that it requires no specialized nail art tools, since a standard cosmetic sponge and regular nail polish are all that is needed to get started. The texture of the sponge naturally creates a slightly textured, airbrushed look that mimics professional gradient results without demanding precise brush control. This technique also allows for easy experimentation with different color pairings, since reapplying polish to the sponge and pressing again can quickly adjust the intensity or blend of the gradient.
Choosing the Right Color Combinations for Depth
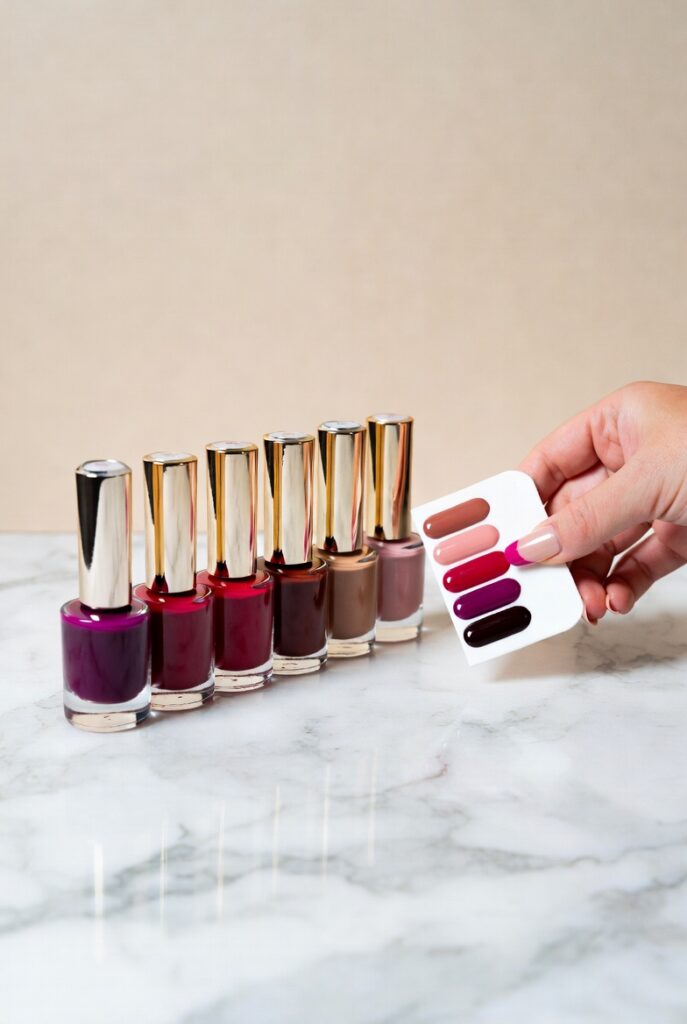
Selecting complementary shades plays a significant role in how successful an ombre nail design turns out, since colors that sit too far apart on the color wheel can create a muddy or disjointed transition. Analogous colors, meaning those positioned next to each other on the color wheel like pink and purple or blue and green, tend to blend far more smoothly and naturally than contrasting combinations. This makes understanding basic color theory a helpful foundation before attempting an ombre look at home.
Beyond analogous pairings, many people also enjoy working with tonal gradients that use different shades of the same color family, such as light pink fading into deep magenta or pale blue transitioning into navy. This approach creates a sophisticated, cohesive look that feels intentional rather than experimental. Seasonal color choices, like warm oranges and reds for autumn or soft pastels for spring, also help make the gradient feel relevant and well-suited to the time of year it’s being worn.
Using Gradient Nail Art Brushes for Precision
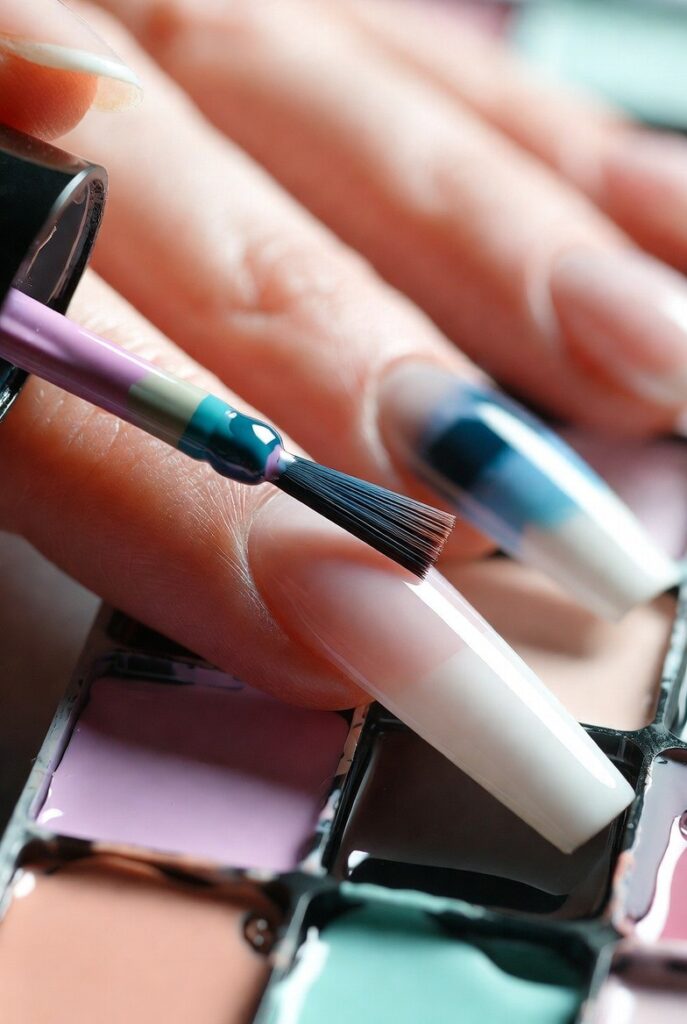
For those seeking more control than a sponge allows, gradient nail art brushes offer a precise alternative for creating smooth ombre nail transitions at home. These brushes typically feature a fan-shaped or angled bristle design that helps blend two colors together directly on the nail without needing a sponge as an intermediary tool. This method allows for more direct manipulation of where the colors meet, making it easier to control the exact placement of the gradient.
This technique tends to appeal to those who already have some nail art experience, since brush blending requires slightly steadier hands and more practice to avoid visible brush strokes. Working quickly is essential with this method, since polish dries fast and blending must happen while both colors remain wet enough to merge smoothly. Many people find that practicing on a plastic nail wheel before attempting the design on actual nails helps build confidence and control before committing to the final look.
Creating Vertical Ombre Fades for a Modern Twist
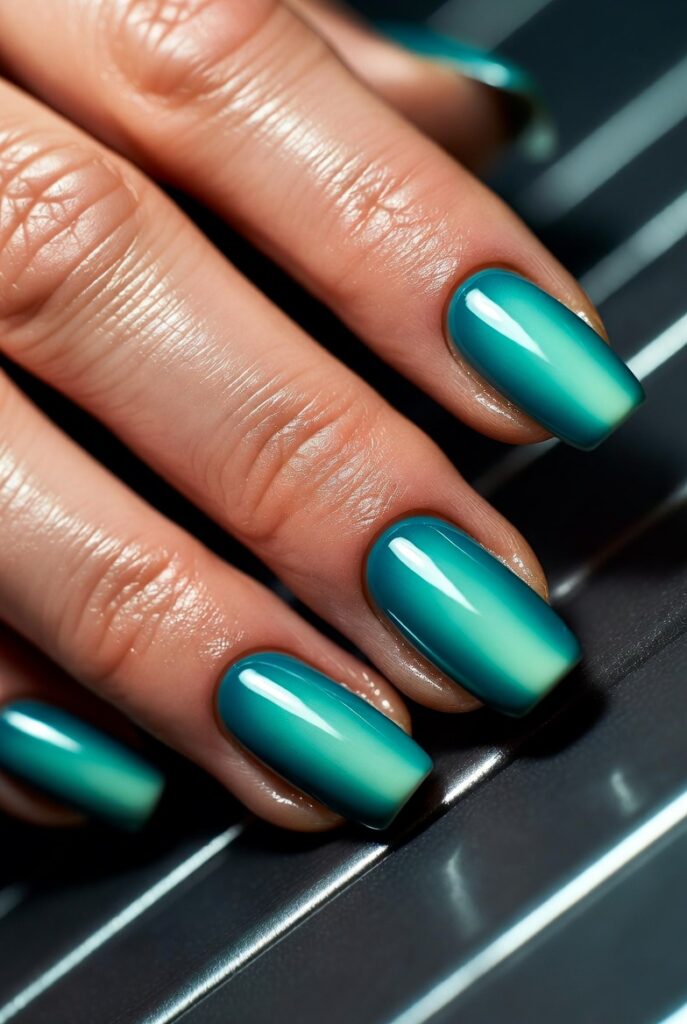
Vertical ombre designs shift the traditional horizontal gradient into a side-to-side blend, creating a completely different visual effect that feels fresh and contemporary. Instead of transitioning from cuticle to tip, this variation blends color from one side of the nail to the other, often creating a diagonal or angular gradient depending on how the colors are applied. This technique has gained popularity among those wanting a design that stands apart from the classic ombre look.
Achieving this effect typically involves applying color in vertical strokes rather than horizontal dabs, using either a sponge or brush depending on personal preference and desired texture. This style pairs particularly well with two contrasting colors, since the vertical blend creates a bold visual statement that horizontal gradients sometimes lack. Many nail enthusiasts enjoy combining this technique with a matte top coat, which softens the transition slightly while still maintaining the graphic, modern quality of the design.
Read also:10+ Nail Art Designs Floral: Bloom Beautifully with Delicate, Feminine Manicure Ideas
Achieving a Glitter Ombre Effect for Extra Sparkle
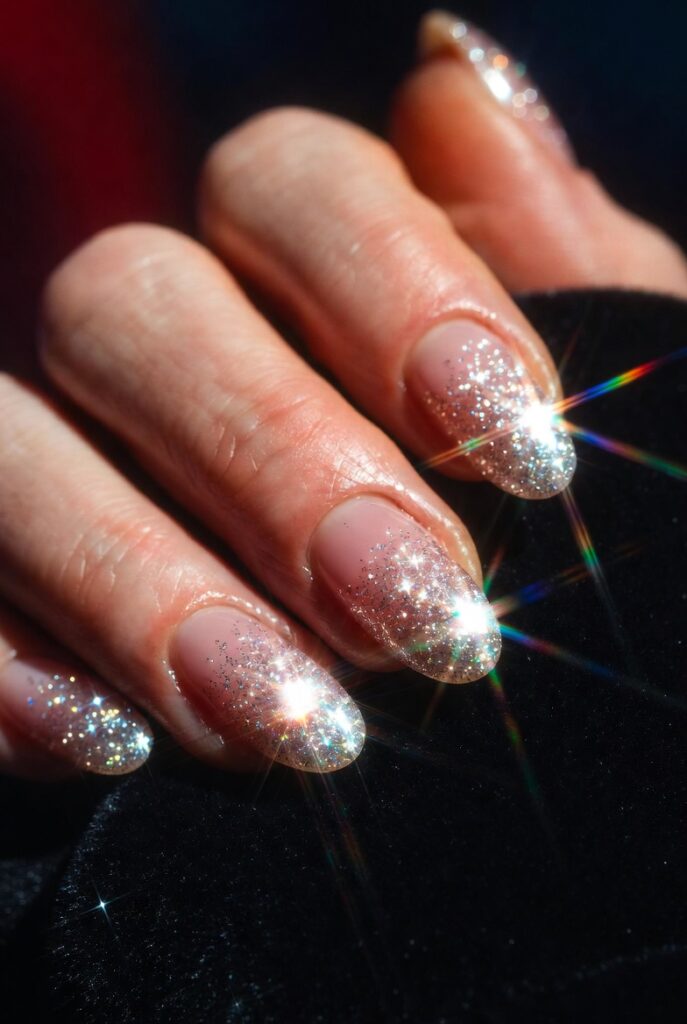
Adding glitter into an ombre design introduces sparkle and texture that transforms a simple gradient into something more glamorous and eye-catching. This technique typically involves blending a solid color at the base of the nail that gradually fades into a glitter polish toward the tip, creating a shimmering effect that catches light beautifully. Fine glitter polishes tend to blend more smoothly than chunky glitter, making them easier to work with for a seamless transition.
This variation works particularly well for special occasions or holiday seasons, when a bit of extra sparkle feels especially fitting. Building up glitter gradually in thin layers, rather than applying it all at once, helps achieve a more controlled and natural-looking fade rather than an abrupt shift from solid color to glitter. Pairing a neutral or pastel base color with silver or gold glitter creates an elegant, celebratory look that remains popular for weddings, holidays, and festive gatherings.
Perfecting a Nude to White Ombre for Elegant Simplicity
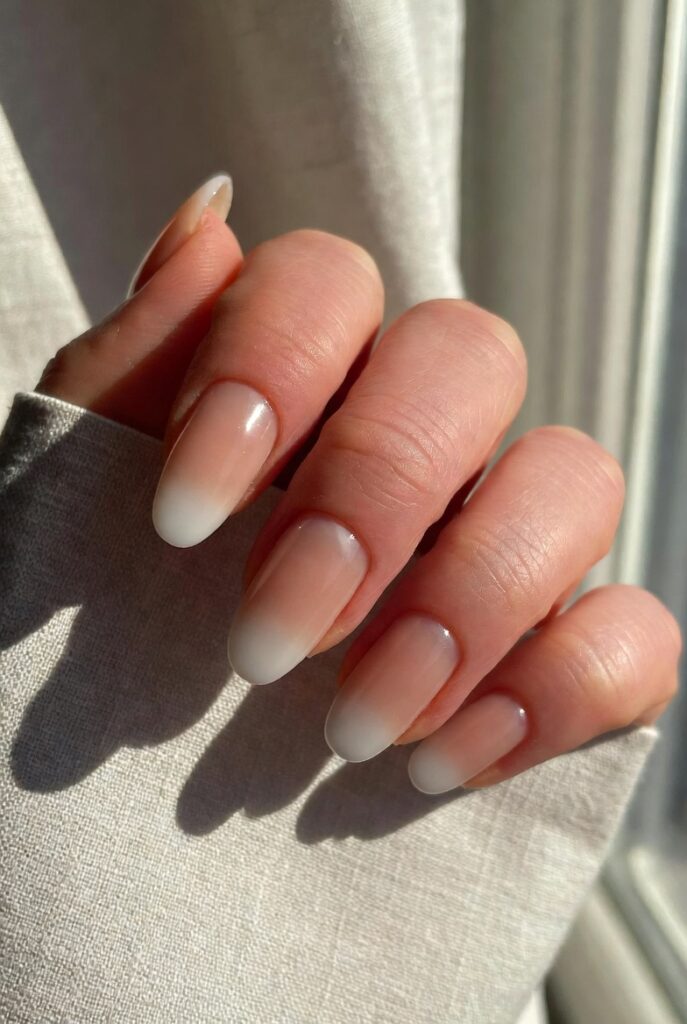
The nude to white gradient offers a softer, more understated take on the ombre technique, evoking the elegance of a french manicure while incorporating the blended, artistic quality of an ombre fade. This combination has remained consistently popular because it complements nearly any skin tone and pairs effortlessly with both casual and formal outfits. The subtle transition between the two neutral shades creates a sophisticated, polished appearance that feels timeless.
This particular color pairing tends to be more forgiving for beginners, since the similarity between nude and white tones means slight imperfections in blending are far less noticeable than with high-contrast color combinations. Many people find this design especially versatile for workplace settings or professional environments, where a more subdued nail look is often preferred. Adding a glossy top coat enhances the clean, refined quality of this design, giving it a salon-finished appearance even when done entirely at home.
Trying a Black and Gray Ombre for Edgy Elegance
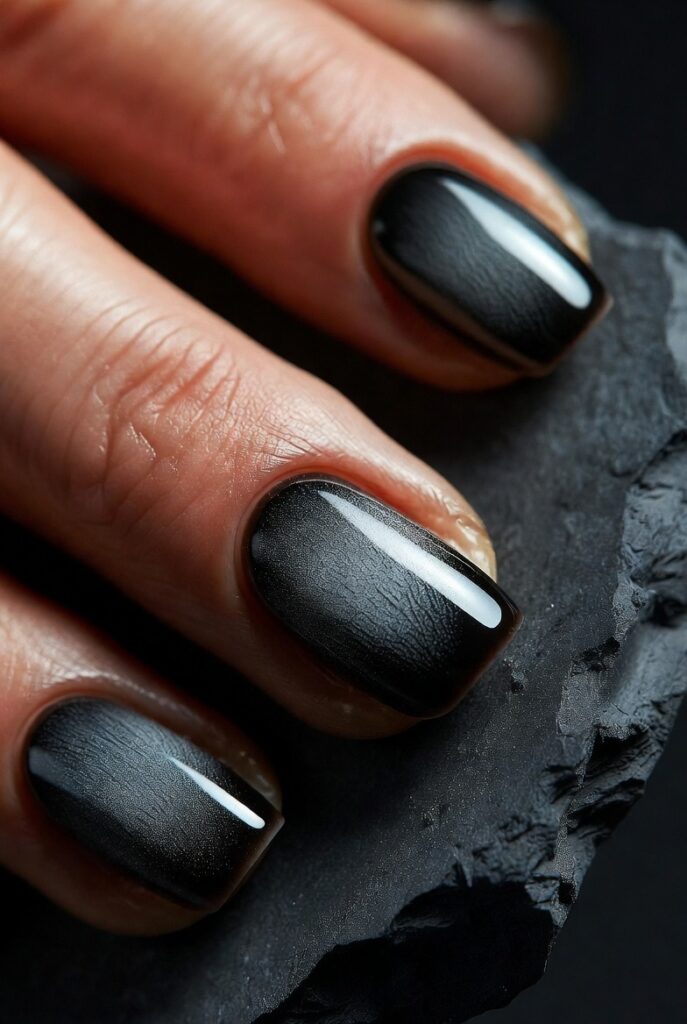
For those drawn to a bolder, moodier aesthetic, black fading into gray offers a striking alternative to the softer pastel gradients often associated with ombre nails. This combination creates a dramatic, high-contrast look that feels edgy and modern, making it a popular choice for those wanting their manicure to stand out. The smoky transition between the two shades gives the design a sophisticated, almost smoky-eye quality translated onto the nails.
Achieving a smooth blend between black and gray requires slightly more attention than lighter color pairings, since darker polishes tend to show brush strokes or uneven blending more visibly. Working in thin layers and blending while the polish is still wet helps achieve a smoother transition between the two shades. This design pairs beautifully with matte top coats, which soften the contrast slightly while maintaining the overall edgy, statement-making quality of the look.
Exploring a Two-Tone Pastel Ombre for Soft Femininity
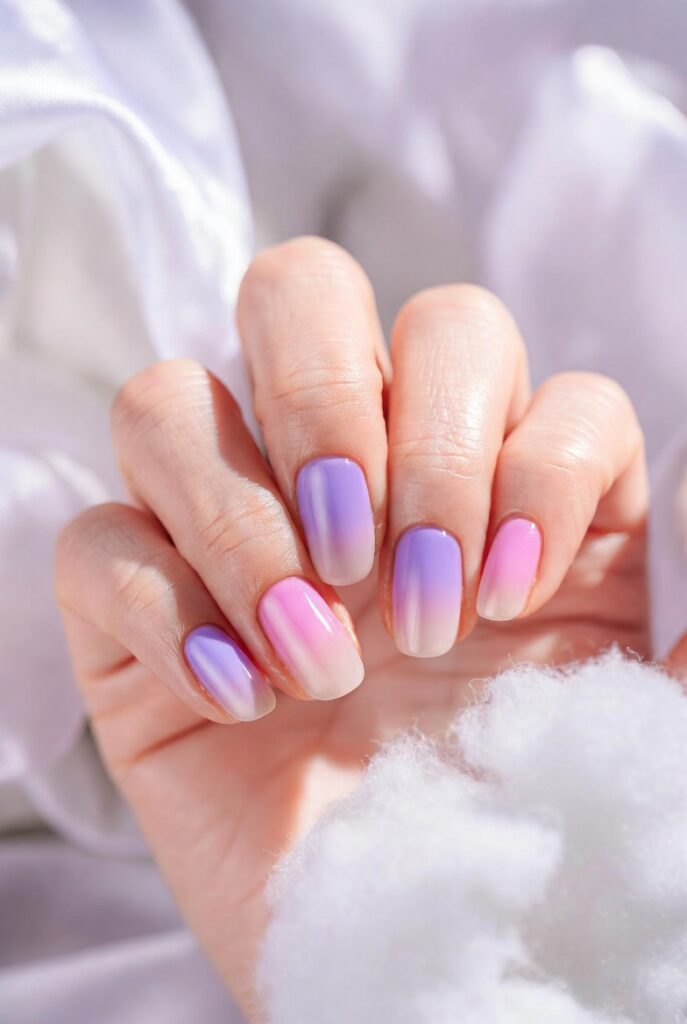
Combining two pastel shades, such as lavender and baby pink or mint green and pale yellow, creates a soft, feminine gradient that feels gentle and cheerful. This combination works particularly well for spring and summer, when lighter, softer color palettes tend to feel most fitting. The subtlety of pastel tones means the transition between colors often appears especially smooth and dreamy, almost like a soft watercolor effect.
This pairing tends to be forgiving for those still building confidence with the ombre technique, since pastel shades naturally blend more gently than bold or saturated colors. Many people enjoy adding a few small rhinestones or a delicate decal near the base of the nail to complement the soft color palette without overwhelming the design. This style remains a favorite for those wanting a cute and romantic ombre look that feels light, fresh, and effortlessly pretty.
Mastering a Sunset-Inspired Multi-Color Ombre
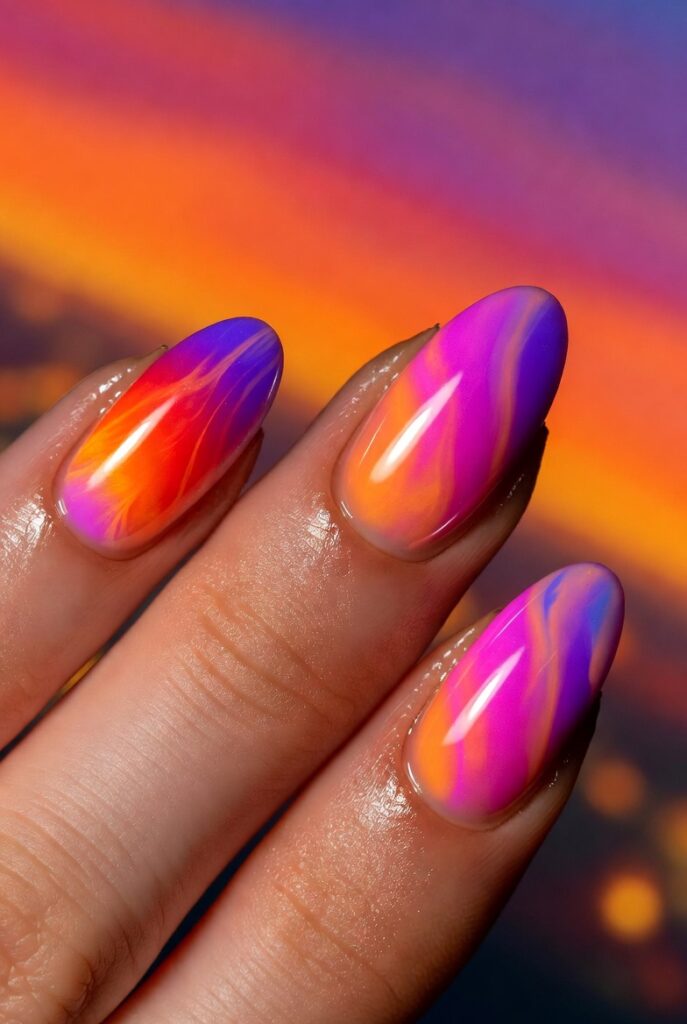
For those wanting a more elaborate design, blending three or more colors to mimic a sunset creates a vibrant, eye-catching gradient that stands out from simpler two-color fades. This design typically transitions from a warm yellow or orange near the cuticle into deep pink or purple toward the tip, capturing the layered beauty of a sunset sky. This more complex blend requires additional practice, since managing multiple colors at once increases the risk of muddy transitions if not done carefully.
Working with smaller sections of color and blending gradually between each one helps maintain clean transitions throughout the multi-color gradient. Many people find that practicing this design on a nail wheel beforehand helps map out where each color should be placed before committing to the final application. This vibrant, sunset-inspired ombre remains particularly popular during summer months, offering a bold, artistic alternative to more traditional two-tone gradients.
Sealing Your Ombre Design with the Perfect Top Coat
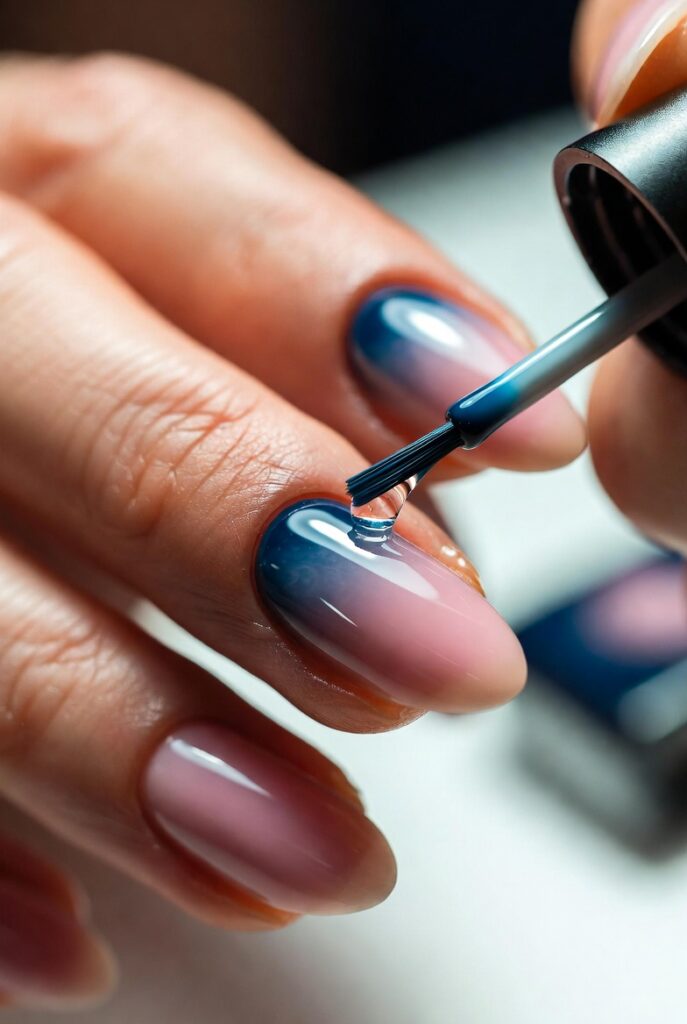
Choosing the right finishing product can make a noticeable difference in how polished and long-lasting an ombre nail design appears once completed at home. A high-shine top coat enhances the vibrancy of blended colors and gives the gradient a smooth, glass-like finish that closely resembles professional salon results. Applying this final layer carefully, without dragging the brush too much, helps preserve the softness of the blend rather than disturbing the colors underneath.
Matte top coats offer an entirely different finished look, muting the shine and giving the gradient a soft, velvety texture that feels more subdued and sophisticated. Some people also enjoy alternating between glossy and matte finishes depending on the season or occasion, using shine for a fresh summer look and matte for a cozier autumn aesthetic. Regardless of the finish chosen, allowing each layer to dry fully before applying the top coat helps prevent smudging and ensures the ombre effect stays crisp and well-defined for longer.
Bringing Your At-Home Ombre Vision to Life
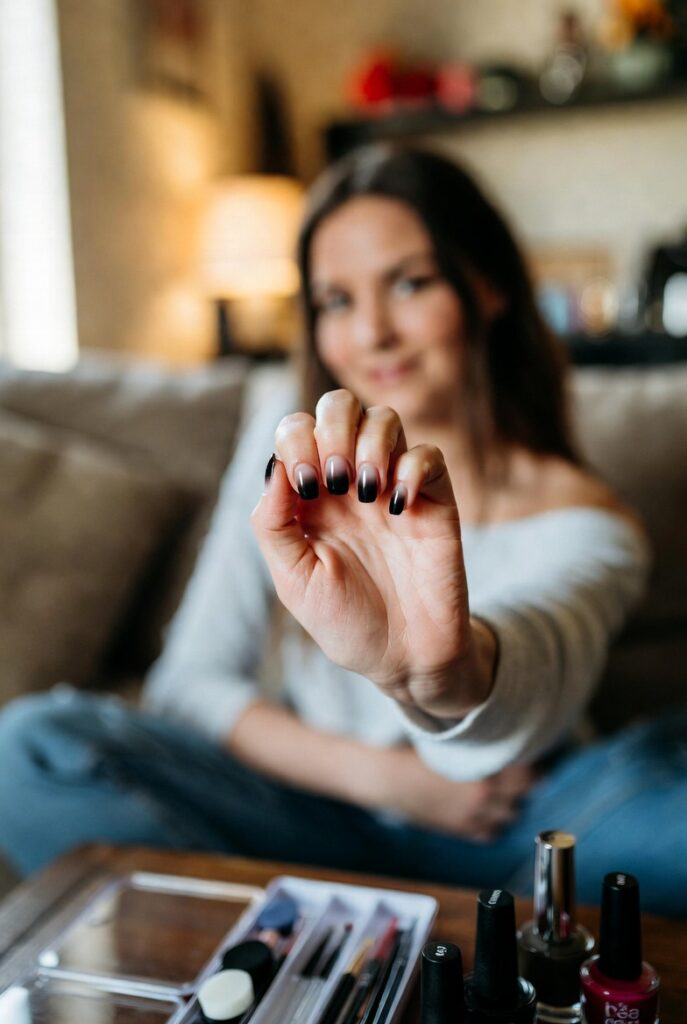
Mastering an ombre nails tutorial at home ultimately comes down to patience, practice, and a willingness to experiment with different tools and color combinations until you find what works best for you. Whether you prefer the soft, forgiving texture of a sponge-blended gradient or the precision of brush work, each technique offers a path toward a salon-quality finish without ever leaving your home. With the right colors and a little practice, achieving a beautifully blended manicure becomes an easy, enjoyable part of your routine rather than an intimidating challenge.
Conclusion
There is real satisfaction in looking down at a beautifully blended manicure and knowing you created it yourself, right at your own kitchen table. Every ombre nails tutorial at home method covered here, whether it relies on a humble makeup sponge or a specialized gradient brush, proves that professional-looking results don’t require a salon chair or a big budget. The techniques may vary, but the outcome is the same: a stunning, personalized manicure that reflects your own creativity.
As you experiment with different color pairings and blending tools, you’ll likely find one or two methods that feel most natural to your hand and skill level. Keep practicing, stay patient with the process, and don’t be afraid to wipe off a design and start again if the blend doesn’t come out quite right the first time. That willingness to try again is often what separates a good ombre manicure from a truly great one.
Learn ombre nails tutorial at home techniques, from sponge blending to glitter fades, and create stunning salon-worthy gradient manicures with ease.

Mehboob Ahmad is the founder and writer behind BeautyVibeWorld. With a genuine passion for skincare, makeup, and everyday beauty routines, Mehboob started this platform to share simple, practical, and research-backed advice that real people can actually use without the confusion of conflicting trends and overhyped products.
Every article on BeautyVibeWorld is written with care, backed by research, and regularly updated to stay accurate and relevant. Mehboob believes good beauty advice should be honest, easy to follow, and free of unnecessary complexity.
Outside of writing, Mehboob enjoys exploring new beauty trends and staying up to date with the latest in skincare and haircare research to keep bringing fresh, reliable content to BeautyVibeWorld readers.