
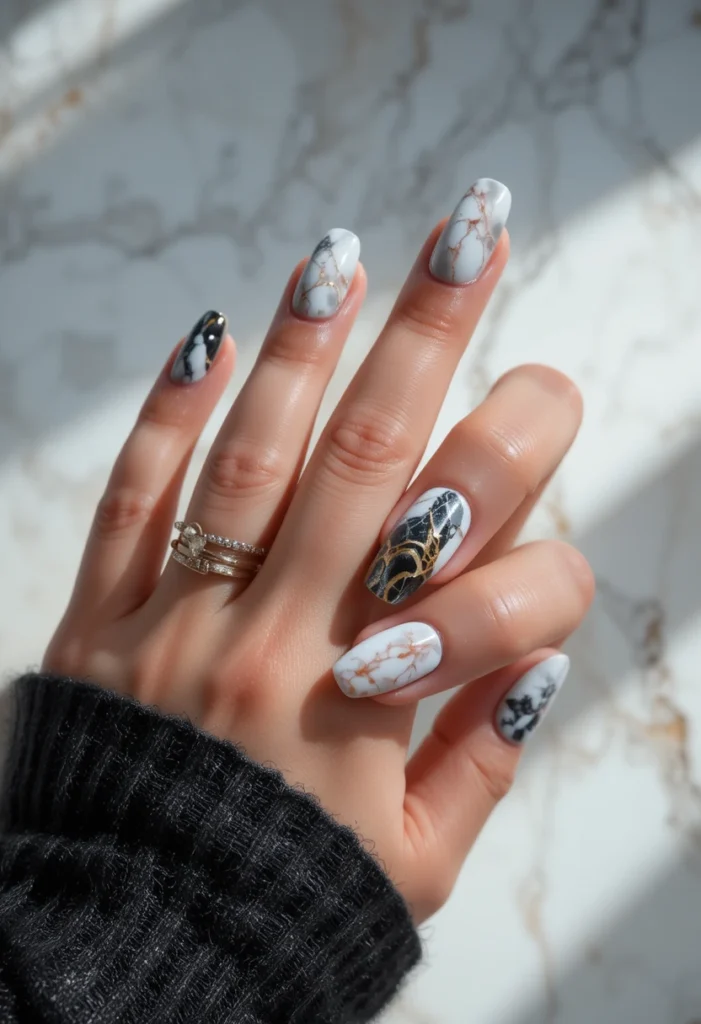
Nail stamping has become one of the easiest ways to achieve intricate, professional-looking nail art without needing years of freehand painting experience. By transferring pre-etched patterns from a metal plate onto the nail using a stamper, this method opens the door to detailed florals, geometric shapes, and delicate lace patterns that would otherwise take a steady hand and a lot of practice. For anyone just starting out, it offers a satisfying shortcut to salon-style results.
This guide breaks down more than fifteen ideas and concepts every beginner should understand before diving into this technique, from choosing the right tools to troubleshooting common stamping mishaps. Whether you’ve never touched a stamping plate before or tried once and felt discouraged, these insights will help build a solid foundation for consistent, clean results.
Understanding How Nail Stamping Works
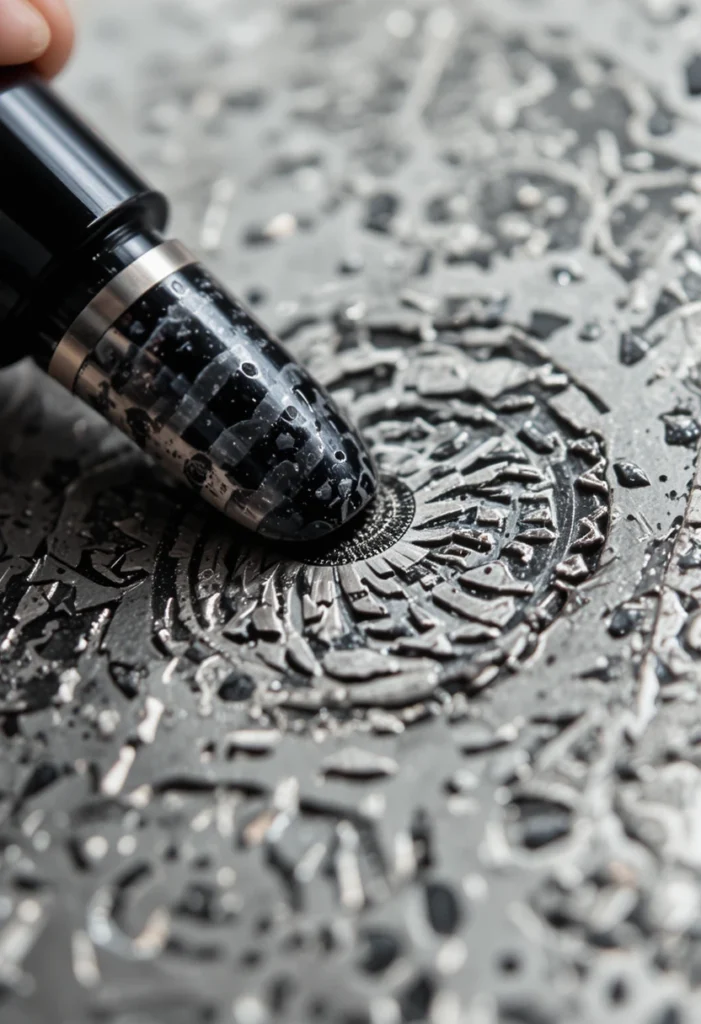
At its core, this technique relies on three main components: an etched metal plate, a firm scraper, and a stamper head, usually made of silicone. Polish is applied over the etched design, scraped away so only the pattern remains in the grooves, and then quickly transferred onto the nail using the stamper before the polish dries. Understanding this basic mechanism helps explain why timing and polish choice matter so much for beginners trying this for the first time.
Unlike freehand nail art, which relies entirely on brush control, this method depends more on precision in timing and pressure than artistic skill. This is part of why it has become so popular among people who want detailed designs without needing to master painting techniques. Once the underlying process clicks, most beginners find the actual stamping motion becomes intuitive fairly quickly, even if the first few attempts feel a bit clumsy.
Choosing The Right Stamping Polish
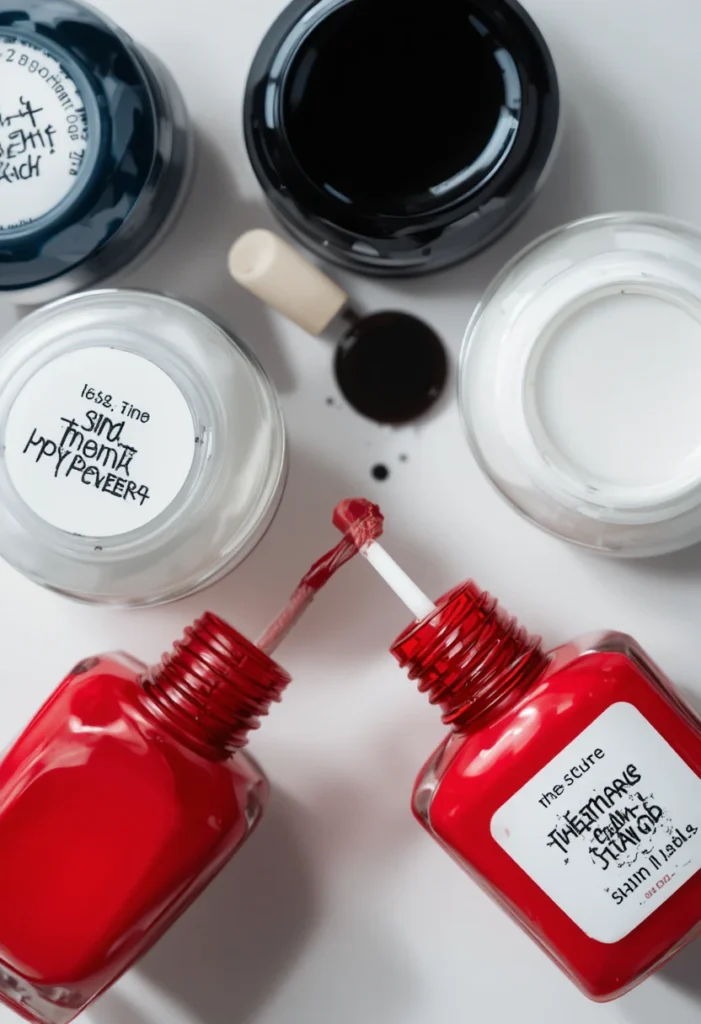
Not all nail polishes work well for this technique, since regular polish often dries too quickly or doesn’t have enough pigment density to transfer cleanly. Specially formulated stamping polish tends to be thicker and more opaque, allowing it to sit visibly in the etched grooves of the plate without sinking in or spreading unevenly. Beginners who try to skip this step often end up frustrated by patchy, incomplete transfers that don’t reflect the actual quality of the plate design.
Color selection also plays a role in how well a design shows up against the base polish underneath. High-contrast combinations, such as black stamping polish over a white or pastel base, tend to be the most forgiving for beginners since the pattern remains clearly visible even if the transfer isn’t perfectly even. As confidence builds, experimenting with more subtle, tonal combinations becomes easier to manage.
Selecting Beginner-Friendly Stamping Plates
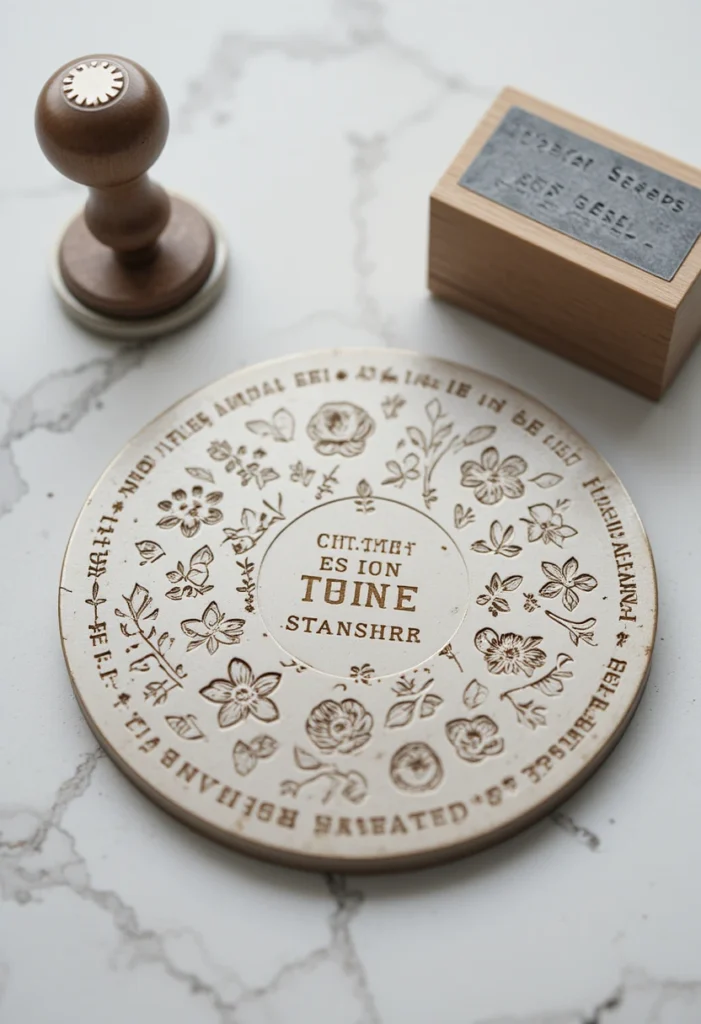
With thousands of plate designs available, choosing the right one to start with can feel overwhelming, but simpler, less intricate patterns tend to be far more forgiving for those new to the technique. Plates with bold outlines, larger motifs, or geometric shapes transfer more reliably than delicate lace or highly detailed floral patterns, which require more precision to avoid gaps or smudging. Starting with simpler designs helps build the muscle memory needed before attempting more complex patterns.
Quality also varies significantly between plates, with deeper, more precisely etched designs generally producing cleaner, more reliable transfers than shallow or poorly manufactured alternatives. Investing in a few well-reviewed plates from the start often saves beginners from the frustration of blaming their technique when the real issue lies with a low-quality plate that simply doesn’t hold polish well.
Picking The Right Scraper Tool
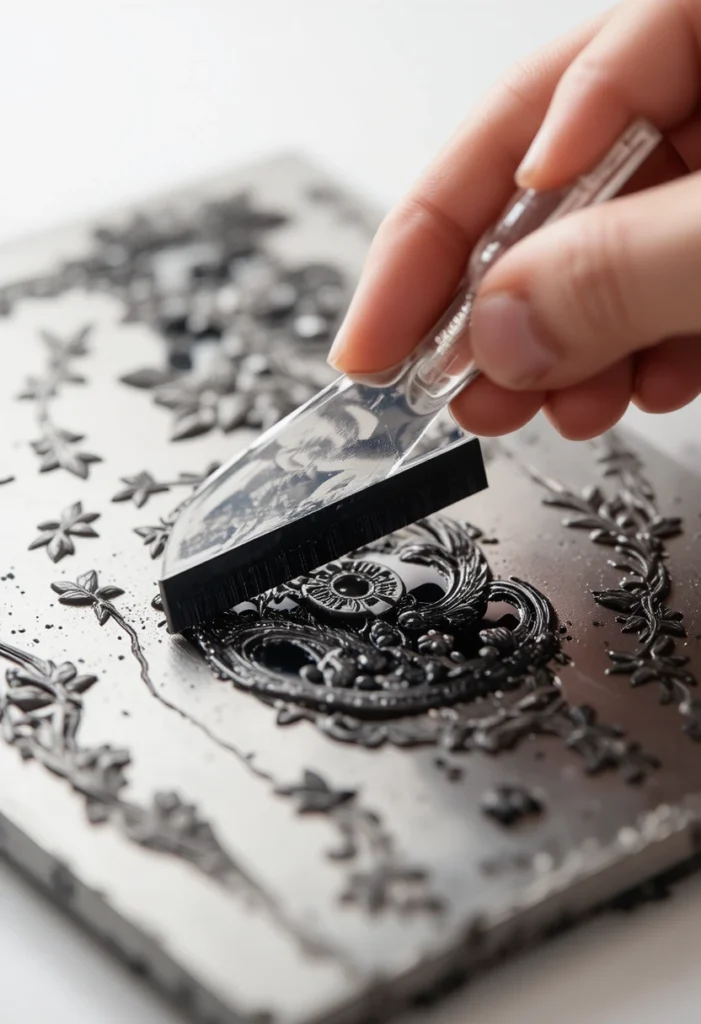
The scraper is one of the most underrated tools in this entire process, yet it directly determines how clean the final image will be. A firm, straight-edged scraper removes excess polish from the plate’s surface while leaving just enough behind in the etched grooves to create a crisp, well-defined pattern. Beginners often reach for makeshift alternatives like old gift cards, but these tend to bend or leave uneven pressure, resulting in incomplete or smudged designs.
The angle at which the scraper is dragged across the plate also affects the outcome, since dragging too slowly can cause the polish to dry unevenly before it’s fully removed. A single, confident, swift motion tends to produce far better results than multiple hesitant passes, which often disturb the polish sitting inside the grooves. Practicing this motion on a spare plate before attempting a full design can help beginners get a feel for the right pressure and speed.
Read also:16+ Butterfly Nail Art Designs: Flutter Into Whimsical, Eye-Catching Style
Understanding The Stamper Head Material
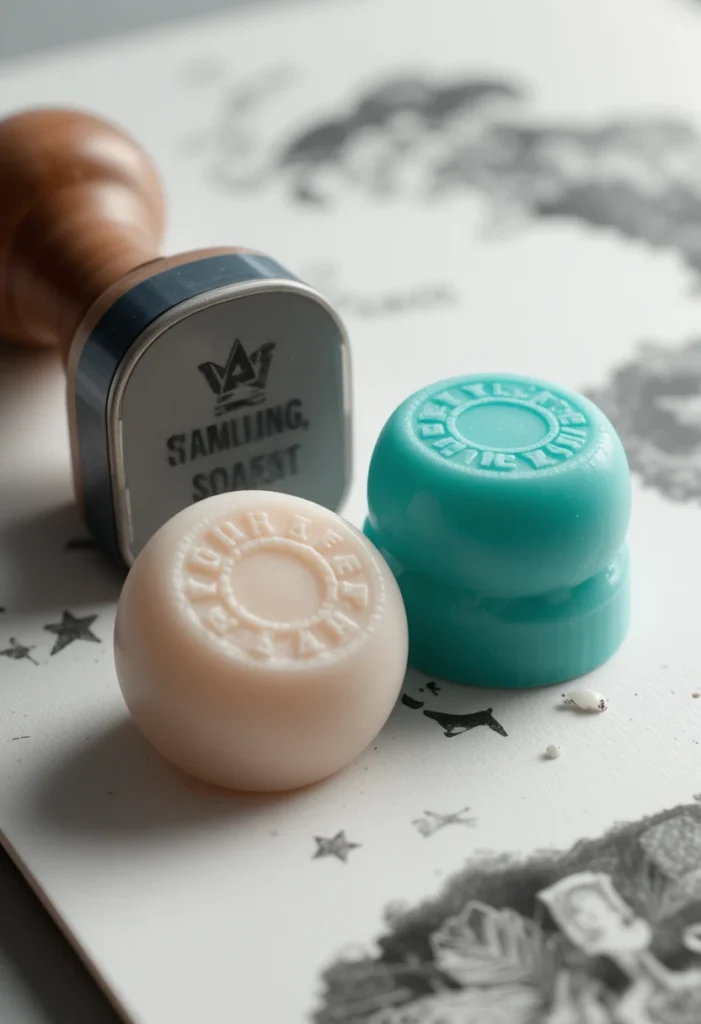
The stamper head, typically made from silicone, plays a surprisingly important role in how well a design transfers from plate to nail. Firmer silicone heads tend to pick up more detailed, crisp patterns, while softer, squishier heads are often easier to press onto the curved surface of the nail but may slightly distort finer details. Beginners often benefit from starting with a medium-firmness stamper, which balances ease of use with pattern clarity.
Over time, stamper heads can become slightly tacky or develop a film from repeated polish use, which can affect how well designs pick up and release. Cleaning the stamper regularly and replacing it once it becomes overly worn helps maintain consistent results, since even a high-quality plate and polish combination won’t transfer well onto a stamper that’s past its prime.
Practicing On A Practice Sheet First
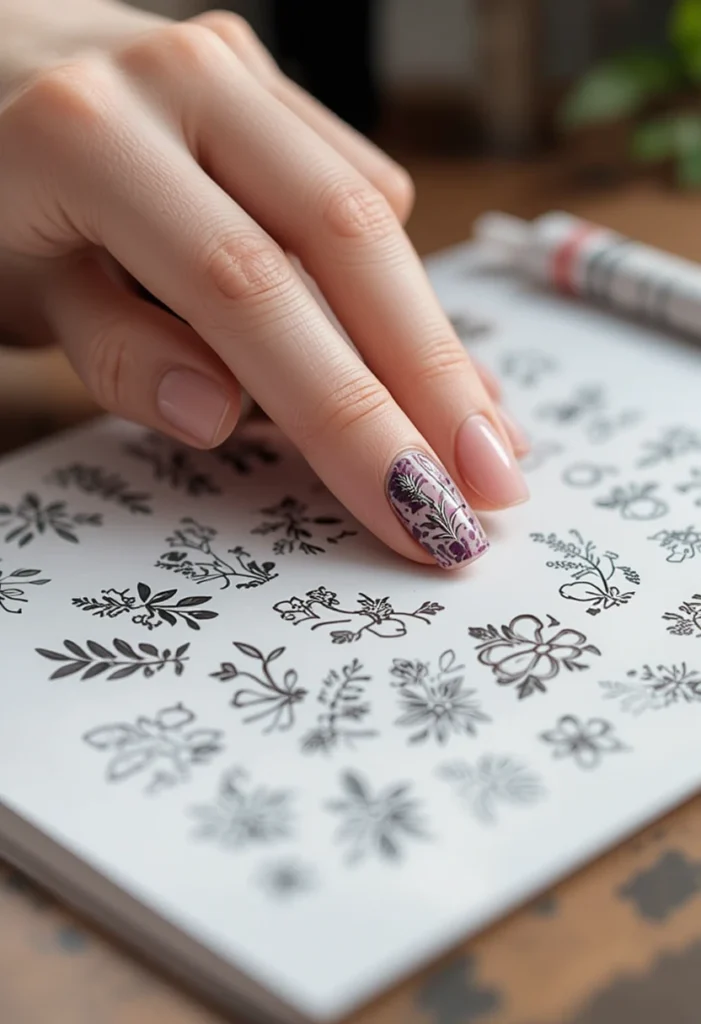
One of the most effective ways for beginners to build confidence is by practicing the pickup and transfer motion on a plastic practice sheet before committing to actual nails. This removes the pressure of ruining a finished manicure while still allowing new stampers to get a feel for timing, pressure, and the overall rhythm of the technique. Many beginners skip this step out of eagerness, only to find themselves redoing designs multiple times out of frustration.
Practice sheets also make it easier to experiment with different polish and plate combinations without the added complexity of working on a curved nail surface. Once the pickup and transfer process feels smooth and consistent on a flat surface, moving to an actual nail becomes significantly less intimidating, since the core mechanics remain the same.
Working Quickly Before Polish Dries
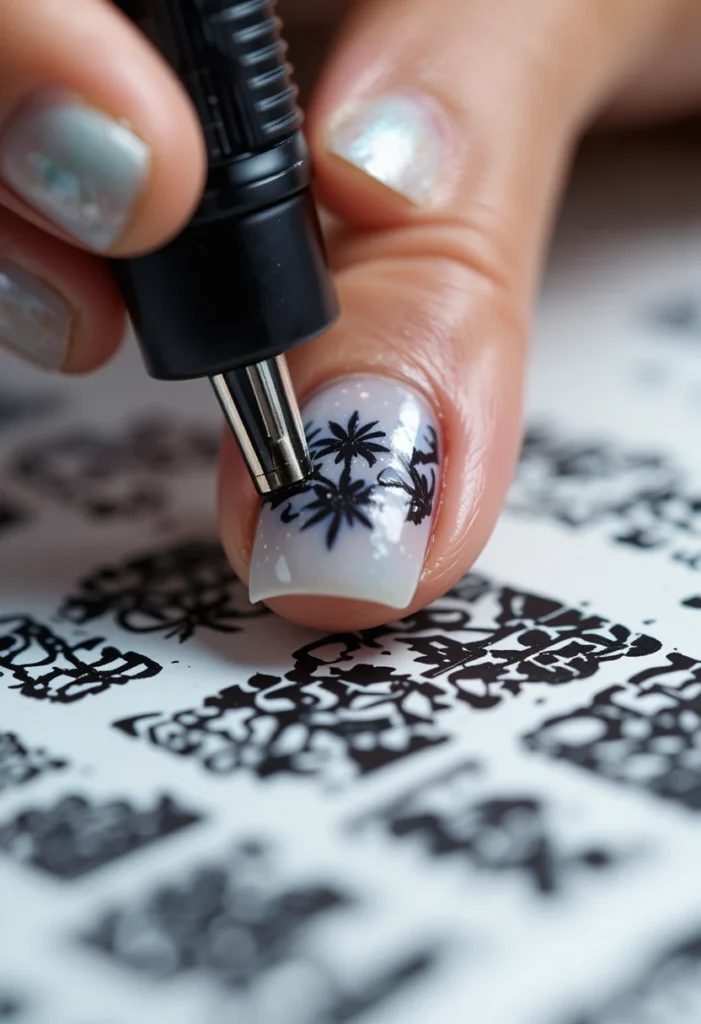
Timing is one of the trickiest aspects of this technique for beginners to master, since stamping polish begins drying the moment it’s applied to the plate. The entire process, from applying polish to scraping and transferring it onto the nail, needs to happen within just a few seconds to avoid a dull, incomplete transfer. Many beginners find their first few attempts fail simply because they moved too slowly through these initial steps.
Working in a slightly cooler room can help slow down the drying process just enough to make timing more manageable for those still building speed and confidence. As repetition increases, most people naturally develop a faster, more fluid rhythm between each step, eliminating much of the timing pressure that makes the early learning curve feel so challenging.
Applying The Design Onto The Nail Correctly
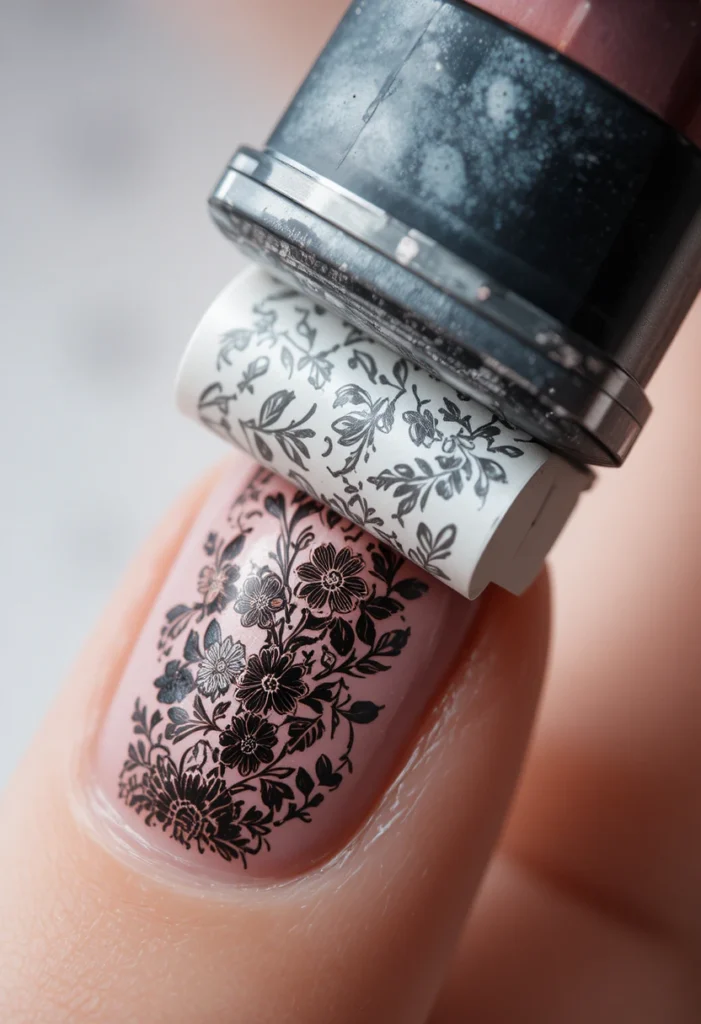
Once the pattern has been picked up by the stamper, the actual transfer onto the nail requires a rolling motion rather than a direct, flat press. Starting from one edge and rolling the stamper across the curved nail surface helps prevent air bubbles or gaps that can occur when the pattern doesn’t make full contact with the nail. This rolling technique takes some practice to master, especially on nails with a more pronounced curve.
Applying too much pressure during this step can also distort the design, stretching or smudging fine details that were perfectly crisp on the stamper itself. Beginners often find that a light, even pressure combined with a steady rolling motion produces the cleanest results, even if it takes a few attempts to find the right balance for their particular nail shape.
Sealing Designs With A Top Coat
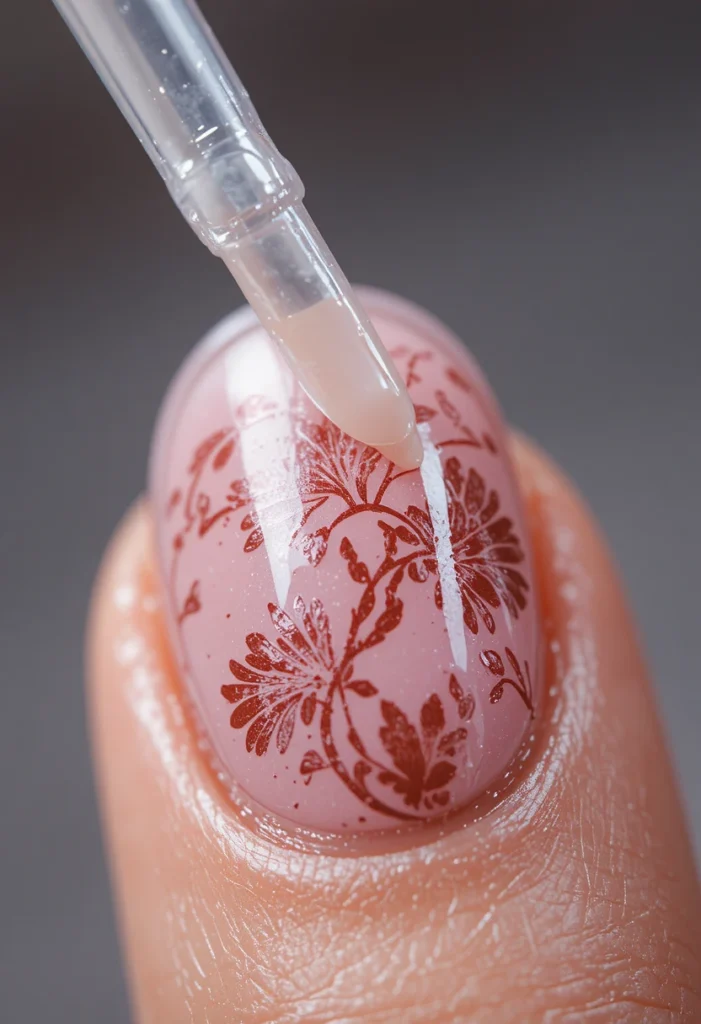
Once a stamped design has been successfully transferred, sealing it with a top coat is essential to protect the delicate pattern from smudging or lifting. Because stamped designs sit on the surface of the nail rather than being absorbed into it, they’re particularly vulnerable to damage if a top coat isn’t applied soon after the transfer. Waiting too long between stamping and sealing can also cause the design to dry unevenly, leading to a slightly textured or uneven finish.
A thin, even layer of top coat tends to work best for preserving fine details, since a thick or uneven application can smear or blur the pattern before it has a chance to cure properly. This step is especially important for gel-based systems, where curing time under a lamp locks in both the design and the protective layer simultaneously.
Fixing Incomplete Or Patchy Transfers
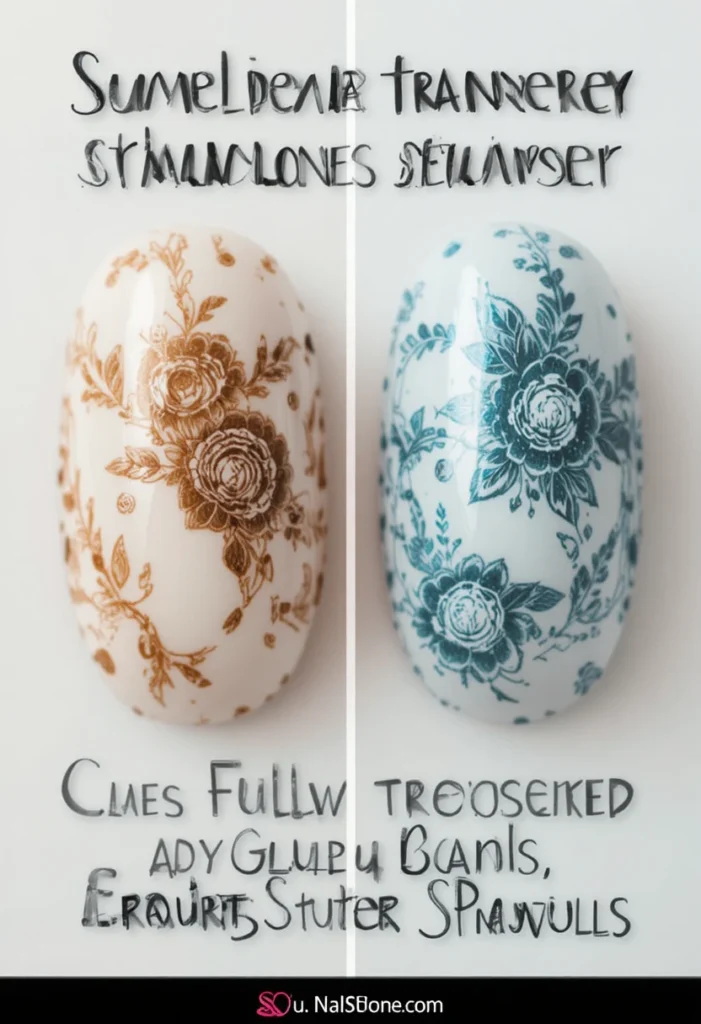
Even with careful preparation, beginners often run into patchy or incomplete transfers, usually caused by polish drying too quickly or uneven pressure during scraping. Rather than starting completely over, a small corrective touch using a fine detail brush can often fill in gaps without disturbing the rest of the design. This spot-fixing approach saves both time and product, especially for beginners still building consistency.
Understanding that patchy transfers are usually a timing or pressure issue, rather than a reflection of overall skill, helps take some of the pressure off achieving perfection immediately. Most beginners notice significant improvement after just a handful of attempts, as the timing and motion involved become more instinctive with repetition.
Cleaning And Maintaining Stamping Plates
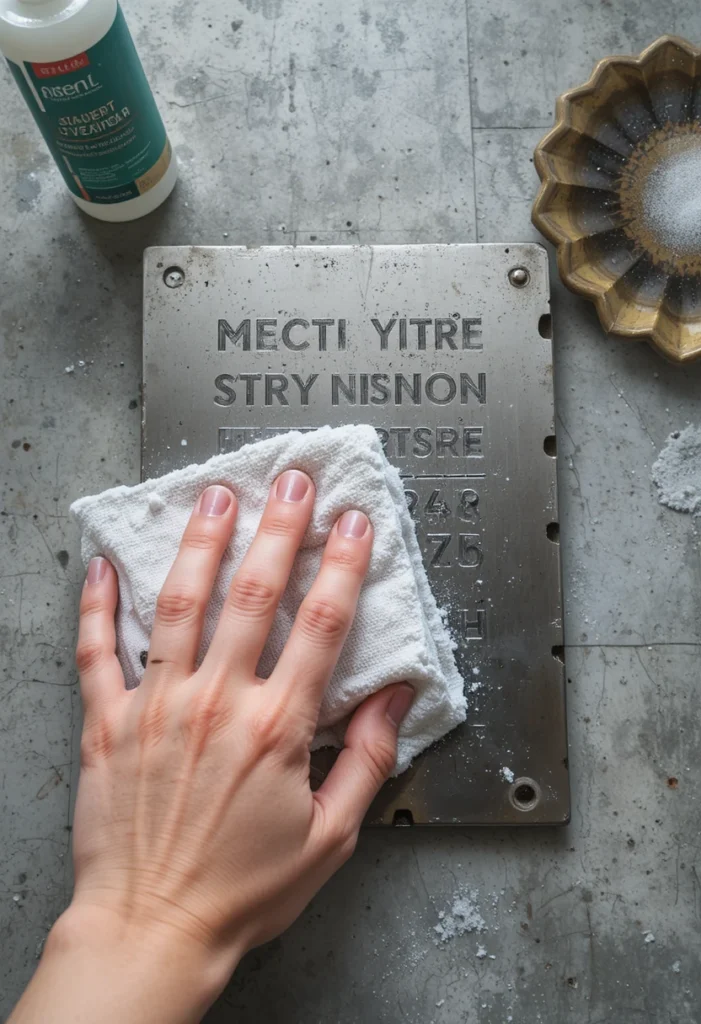
Proper plate maintenance directly affects how well designs transfer over time, since leftover polish residue in the etched grooves can prevent new polish from sitting evenly. Cleaning plates immediately after each use with a gentle nail polish remover and a soft cloth helps preserve the fine detail of each pattern, preventing buildup that could distort future designs. Skipping this step often leads to gradually worsening transfer quality, even with high-quality plates.
Storing plates properly also plays a role in their longevity, since scratches or dust accumulation can interfere with how cleanly polish sits within the etched design. Keeping plates in a protective case or sleeve, rather than loose in a drawer, helps maintain the crisp detail that makes each pattern transfer clearly and consistently over repeated use.
Combining Multiple Stamped Patterns
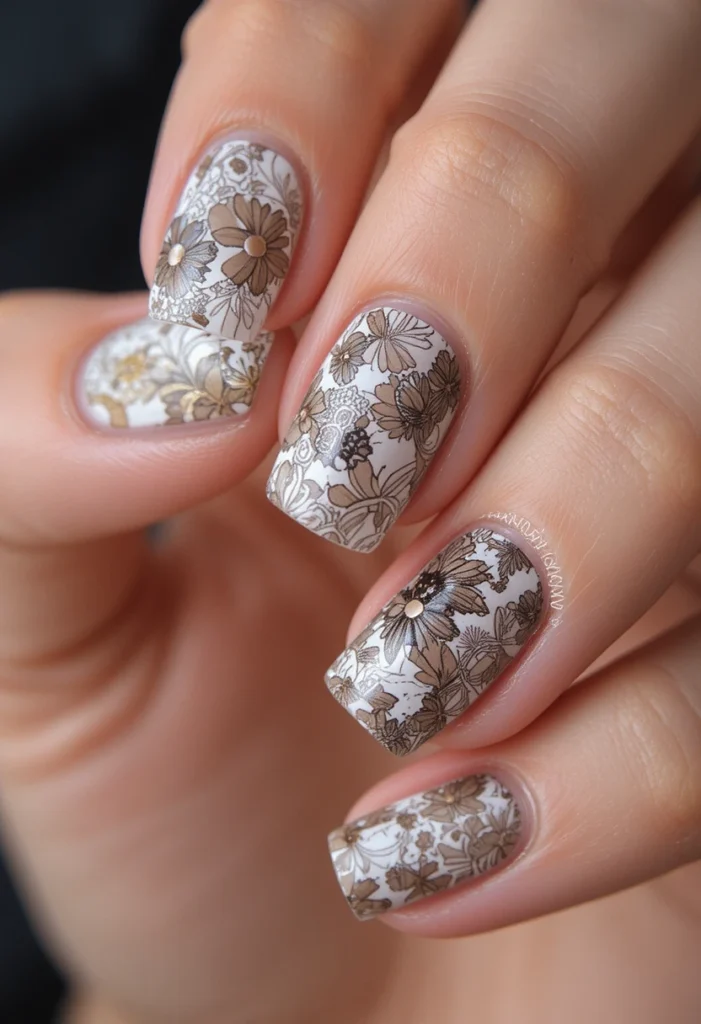
Once the basic technique feels comfortable, layering multiple stamped patterns on a single nail can create more intricate, custom designs without requiring freehand painting skills. This might involve stamping a base pattern first, allowing it to dry, and then adding a second complementary design in a different color or placement. This layering approach opens up significantly more creative possibilities beyond what a single plate design can offer alone.
Successfully combining patterns requires a bit of planning beforehand, since overlapping too many detailed designs can quickly make a nail look cluttered rather than intentional. Beginners often find the most success by pairing one detailed pattern with a simpler, more minimal design, allowing both elements to stand out without competing for visual attention.
Using Stamping For Full Nail Designs Versus Accents
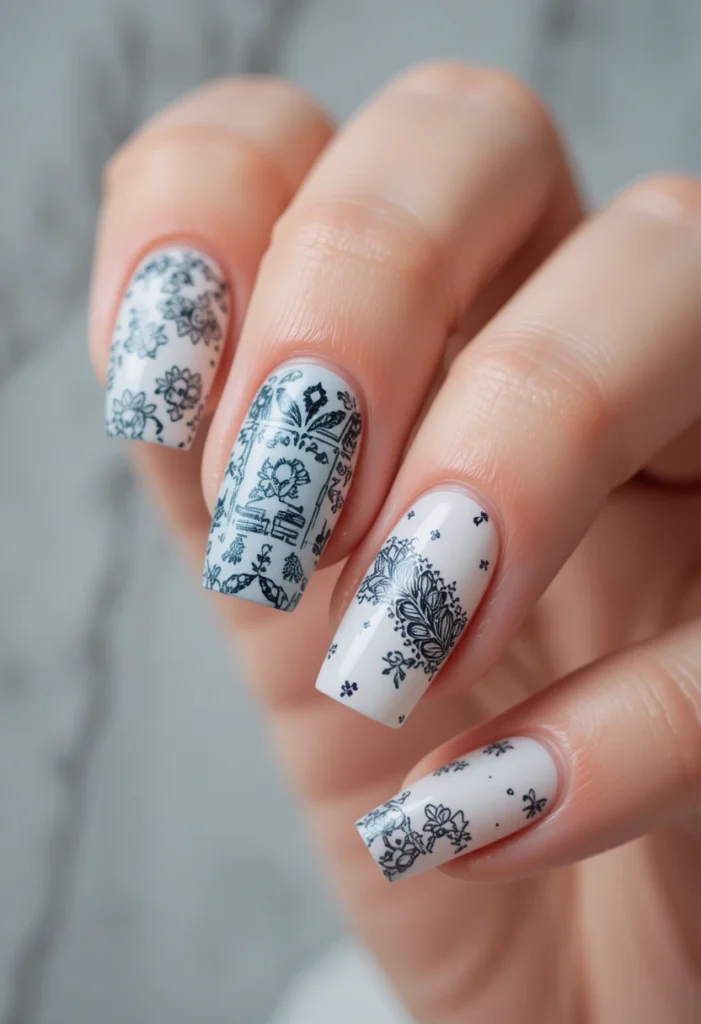
Stamped patterns can be used to cover an entire nail or applied more selectively as a single accent detail, and choosing between these approaches significantly changes the overall look of a manicure. Full coverage designs tend to make a bolder statement, often becoming the focal point of the entire look, while accent placement allows the pattern to complement a simpler base without overwhelming the rest of the design. Beginners often start with accent placement, since it requires transferring a smaller, more manageable image.
As comfort with the technique grows, attempting full nail coverage becomes a natural next step, often requiring slightly larger stampers or multiple smaller stamps combined to cover the entire nail surface. Understanding the visual difference between these two approaches helps beginners plan their designs more intentionally, rather than defaulting to one method without considering how it will affect the overall manicure.
Experimenting With Color Combinations
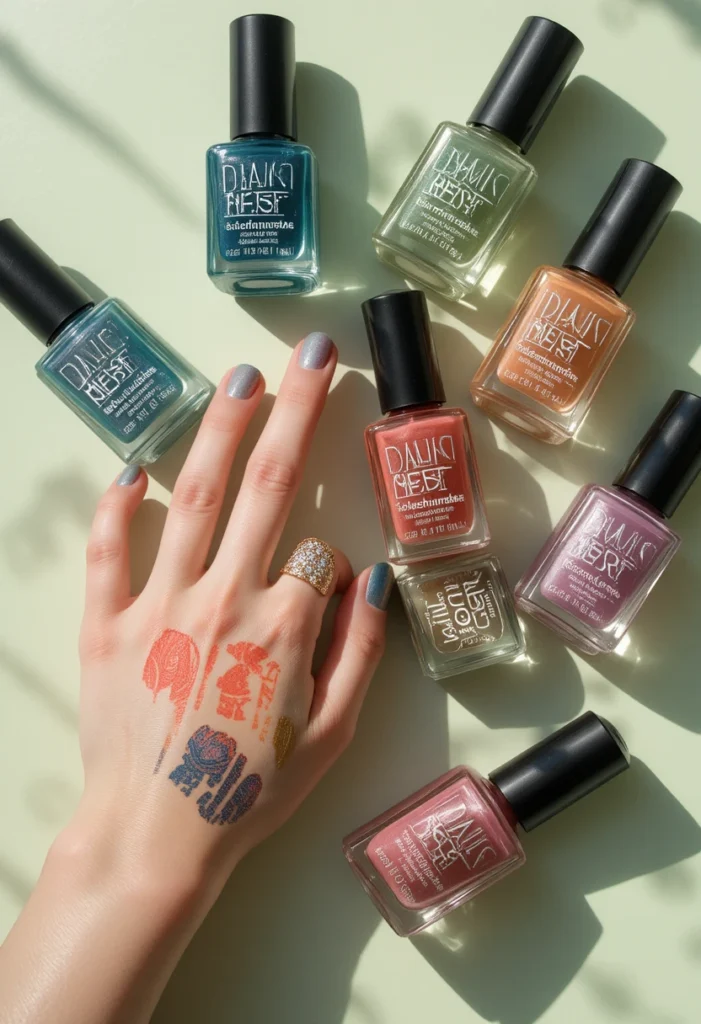
While black and white combinations remain the easiest starting point, experimenting with color pairings opens up significantly more creative possibilities once the basic technique feels comfortable. Complementary color pairings, such as a soft lavender base with a deeper purple stamped pattern, create a tonal look that feels sophisticated without relying on high contrast. This kind of experimentation often becomes the most enjoyable part of the process once the technical basics are no longer a source of stress.
Seasonal color choices also offer an easy way to keep designs feeling fresh, with warmer tones like rust and gold working well for autumn-inspired patterns, while cooler pastels suit spring and summer designs. As beginners become more comfortable with timing and technique, shifting focus toward creative color choices allows the artistic side of this method to truly shine.
Troubleshooting Common Beginner Mistakes
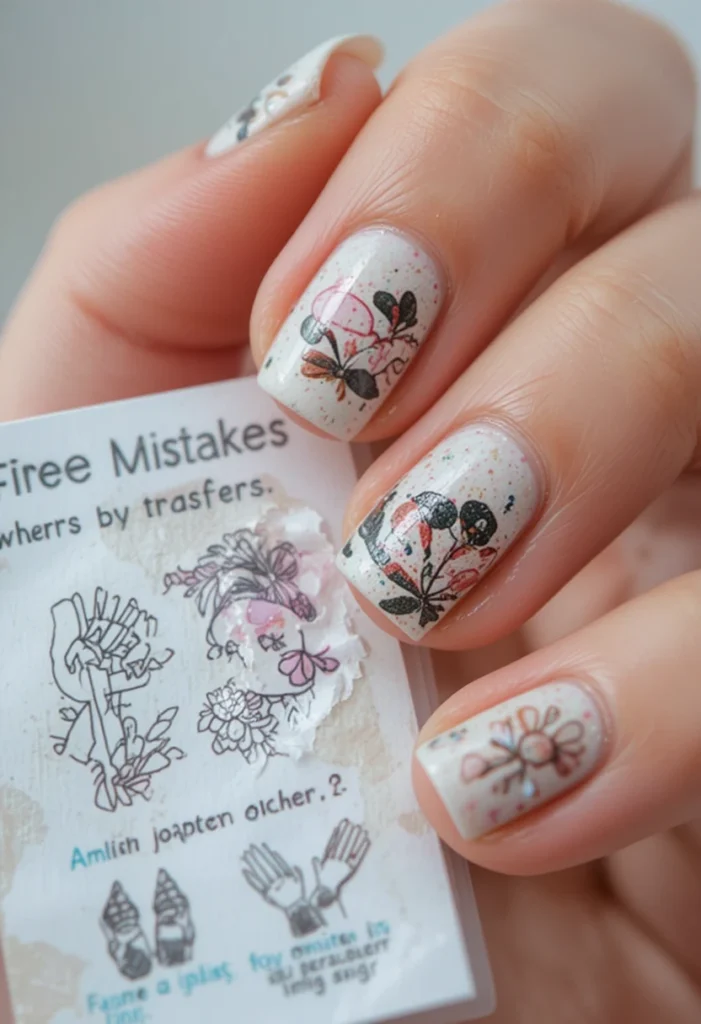
Many beginners run into a handful of recurring issues early on, such as polish drying out mid-transfer, plates not being pressed down evenly during pickup, or the stamper rolling unevenly across the nail’s curve. These problems often compound each other, since a rushed pickup usually leads to a rushed transfer, resulting in a design that looks faded or fragmented rather than crisp. Recognizing these patterns early helps isolate exactly which step in the process needs adjustment, rather than assuming the entire technique simply isn’t working.
Another common mistake involves using too much or too little pressure when scraping the plate, which can either leave excess polish outside the etched grooves or remove too much from within them. Slowing down during the early attempts, rather than rushing toward a finished look, tends to reveal exactly where technique needs refining. Most beginners find that after correcting just two or three of these small habits, their overall consistency improves dramatically, turning this method from a frustrating guessing game into a reliable, repeatable skill.
Conclusion
Nail stamping rewards patience far more than natural artistic talent, and most of the early frustration beginners feel tends to fade quickly once timing, pressure, and tool quality fall into place. With a bit of practice and the right combination of plates, polish, and stampers, salon-quality patterns become genuinely achievable at home. Start simple, build consistency, and let confidence grow one design at a time.
Learn nail stamping with this beginner-friendly tutorial covering plates, polish, stampers, and troubleshooting tips for clean, salon-quality nail designs at home.

Mehboob Ahmad is the founder and writer behind BeautyVibeWorld. With a genuine passion for skincare, makeup, and everyday beauty routines, Mehboob started this platform to share simple, practical, and research-backed advice that real people can actually use without the confusion of conflicting trends and overhyped products.
Every article on BeautyVibeWorld is written with care, backed by research, and regularly updated to stay accurate and relevant. Mehboob believes good beauty advice should be honest, easy to follow, and free of unnecessary complexity.
Outside of writing, Mehboob enjoys exploring new beauty trends and staying up to date with the latest in skincare and haircare research to keep bringing fresh, reliable content to BeautyVibeWorld readers.