
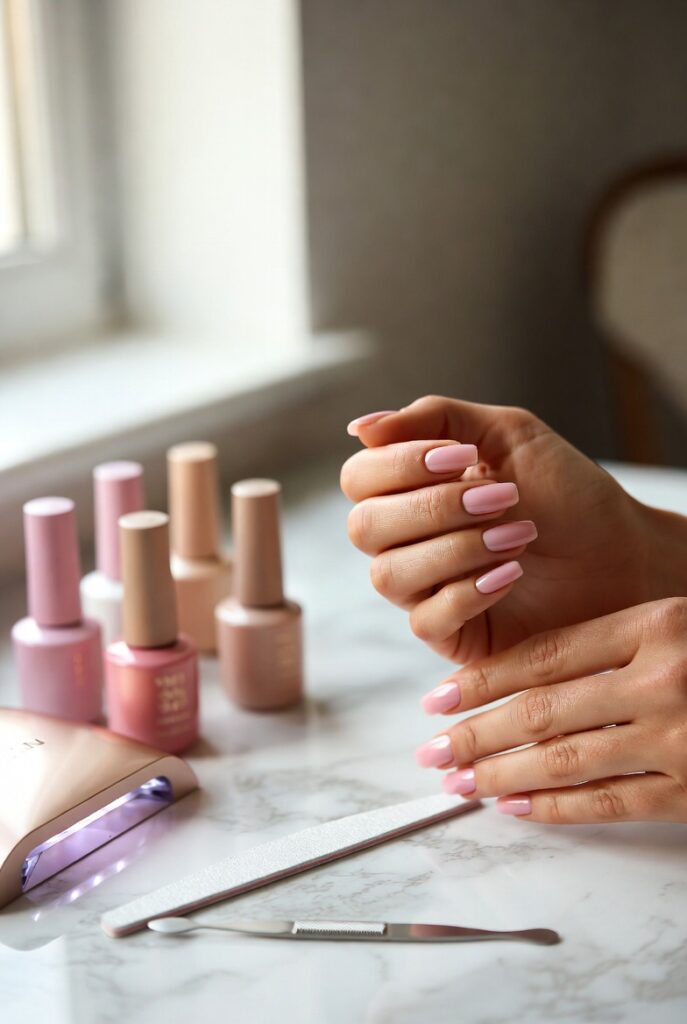
Gel Nails Learning to master a gel manicure in your own space can feel intimidating at first, but it is far more approachable than most people expect. Many people now look for ways to save money while still enjoying long-lasting, chip-resistant color on their nails, and doing it yourself has become an increasingly realistic option. With the right approach and a bit of patience, achieving a smooth, glossy, salon-worthy finish is entirely possible without ever leaving the house. This article walks through a variety of foundational ideas that help beginners feel confident tackling their first at-home gel manicure.
Understanding the Basic Gel Nail Kit Essentials
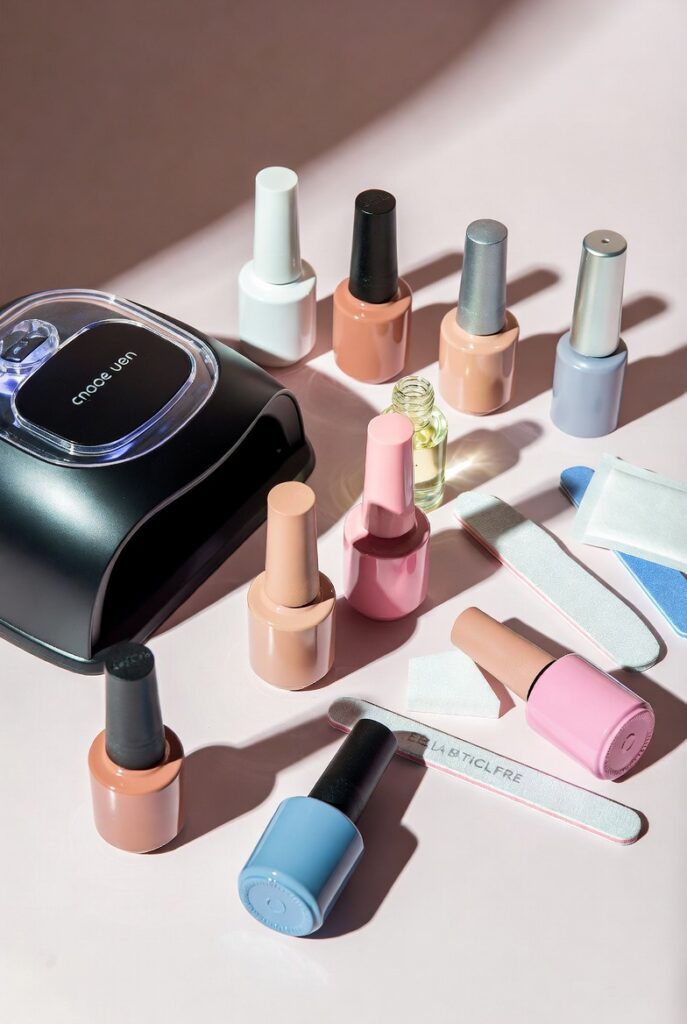
Getting started begins with understanding the core products involved, since gel manicures rely on a slightly different process than regular polish. A basic kit typically includes a base coat, colored gel polish, a top coat, and a UV or LED lamp used to cure each layer between applications. Unlike traditional polish that air-dries, gel products require this curing step to harden properly, which is what gives the finish its signature durability and shine.
Beyond the core products, having a few additional tools on hand makes the process considerably smoother, including nail files, cuticle pushers, and lint-free wipes for cleaning the nail surface between steps. Many starter kits now come bundled together, offering an affordable way to gather everything needed without purchasing each item separately. Understanding how these pieces work together lays the groundwork for a smoother, more confident first attempt.
Preparing Your Natural Nails for Long-Lasting Wear
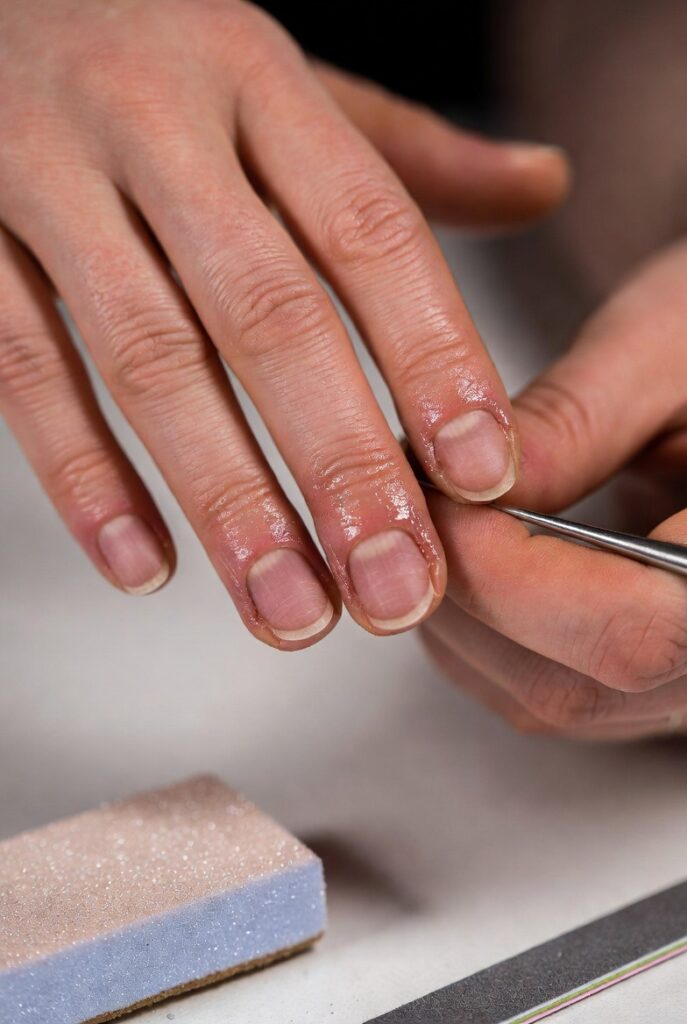
Proper nail preparation plays a significant role in how well the finished manicure holds up over time, since any oil or moisture left on the surface can prevent the gel from adhering correctly. This step typically involves gently pushing back cuticles, lightly buffing the nail to remove shine, and wiping down with alcohol to eliminate any residue. This stage, while sometimes overlooked, often determines whether the finished result lasts one week or three.
Taking time here also helps prevent common issues like lifting or peeling, which tend to happen when polish is applied over nails that still carry natural oils or moisture. Many first-timers find that investing a few extra minutes in this step makes a noticeable difference in both application smoothness and overall wear time. This foundational care ultimately sets the stage for a longer-lasting, more professional-looking outcome.
Choosing the Right UV or LED Lamp for Curing
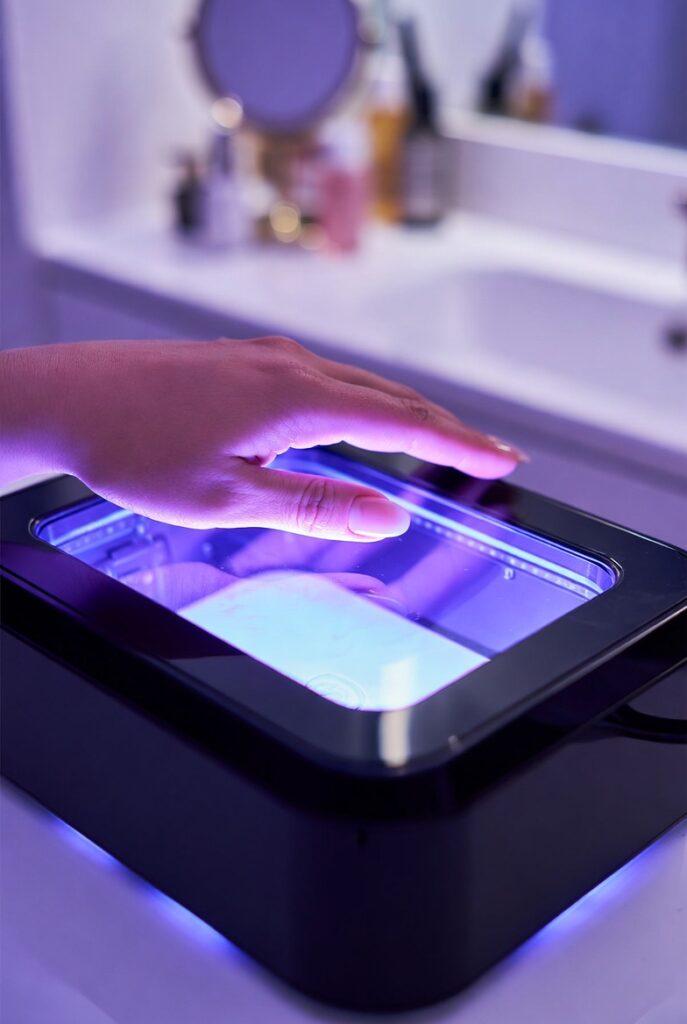
Selecting a suitable curing lamp is one of the most important decisions for anyone starting this process, since this tool directly affects how well each layer sets and hardens. LED lamps have become the more popular choice because they tend to cure polish faster than traditional UV lamps, often requiring only thirty to sixty seconds per layer. This efficiency makes the overall routine quicker and more convenient for those fitting a manicure into a busy schedule.
Lamp wattage also plays a role in curing quality, since lower-wattage lamps may require longer curing times, increasing the risk of a tacky or improperly set finish. Many beginners find it helpful to check that their chosen polish brand is compatible with their specific lamp type, since some formulas are designed specifically for either UV or LED curing. Investing in a reliable, appropriately sized lamp early on helps avoid frustration down the line.
Applying Thin, Even Layers for a Smooth Finish
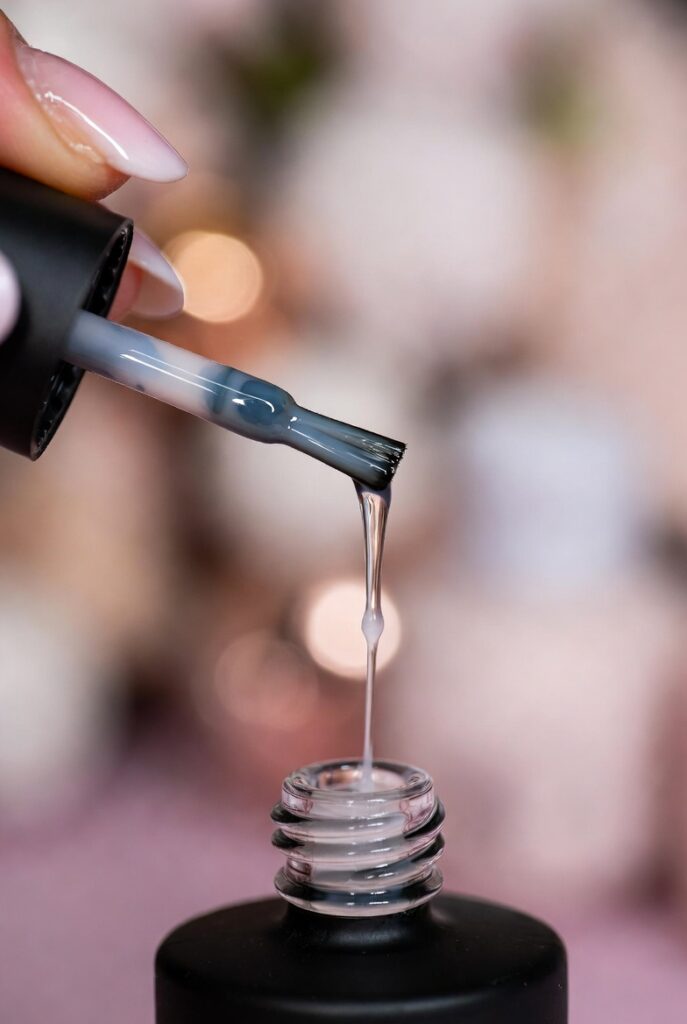
One of the most common mistakes involves applying polish too thickly, which can lead to uneven curing, bubbling, or a finish that never fully hardens. Building color gradually through thin, even coats allows each layer to cure properly under the lamp, resulting in a smoother, more professional-looking outcome overall. This patience-based approach tends to feel counterintuitive at first, since thin layers may look sheer before curing, but they typically build into full opacity after two or three coats.
Working in small, controlled strokes rather than thick swipes also helps prevent polish from pooling near the cuticle or sidewalls, which can create an uneven appearance once cured. Many people find that practicing this technique on just one or two nails before committing to a full set helps build muscle memory and confidence. This careful, gradual approach ultimately makes the difference between a lumpy finish and one that closely resembles professional salon work.
Mastering the Removal Process Without Nail Damage
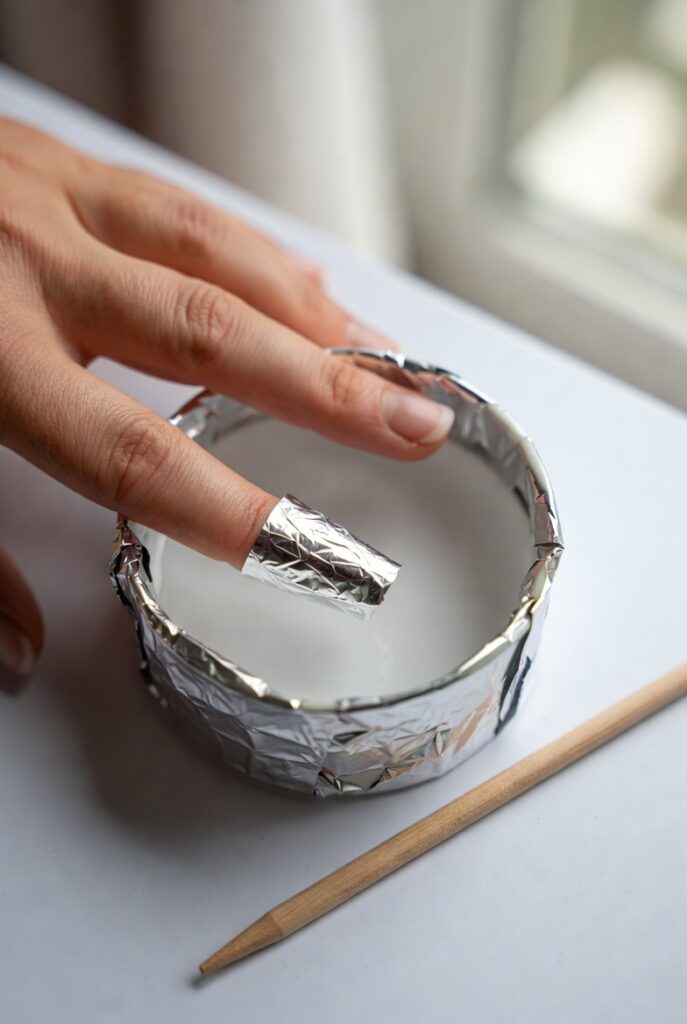
Learning proper removal technique is just as important as application when it comes to maintaining healthy nails. Unlike regular polish, gel requires soaking in acetone to break down the product before it can be gently removed, typically involving cotton pads wrapped in foil around each nail. Rushing this process or attempting to peel the polish off forcibly often damages the natural nail bed, leading to thinning or weakening.
Allowing adequate soaking time, usually around ten to fifteen minutes, ensures the product has softened enough to be gently pushed off with a cuticle stick rather than scraped or forced. Many people find that wrapping nails individually in foil helps retain heat and moisture, speeding up the breakdown process compared to simply soaking fingertips in a bowl. This patient approach to removal helps preserve nail health over time.
Selecting Beginner-Friendly Gel Polish Formulas
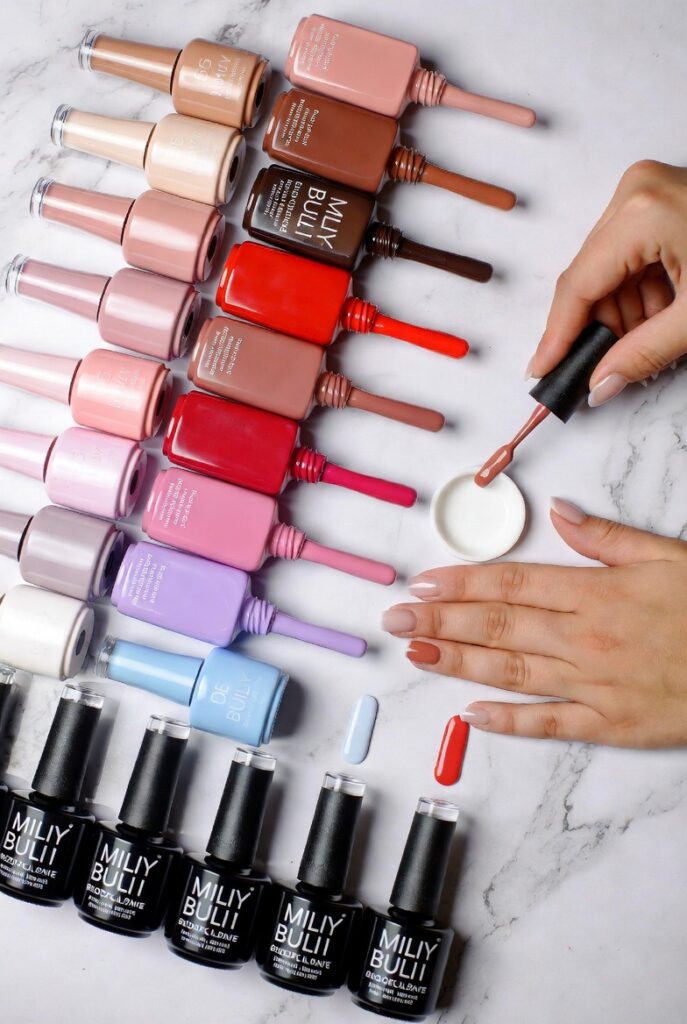
Not all formulas are created equal, and choosing one designed with new users in mind can significantly ease the learning curve. Self-leveling formulas, which naturally smooth themselves out after application, tend to be far more forgiving for those still developing brush control compared to thicker, less fluid options. This quality helps minimize visible brush strokes, giving even a slightly imperfect application a smoother finished appearance.
Many accessible brands also offer all-in-one systems that combine base coat, color, and top coat properties into fewer steps, simplifying the overall process. Reading reviews or seeking recommendations geared toward first-time users can help narrow down options within an overwhelming market. Starting with a more forgiving formula allows confidence and skill to build before experimenting with more advanced products.
Avoiding Common Application Mistakes
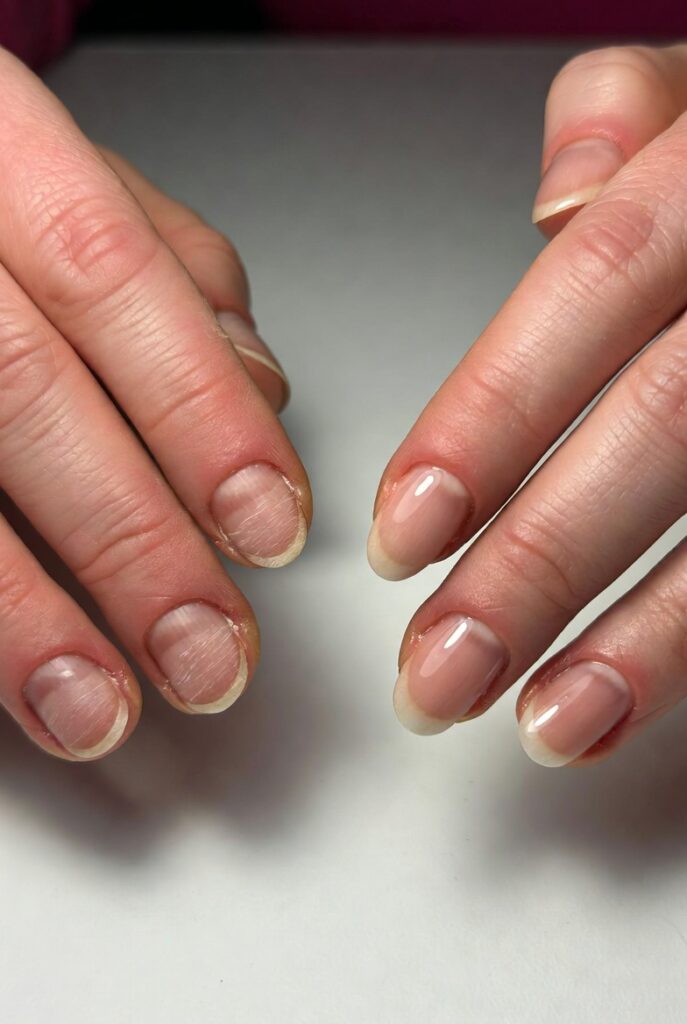
Certain mistakes tend to appear repeatedly among newcomers, and recognizing them early helps prevent frustration. Applying polish too close to the cuticle or sidewalls often leads to lifting, since the product cannot properly bond to skin the way it does to the nail plate itself. Leaving a small, consistent margin around the edges helps the gel adhere more securely and reduces the likelihood of premature peeling.
Another frequent issue involves not fully curing each layer before moving on, which can result in a tacky, unfinished feeling that chips or smudges easily. Double-checking that each layer appears fully set before applying the next one helps avoid this problem, even if it means adding a few extra seconds of curing time. Recognizing these pitfalls early allows for better troubleshooting with each subsequent attempt.
Extending Wear Time with Proper Aftercare
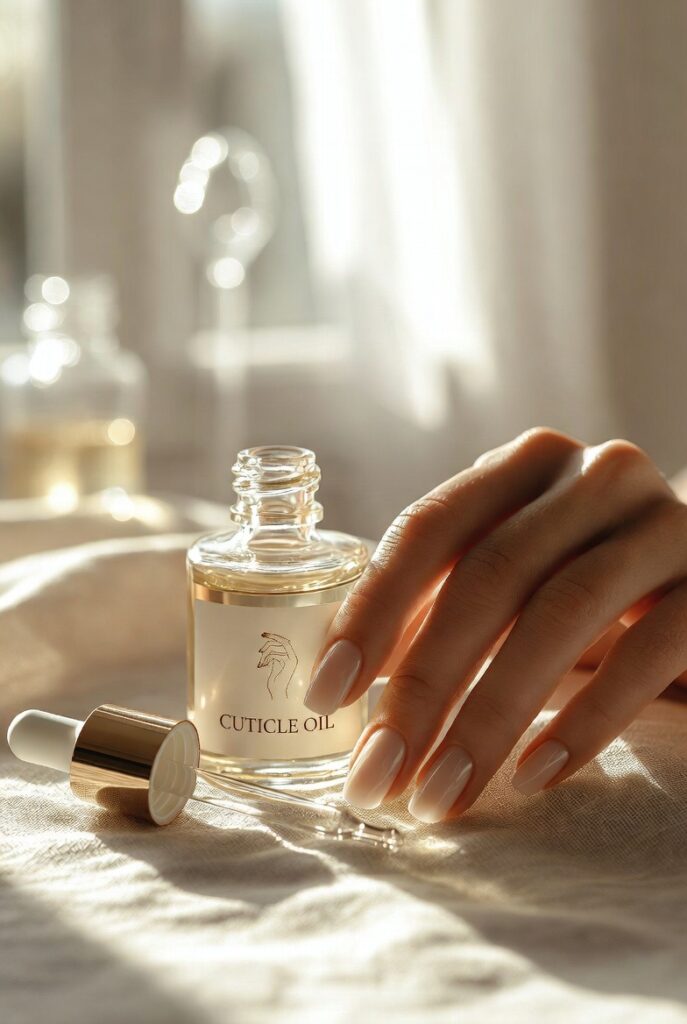
Once the manicure is complete, certain habits can significantly extend how long the polish stays chip-free and glossy. Applying cuticle oil regularly helps keep the surrounding skin hydrated, which in turn helps prevent the edges from lifting prematurely. Avoiding harsh chemicals, excessive water exposure, or activities that put direct pressure on the nail tips also helps preserve the finish for longer.
Wearing gloves during activities like washing dishes or cleaning helps protect the surface from unnecessary wear, since prolonged water and chemical exposure can weaken the polish over time. Many people find that manicures done this way last anywhere from two to three weeks with proper care, comparable to professional results when application and aftercare are both handled correctly. This attention to ongoing maintenance ultimately maximizes the value of the entire process.
Practicing Nail Shape and Filing Techniques
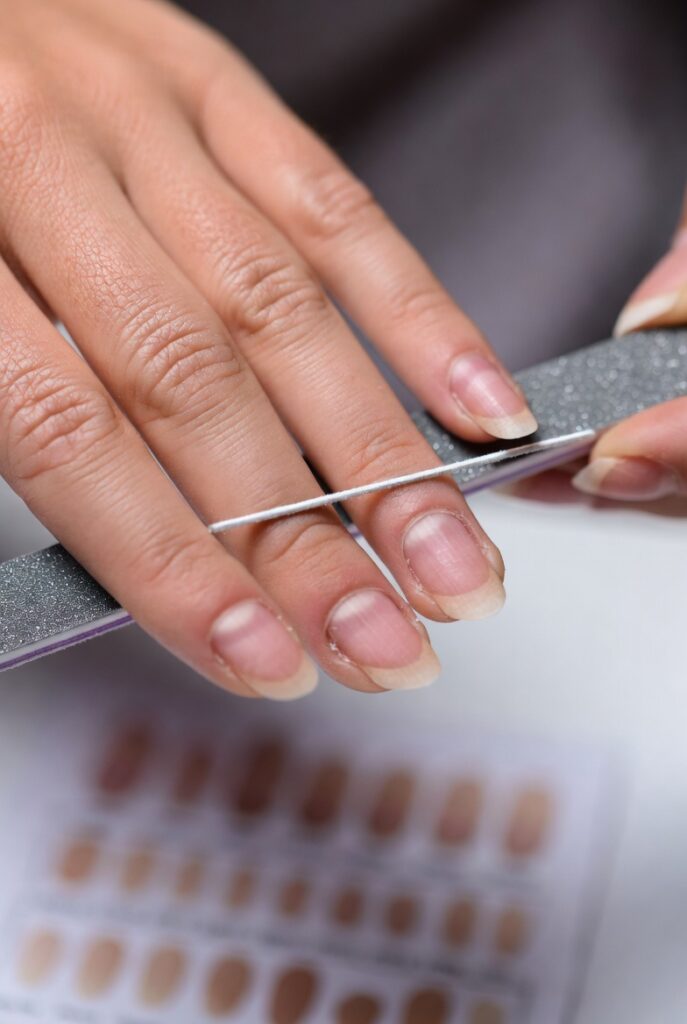
Achieving a clean, uniform nail shape before applying color plays a bigger role in the final result than many beginners initially realize. Whether preferring square, round, oval, or almond shapes, filing all ten nails to match consistently creates a more polished appearance once color is applied. Uneven shapes tend to draw attention to imperfections in application, while consistent shaping helps the entire set look more intentional.
Using a proper nail file rather than rougher, coarse-grit tools helps prevent unnecessary damage to the nail edges, especially for those still building confidence in their technique. Filing in one consistent direction, rather than a rough back-and-forth motion, also helps prevent splitting or weakening the tip over time. Taking this extra time before ever opening a polish bottle helps set a stronger foundation for the whole process.
Building Confidence Through Simple Color Choices
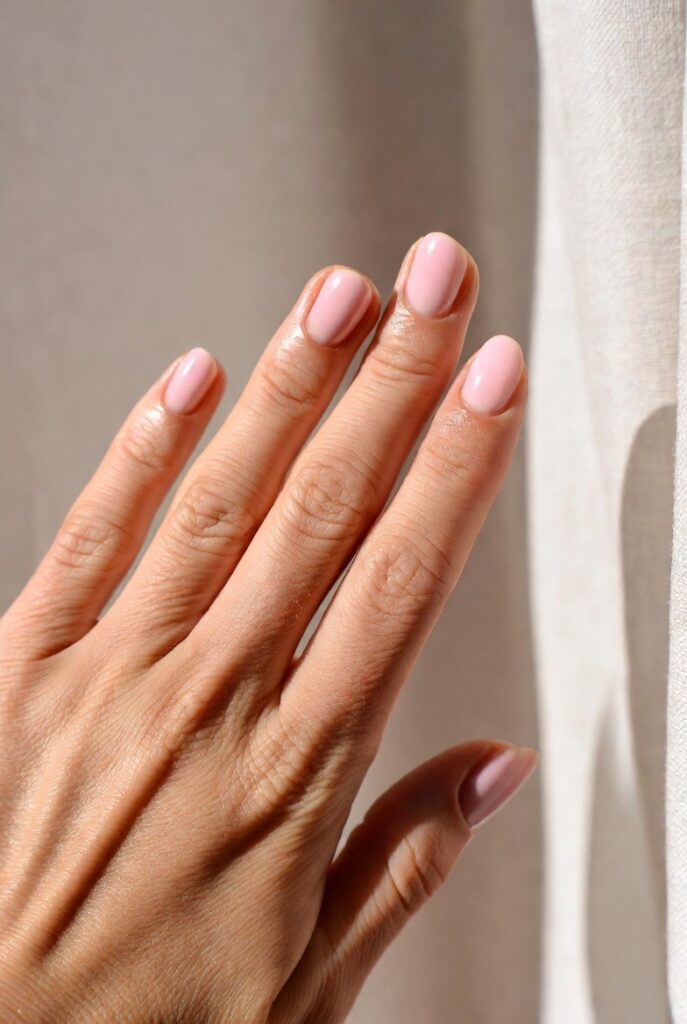
Starting with simple, solid color applications rather than intricate designs allows focus to remain entirely on mastering technique before adding complexity. Neutral shades like soft pink, nude, or classic red tend to be more forgiving of minor imperfections compared to lighter pastels or high-shine metallics, which can highlight uneven layers more visibly. This approach allows genuine confidence to build before experimenting with more advanced techniques.
Once foundational skills feel comfortable, gradually introducing simple accent designs, like a single glitter nail or subtle French tip, offers a natural next step without overwhelming the process. Many people find that giving themselves permission to start simple, rather than attempting elaborate nail art right away, leads to far more satisfying results overall. This gradual progression ultimately makes learning this skill feel far more enjoyable and far less discouraging.
Conclusion
Mastering this process takes patience, but each attempt brings noticeably better results as familiarity with the tools grows. From selecting the right lamp and formula to perfecting thin, even layers and proper removal, every step covered here builds toward a manicure that looks and lasts like professional salon work. With consistent practice, what once felt like an intimidating skill quickly becomes a rewarding, cost-effective part of any regular beauty routine.
Learn gel nails at home beginner techniques, from choosing the right lamp to proper application and removal, for a salon-quality manicure you can master yourself.

Mehboob Ahmad is the founder and writer behind BeautyVibeWorld. With a genuine passion for skincare, makeup, and everyday beauty routines, Mehboob started this platform to share simple, practical, and research-backed advice that real people can actually use without the confusion of conflicting trends and overhyped products.
Every article on BeautyVibeWorld is written with care, backed by research, and regularly updated to stay accurate and relevant. Mehboob believes good beauty advice should be honest, easy to follow, and free of unnecessary complexity.
Outside of writing, Mehboob enjoys exploring new beauty trends and staying up to date with the latest in skincare and haircare research to keep bringing fresh, reliable content to BeautyVibeWorld readers.