
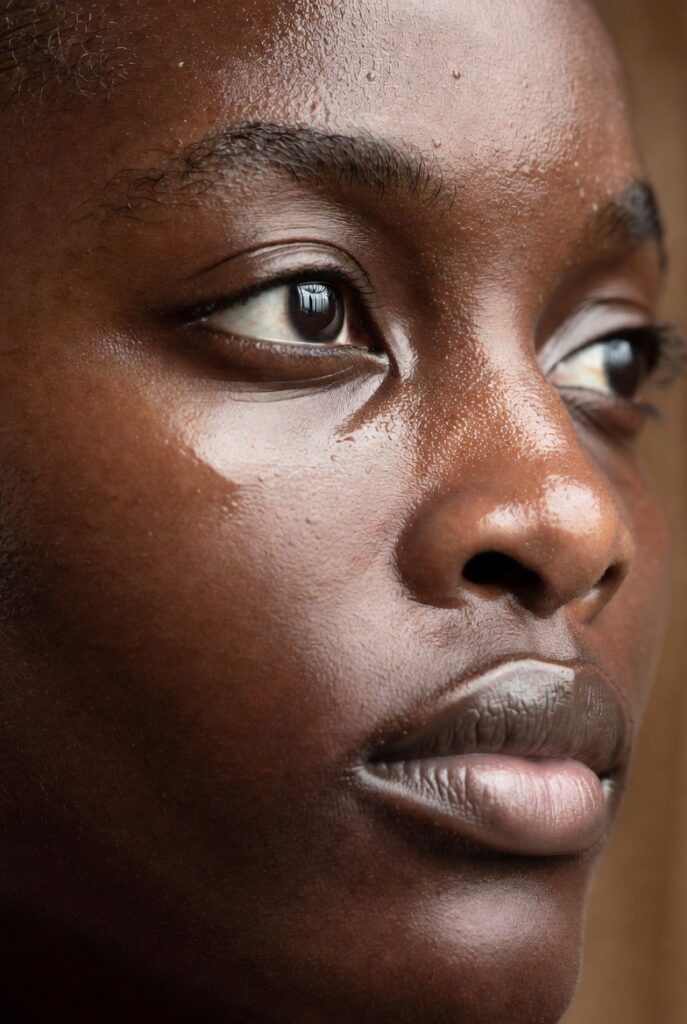
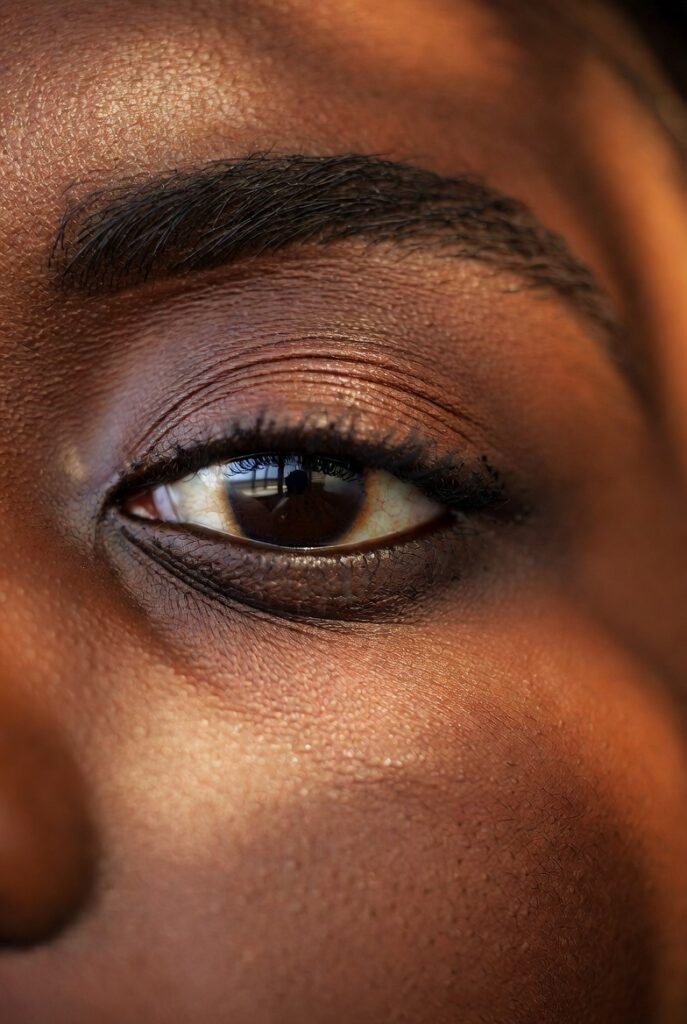
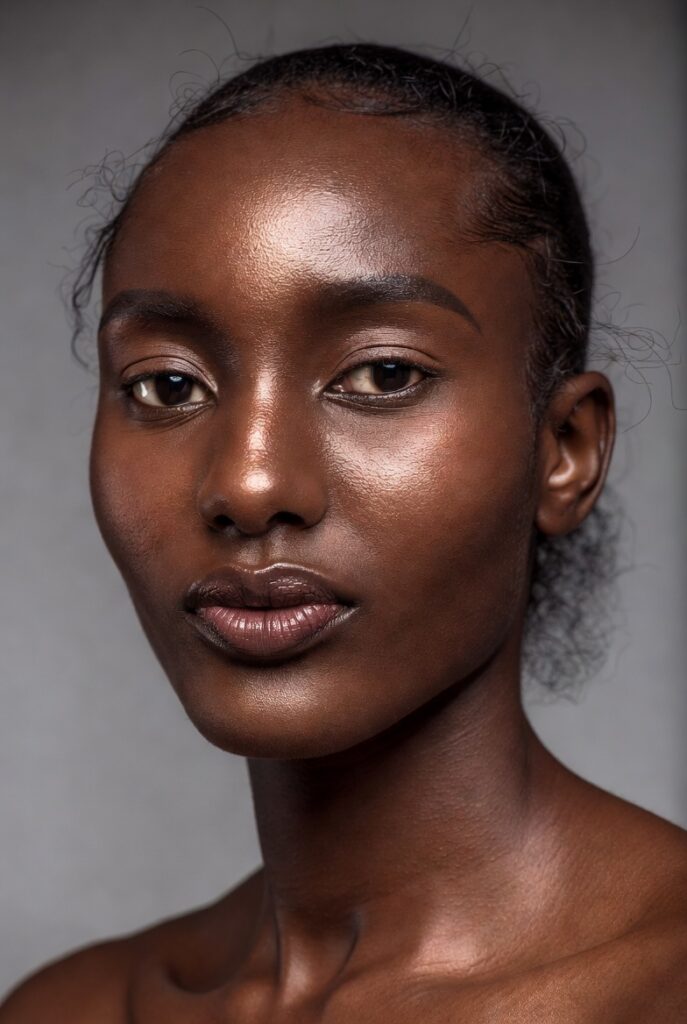
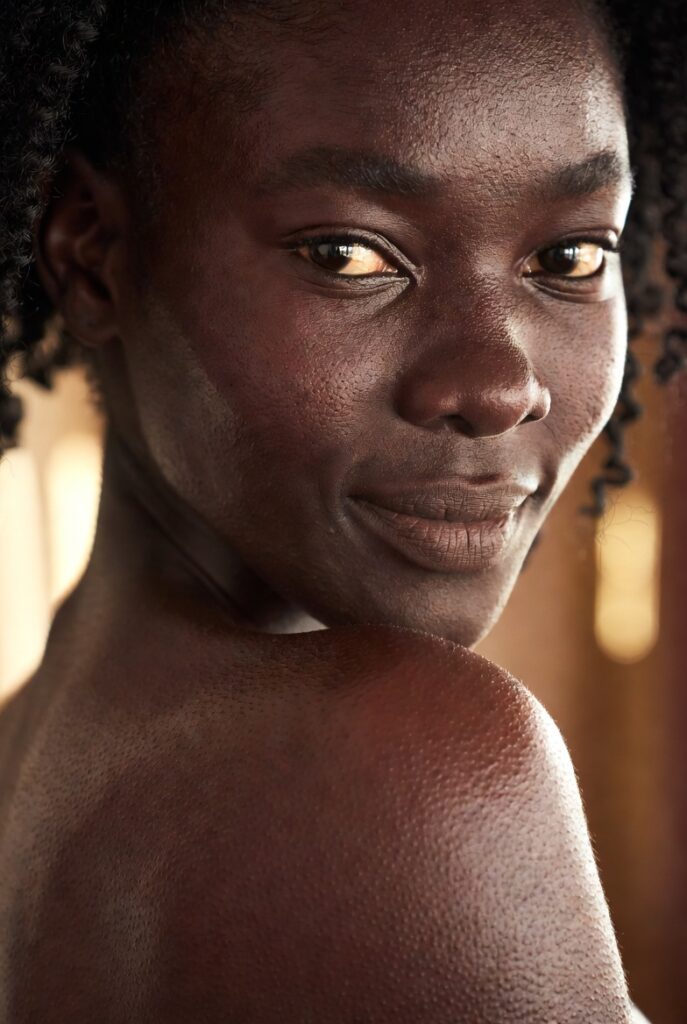
There’s a special kind of magic in mastering a natural makeup look that celebrates your unique complexion rather than hiding it. For Black women, the right techniques can transform a simple routine into a powerful act of self-love, allowing your skin’s natural warmth, depth, and dimension to shine through effortlessly. Whether you’re heading to brunch or preparing for a busy workday, embracing a lighter touch with intentional product choices helps you feel polished without feeling painted. The following ideas focus on enhancing what you already have—working with your skin’s melanin richness, texture, and undertones to create a fresh, breathable finish that lasts.
Understanding that natural makeup for Black women isn’t about less effort but smarter choices is the first step toward a look that feels like your own skin, only better. It means selecting formulas that respect your skin’s needs, from oil-balancing primers to sheer pigments that don’t turn ashy or orange. This approach prioritizes health and glow, steering clear of heavy layers that can mask your features. Instead, you’ll learn to highlight your best assets with subtle precision, using color theory and texture to bring out a radiant, effortless beauty that turns heads for all the right reasons.
1. Prioritize Skin Prep for a Smooth, Luminous Base
Before any pigment touches your face, the canvas matters most. Black skin often has unique considerations like hyperpigmentation, uneven texture, or varying oil levels across different zones. Starting with a gentle, hydrating cleanser followed by a moisturizer suited for your skin type creates the foundation for seamless makeup application. If your skin leans dry, look for richer creams with shea butter or squalane; if oily, a lightweight gel moisturizer works wonders. Let each layer absorb fully before moving on, as rushing this step can lead to patchiness or clinging to dry patches later.
Adding a hydrating primer specifically formulated for deeper skin tones can make a dramatic difference in how your makeup wears throughout the day. Choose primers with a slightly tacky or smoothing finish—not overly slippery—so that your foundation grips evenly without sliding off. For natural makeup, skip heavy silicone-based primers that flatten your skin’s natural texture; instead, opt for illuminating or nourishing options that leave a subtle sheen. Well-prepped skin not only helps your products blend like a dream but also reduces the need for extra layers, keeping your overall look fresh and breathable.
2. Choose a Foundation That Melds with Your Undertone
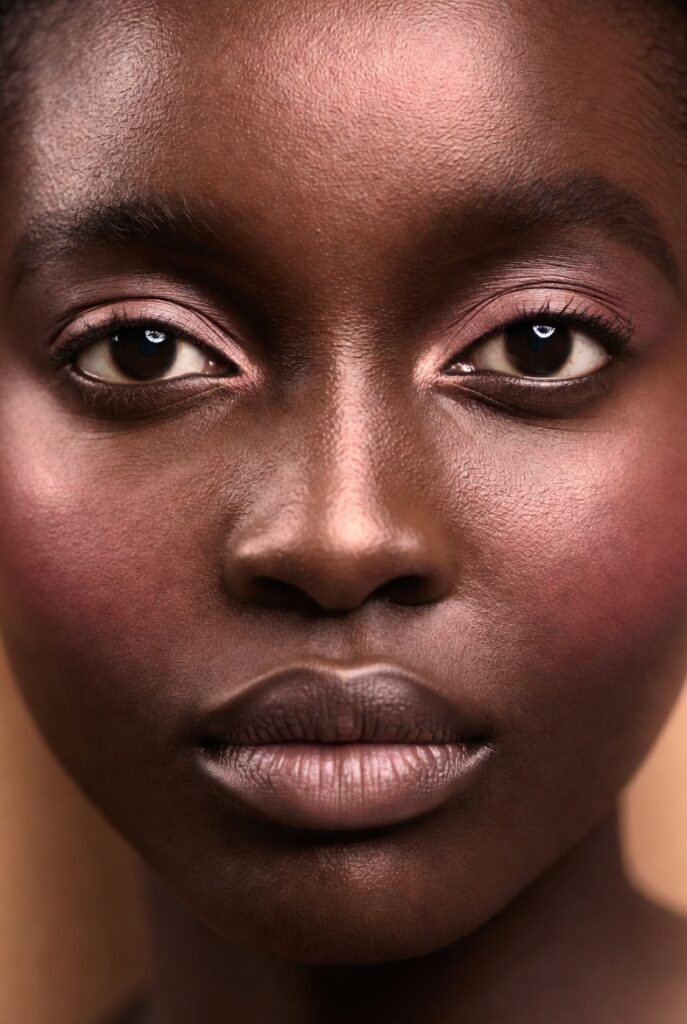
Finding the right foundation match is about more than just depth—it’s about undertone. Black women can have cool (red or blue), warm (golden or yellow), olive, or neutral undertones, and recognizing yours prevents that dreaded mask-like effect. When testing shades, swipe a small amount along your jawline and check it in natural light. The perfect match should disappear into both your neck and face without looking ashy or orange. For a natural look, lightweight formulas like tinted moisturizers, skin tints, or serum foundations often outperform heavy matte liquids because they let your real skin peek through.
Apply foundation sparingly, focusing on the center of your face where redness or unevenness tends to appear, then blend outward. Damp beauty sponges or dense brush buffing motions help sheer out the product while maintaining coverage exactly where you need it. Remember that natural makeup celebrates your skin’s variation—freckles, beauty marks, or slightly darker under-eyes are not flaws to erase but features to work with. If you prefer more coverage, build up in thin layers rather than one thick coat, always checking for seamless edges around your hairline and jaw.
Read also:15+ Scalp Massage Benefits Hair Growth: Awaken Your Follicles for Fuller, Healthier Hair
3. Brighten the Under-Eye Area Without Heavy Concealer
Dark circles are a common concern for many Black women, but heavy concealer can settle into fine lines or look cakey under the eyes. Instead of masking, focus on brightening with a creamy, peach or orange-colored corrector first. The warmth neutralizes blue or purple tones naturally, allowing you to use far less concealer on top. Apply a tiny dot of corrector only where the darkness is deepest—often the inner corner and lower lash line—and pat gently with your ring finger to warm the product into your skin.
Follow with a concealer that’s one shade lighter than your foundation, but not stark white or overly pale. Look for formulas with a radiant, satin finish rather than flat matte, and apply only a small inverted triangle under each eye. Blend upward toward the lash line and outward toward the temples to avoid a heavy, cut-out appearance. For a convincing natural makeup effect, set the under-eye area with the faintest dusting of translucent powder using a fluffy brush—baking or pressing on thick powder will create texture you don’t want. The goal is a lifted, rested look that still moves and creases like real skin.
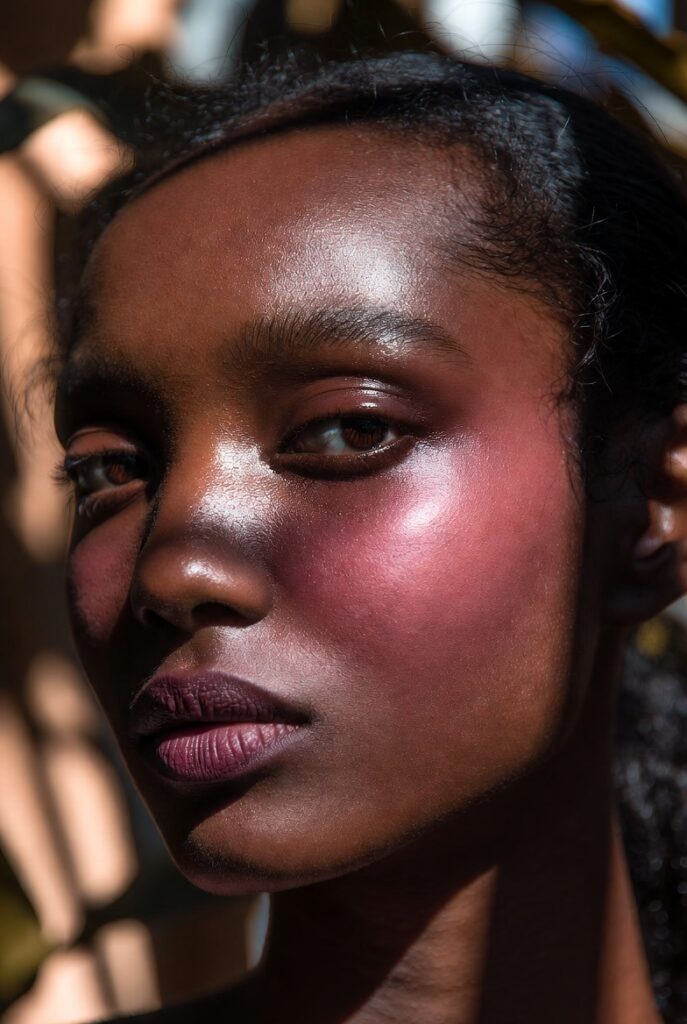
4. Enhance Your Cheekbones with a Cream Blush in Rich Tones

Cream blush has become a staple for natural makeup because it melts into melanin-rich skin without leaving a powdery residue. Choose shades that mimic your actual flush—think deep berries, brick reds, soft terracottas, or warm plums. Avoid pastel pinks or bright corals, which can look ashy or disconnected on deeper complexions. Using your fingers or a stippling brush, tap the cream blush onto the apples of your cheeks and sweep slightly upward toward your temples. The warmth of your skin will help the product diffuse beautifully, creating a believable, lit-from-within glow.
Placement matters just as much as color. For a lifting effect, keep the blush higher on the cheekbones rather than too close to the nose or jawline. You can also dab a tiny amount across the bridge of your nose for that sun-kissed, casual vibe that ties the whole face together. Because cream formulas have staying power without looking heavy, they’re perfect for all-day wear. If you have oily skin, set the edges with a whisper of same-toned powder blush, but let the cream’s natural sheen remain the star. This technique softens your features while adding undeniable warmth and dimension.
5. Sculpt Naturally with a Bronzer That Adds Depth, Not Orange
Many Black women avoid bronzer out of fear it will look muddy or artificial, but the right formula can add realistic warmth and dimension. Look for bronzers with red, olive, or deep brown undertones rather than orange or yellow bases. Powder or cream versions work well, but the key is choosing a shade only one or two shades deeper than your natural skin tone. Apply it where the sun would naturally hit: the high points of your cheekbones, the top of your forehead, and lightly along your jawline. This subtle sculpting brings life back into your face after foundation, especially if your base product looked flat.
For a truly natural makeup effect, use a fluffy, tapered brush and build the bronzer slowly. Swirl off excess product before touching your face, and always blend toward your hairline so there are no harsh lines. Cream bronzers applied with a damp sponge give an especially skin-like finish, melting into your foundation seamlessly. If you have a deeper complexion, you can even skip bronzer and use a pressed powder foundation two shades darker as your contour-bronzer hybrid. The goal is not to reshape your face but to enhance your existing bone structure, adding a healthy, sunlit warmth that looks effortless.
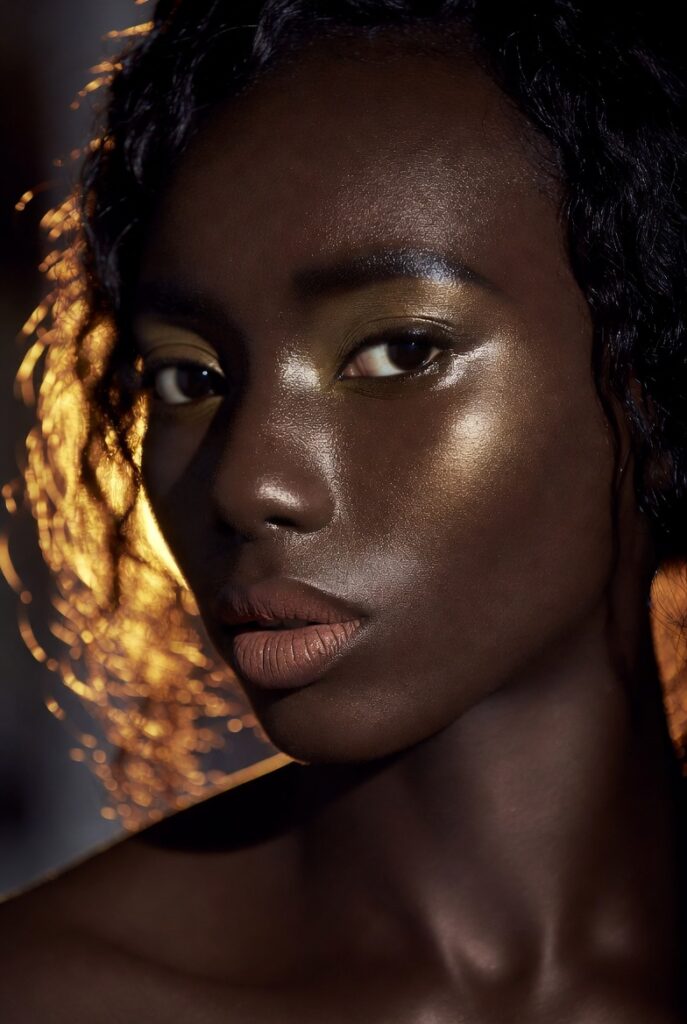
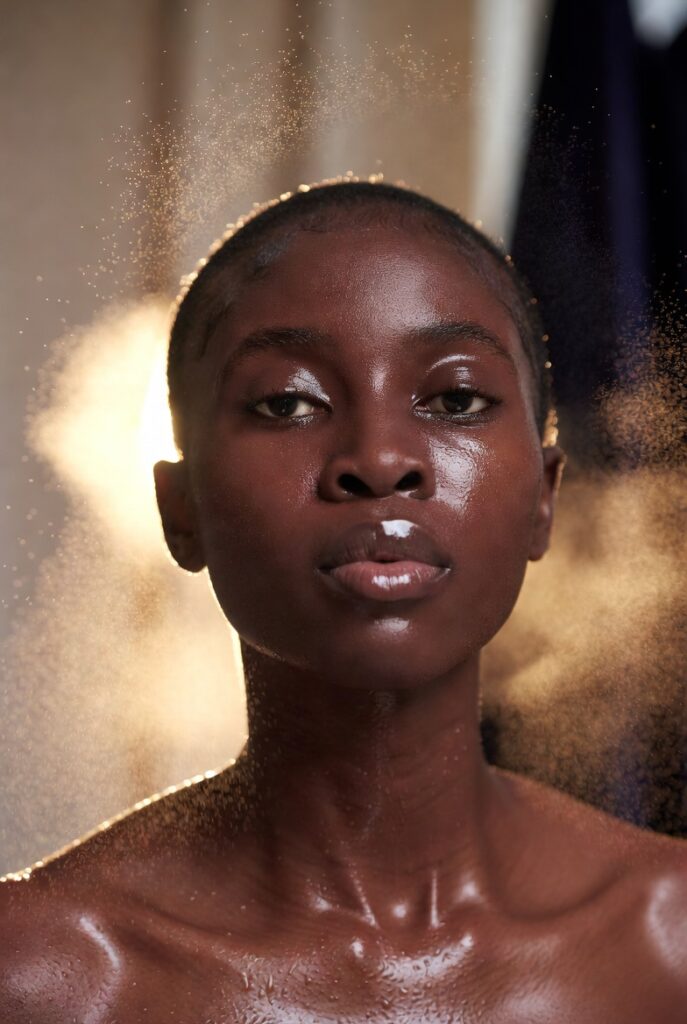
6. Highlight Strategically for a Wet, Not Greasy, Sheen
Highlighter on melanin-rich skin can look absolutely stunning, but placement and formula determine whether you glow or look oily. For natural makeup, avoid chunky glitter or icy white pigments that sit on top of the skin. Instead, seek out cream or liquid highlighters with fine gold, bronze, or rose-gold shimmer particles that reflect light without emphasizing texture. Tap a tiny amount onto the highest points of your cheekbones, the bridge of your nose, the inner corners of your eyes, and just above your cupid’s bow. Less is more here—you want the light to catch when you turn your head, not announce itself from across the room.
Another trick for a believable highlight is to mix a drop of liquid illuminator into your moisturizer or foundation before applying. This creates an all-over, dewy finish that looks like healthy skin rather than painted-on shine. For those with oily T-zones, skip the highlight on your forehead and chin, focusing only on the cheekbones and eyes. You can also apply highlighter with your fingers, patting gently to warm the product into your skin. When done correctly, strategic highlighting gives you that fresh, hydrated, “I woke up like this” radiance that pairs perfectly with any natural look.
7. Frame Your Eyes with Soft, Smudged Brown Liner
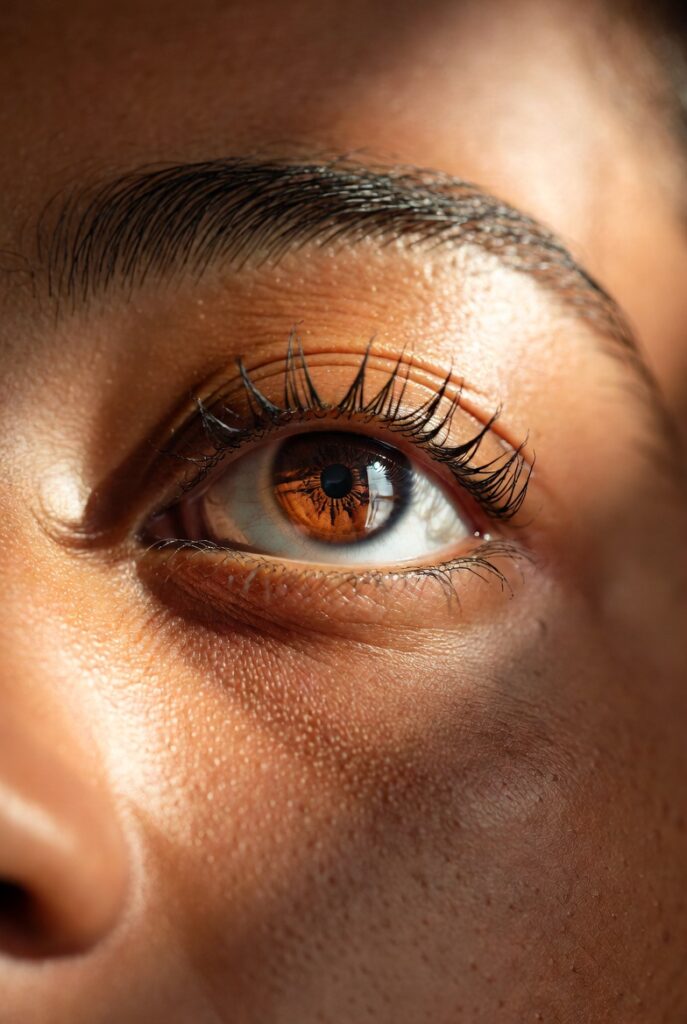
Harsh black eyeliner can sometimes look too severe for a natural aesthetic, but a soft brown pencil creates definition while keeping things gentle. Choose a deep chocolate or espresso shade, which complements most Black skin tones without appearing ashy or stark. Gently smudge the liner along your upper lash line, staying as close to the roots as possible. Then, take a small angled brush and soften the line further, diffusing it into a subtle shadow. For the lower lash line, only line the outer third to avoid closing off your eyes, and smudge that as well.
If you prefer a bit more intensity without going heavy, try using a dark brown eyeshadow as liner instead of a pencil. Dampen an angled brush and press the shadow into your upper lash line for a controlled, smoky-soft effect. This technique is especially forgiving for beginners and looks incredibly natural because there are no hard edges. The result is defined eyes that appear larger and more awake, yet no one can quite tell you’re wearing liner. Save the black liquid liner for dramatic evenings; for day-to-day natural beauty, brown is your best friend.
8. Curl Lashes and Use Brown Mascara for Open, Innocent Eyes
Lifted, curled lashes instantly make eyes look brighter and more alert, even before you add any product. Invest in a good eyelash curler that matches the curve of your eye shape. Warm it slightly with a hairdryer (test on your hand first) for a curl that lasts all day. Then, instead of reaching for black mascara, try brown mascara for a softer, more natural finish. Black mascara can sometimes feel heavy against lighter eye looks, while brown blends seamlessly, especially on the lower lashes. Wiggle the wand from root to tip, focusing on the outer corners to elongate the eye.
For an even more subtle effect, only apply mascara to the top lashes, skipping the bottom entirely. If your natural lashes are straight or short, a lash primer in a clear or white formula can add volume before the brown mascara goes on. Two thin coats are always better than one thick, clumpy coat—let each coat dry for a few seconds before applying the next. The combination of curled lashes and brown mascara creates an open, doe-eyed look that feels fresh and unforced. This is one of the simplest ways to look polished without anyone suspecting you have makeup on.
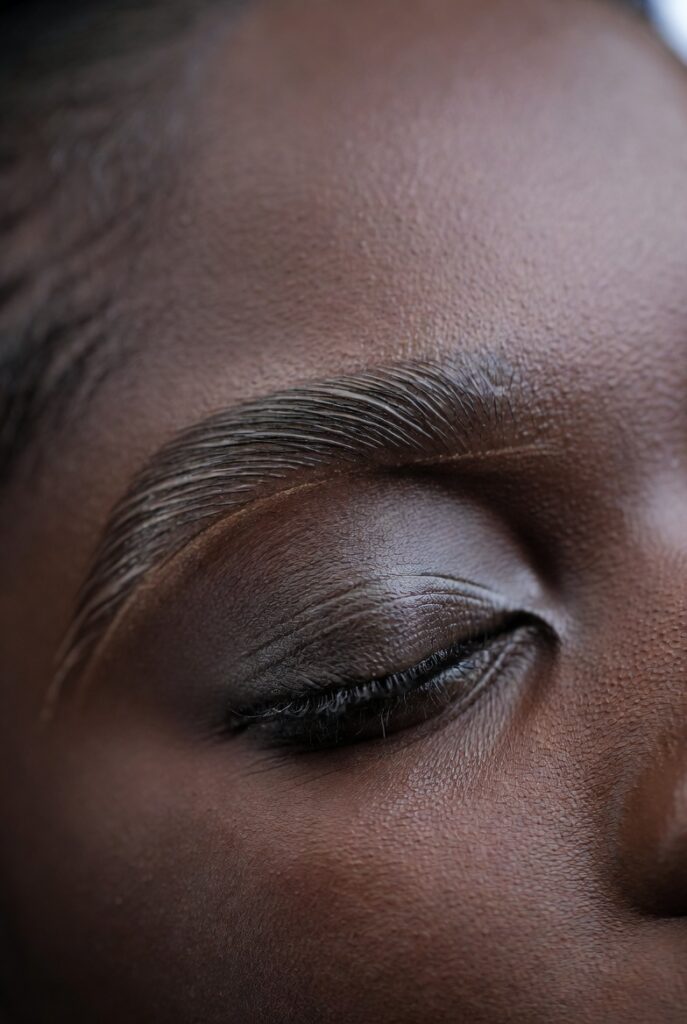
9. Groom Brows with Clear Gel for Shape Without Heaviness
Bold, carved brows have their place, but natural makeup calls for brows that look like yours, just tidier. Start by brushing your brow hairs upward and outward with a spoolie. If you have sparse areas, use a brow pencil or powder that matches your hair color exactly—not darker—and make tiny hair-like strokes only where needed. Then, seal everything with a clear brow gel that holds hairs in place without adding color or stiffness. This keeps your brows looking fluffy, full, and unquestionably real.
Avoid wax-based or tinted gels that can look crunchy or alter your natural brow color. Apply the clear gel by brushing against the hair growth first to coat the underside, then smooth in the direction of growth. For women with very dark or black brows, be cautious of any “universal” tinted gels that actually appear gray or ashy. Clear gel is universally flattering and prevents your brows from melting or smudging throughout the day. Well-groomed brows frame your entire face, and when they look this natural, they quietly elevate every other part of your makeup routine.
10. Use a Single, Neutral Eyeshadow to Define the Crease
Complex eye looks with multiple colors can feel like too much for everyday wear. Instead, simplify with one neutral eyeshadow applied strategically. Choose a matte shade that is slightly deeper than your skin tone—think warm taupe, soft brown, or dusty mauve. Using a fluffy blending brush, sweep this shadow into your crease and slightly above it, keeping the lid itself mostly bare. This creates instant depth and dimension, making your eyes appear larger without obvious makeup. Blend well until there are no harsh edges, only a soft shadow.
You can also take the same shadow along your lower lash line using a small pencil brush, smudging it gently. This ties the whole eye area together without adding weight. The key is to pick a neutral eyeshadow that mimics the natural shadow your eye socket creates. If you have deeper skin, look for richer browns or plums; lighter neutral beiges will look ashy. Because you’re using only one product, application takes under a minute and never looks overdone. This trick is beloved by makeup artists for creating a “no-makeup makeup” eye that still has structure and polish.
11. Set Your T-Zone Lightly, Leaving the Rest Radiant
A common mistake in natural makeup is powdering the entire face, which can flatten your skin’s natural glow. Instead, set strategically by applying translucent or tinted powder only to areas that tend to get shiny: the center of the forehead, the nose, the chin, and maybe the inner cheeks. Use a small, fluffy brush and tap off excess powder before pressing it lightly into those zones. Leave the outer perimeter of your face, the tops of your cheekbones, and the under-eye area relatively powder-free so that your natural radiance and cream products shine through.
For women with oily skin, you might need a bit more powder, but still try to keep it concentrated. A finishing powder with a slight tint (like banana or deep translucent shades) prevents the white cast that standard powders can leave on Black skin. Pressed powders often look more natural than loose powders because they apply more thinly. The goal is to control shine without creating a matte mask—your skin should still look like skin, with natural variations in sheen. When you master strategic setting, your makeup will last longer and look fresher than if you powdered everything evenly.
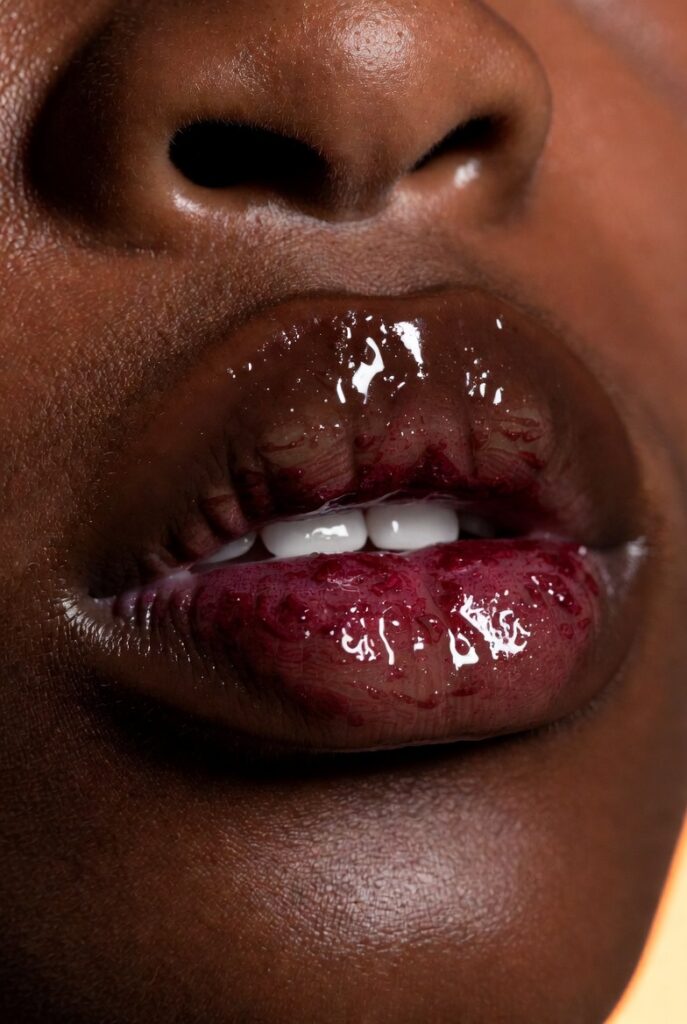
12. Layer a Lip Stain Under Balm for Long-Lasting, Natural Color
Bold lipsticks can feel heavy, and glossy balms alone may fade too quickly. The ideal natural lip comes from a lip stain in a shade close to your natural lip color or slightly richer—think berry, brick, or rose. Apply the stain to clean, dry lips, let it set for a minute, then blot away any excess. This leaves a wash of color that won’t budge through coffee or conversation. On top, layer a clear or tinted lip balm for moisture and a subtle shine. The combination looks like you simply have healthy, flushed lips.
Avoid stains that are neon or overly bright unless your natural lips are very light. For deeper skin tones, stains in wine, fig, or cocoa shades work beautifully to enhance without overpowering. You can also use a lip liner in your natural lip color to define the edges slightly before applying stain, then blend inward. The balm on top softens any lines and keeps lips comfortable all day. This technique is a game-changer for natural makeup because it gives you the reliability of long-wear color with the look of bare, cared-for lips. No cracking, no fading patches, and no needing a mirror to reapply constantly.
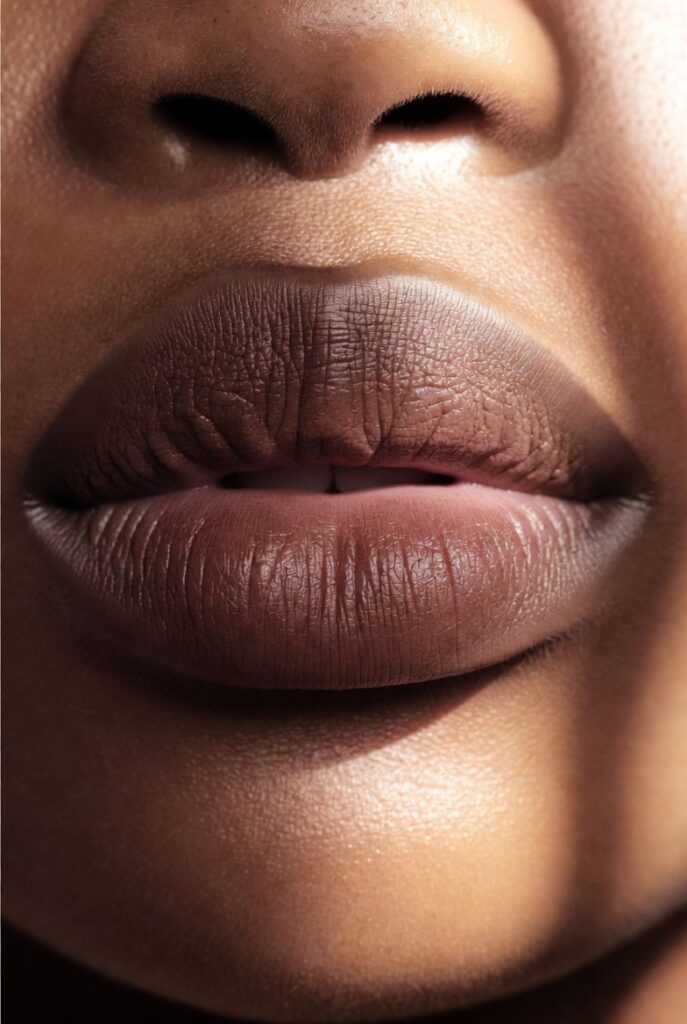
13. Diffuse Lip Color with Finger for a Blotted, Soft Focus Effect
Even when you want more color than a stain provides, you can still keep things natural by blotting and diffusing. Take a creamy lipstick or liquid lip color and dab a small amount onto the center of your lips with your finger. Gently press and pat outward toward the edges, never swiping. This creates a soft, blurred, “just bitten” look that doesn’t require perfect precision. The edges of your lips should fade into your skin, not have a hard line. This style is incredibly forgiving and looks modern, fresh, and undeniably natural.
For the most flattering effect, choose a lip color that’s only one or two shades more intense than your natural tone. If your lips are naturally mauve, go for a muted berry; if they’re brownish, try a warm cocoa. You can also blot with a tissue after applying full color, then add a touch of balm on top. The finger application method works especially well with matte or satin finishes because glossy colors tend to migrate. This diffused lip pairs perfectly with the rest of your natural makeup, as nothing screams “done” like a sharply lined mouth. Embrace the imperfection—it’s what makes it look real.
14. Warm Up the Face with a Dusting of Setting Spray
After all your creams and powders, a setting spray is the secret to melting everything into one skin-like layer. But not just any spray—choose one with a dewy or natural finish rather than matte. Hold the bottle about eight inches from your face, close your eyes, and mist evenly. The fine droplets will rehydrate powder particles and blend away any visible texture, leaving behind a cohesive, radiant surface. For Black skin, avoid sprays that contain alcohol high on the ingredient list, as they can dry out and emphasize ashiness.
You can also use a setting spray throughout the day to refresh your natural makeup without adding more product. A couple of spritzes after lunch will take away any midday powderiness and bring back your glow. For an extra boost, some makeup artists recommend spraying a damp sponge and then pressing it gently over your face. This technique pushes the spray into the makeup rather than letting it sit on top. The final result should be skin that looks hydrated, not wet, and makeup that moves with your expressions rather than cracking or settling. It’s the finishing touch that pulls everything together convincingly.
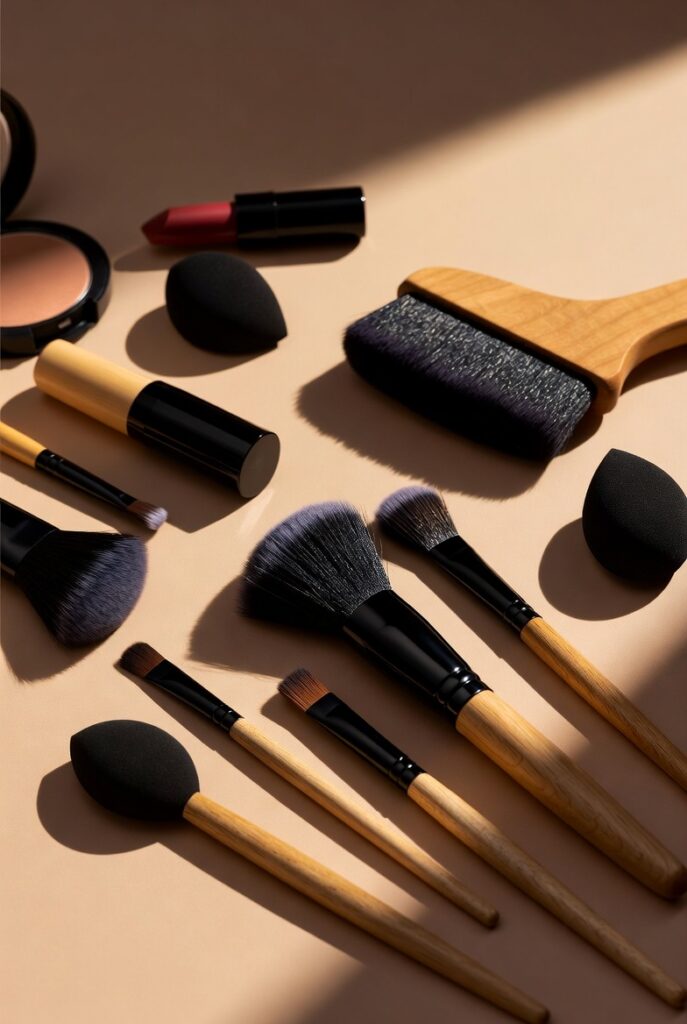
15. Keep Tools Clean for Flawless, Bacteria-Free Application
Clean brushes and sponges are not just about hygiene—they directly affect how natural your makeup looks. Dirty tools carry old product, bacteria, and oils that can cause patchiness, breakouts, and muddy colors on your skin. Wash your brushes weekly with a gentle soap or brush cleanser, focusing on rinsing until the water runs clear. Sponges should be washed after every use since they trap moisture and become breeding grounds for bacteria. When your tools are clean, cream and liquid products blend seamlessly without streaks or separation, giving you that airbrushed natural finish.
Having dedicated brushes for different product types also helps. Use a fluffy brush for powder, a denser one for cream blush, and a small tapered brush for concealer. Never use the same brush you dipped into bright eyeshadow for your face powders—cross-contamination ruins the clean look you’re going for. Dry your brushes flat or hanging with bristles pointing down to prevent water from loosening the glue in the handle. Investing fifteen minutes a week in tool maintenance pays off in smoother application, better product performance, and healthier skin. A natural look requires a clean canvas, and that includes your applicators.
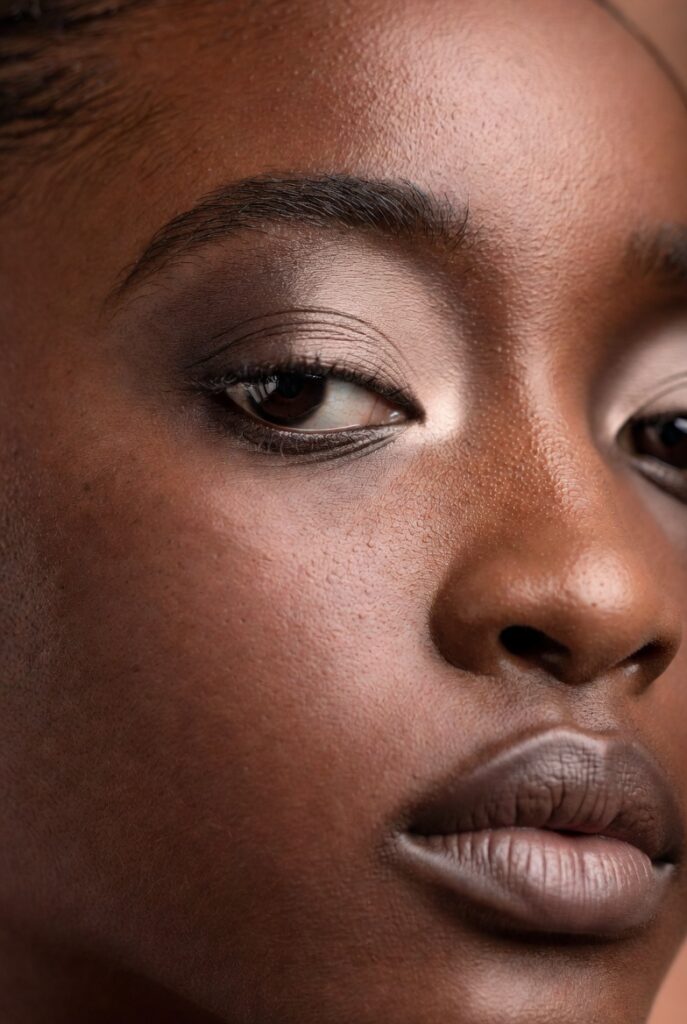
16. Trust Your Skin’s Own Texture Instead of Hiding It
The most liberating part of mastering natural makeup is learning to stop fighting your skin’s natural traits. A few visible pores, a faint beauty mark, or even a bit of hyperpigmentation—these are not flaws to be erased but landmarks of your unique face. Heavy full-coverage products often look more obvious than the imperfections they aim to cover. By using less makeup and focusing on enhancement rather than concealment, you allow your skin’s authentic texture to become part of the beauty. A light veil of foundation or tinted moisturizer lets your real self shine through, and that confidence is what people notice first.
Conclusion
As you weave these sixteen tips into your daily routine, remember that natural makeup for Black women is not about perfection but about feeling truly at home in your own skin. The best look is the one that makes you forget you’re wearing anything until you catch your reflection and smile—glowing, confident, and unmistakably you. Start with one or two changes that speak to you, and let your comfort level grow naturally. Your skin already has richness, depth, and story; the right techniques simply help that story tell itself. Now go ahead, embrace your radiance, and wear it like the second skin it was always meant to be.