
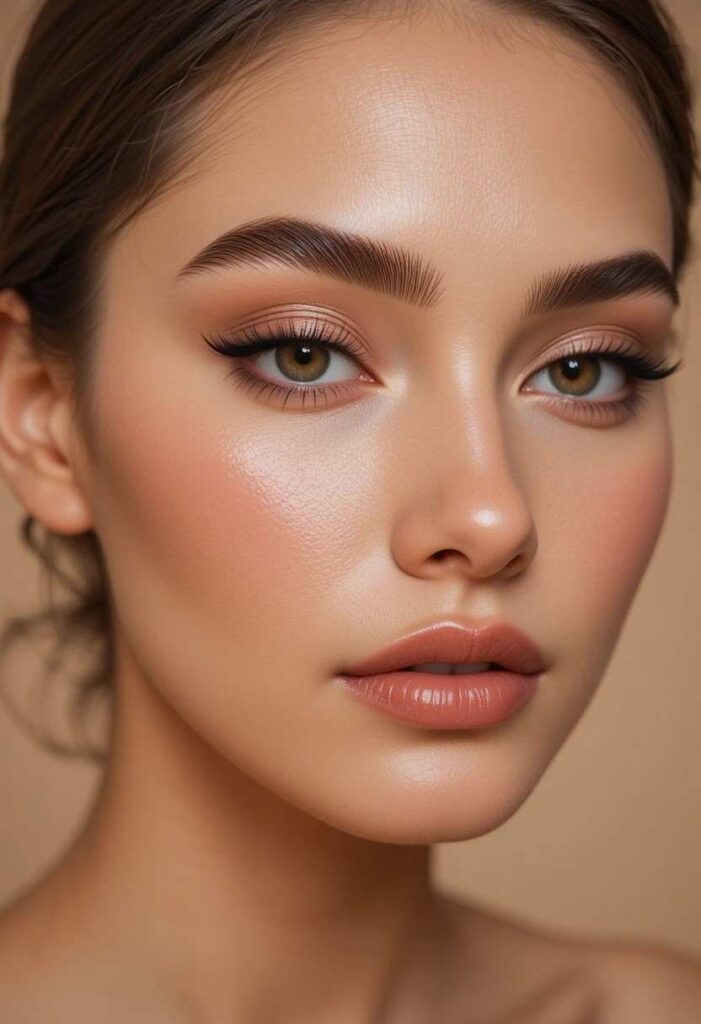
Welcome to the ultimate guide on brow lamination, the game-changing treatment that transforms sparse, unruly arches into sleek, lifted masterpieces. Whether you crave a natural, fluffy look or dramatic editorial angles, these 23 ideas will inspire your next appointment and help you communicate exactly what you want to your stylist.
1. Classic Lifted Lamination for a Natural Yet Polished Everyday Look
The most requested style among brow enthusiasts, the classic lifted lamination focuses on brushing all hairs upward and slightly outward. This technique opens up the eye area instantly, making you look more awake and refreshed without appearing overly done. It works beautifully on medium-density brows where you want to maintain a soft, feathered texture rather than a stiff, shellacked finish.
For those who wear minimal makeup, this idea delivers that “my brows but better” effect. The hairs are set in a gentle vertical sweep that catches light naturally, giving a subtle shine that mimics healthy, conditioned brow hair. Many women love how this style reduces the need for daily gels or soaps, as the lamination keeps everything in place for weeks while still feeling touchably soft.
2. Side-Swept Feathery Brows for a Romantic, Soft-Glam Vibe
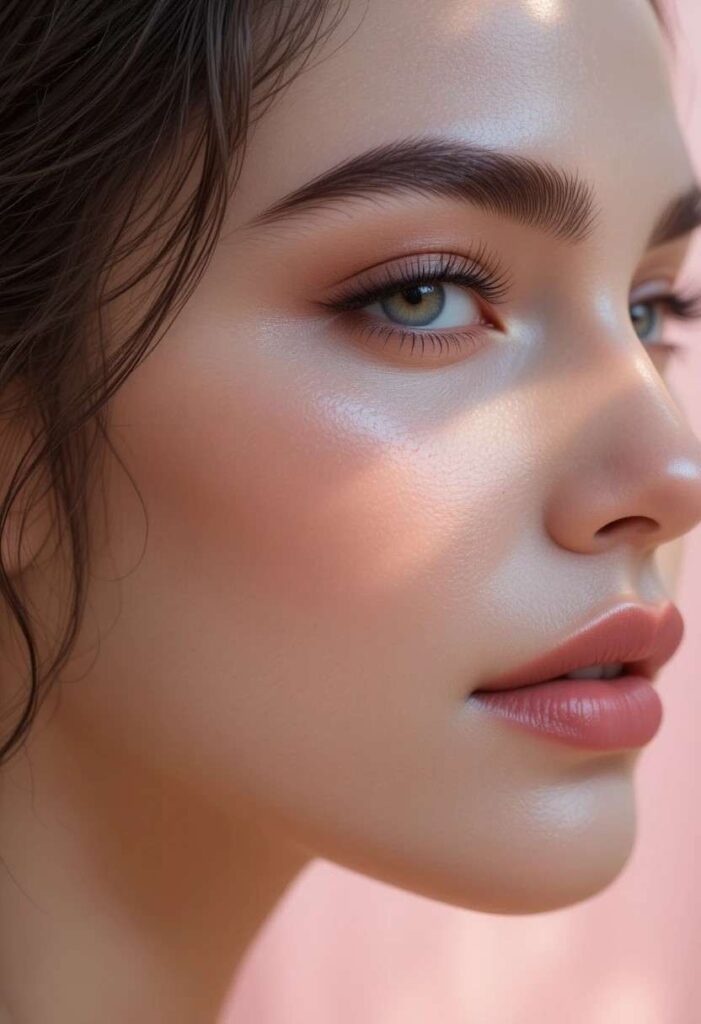
Instead of going straight up, this idea angles the hairs toward the tail at a 45-degree angle, creating a windswept, romantic silhouette. The result is reminiscent of Old Hollywood starlets who favored gently brushed brows that widened the face and added femininity. It’s especially flattering on round or square face shapes because the diagonal lines introduce length and elegance.
You’ll notice that side-swept lamination still lifts the front of the brow but allows the arch and tail to lie flatter, preventing that overly surprised expression some people fear. Pair this with a dewy skin finish and a glossy lip, and you have a signature look that transitions seamlessly from office hours to dinner dates. The movement in the hairs looks incredibly natural, as if you simply have great brow genetics.
3. High-Arch Editorial Lift for Bold, Fashion-Forward Statements
Runway models and beauty influencers have popularized this dramatic idea where brows are laminated straight upward from inner to outer corner, creating a near-vertical fan. This extreme lift makes brows appear taller and more sculptural, drawing instant attention to your eyes. It works best on longer brow hairs that can stand upright without curling back down.
While it may seem intense for daily wear, many creative professionals and trendsetters adopt this as their signature. The key is keeping the rest of your face minimal—think clean skin and a nude lip—so the brows become the focal point. When done correctly, the high-arch editorial lift feels avant-garde yet wearable, especially if you have strong bone structure that can carry such a bold frame.
4. Soft Wispy Lamination for Fine or Sparse Brows
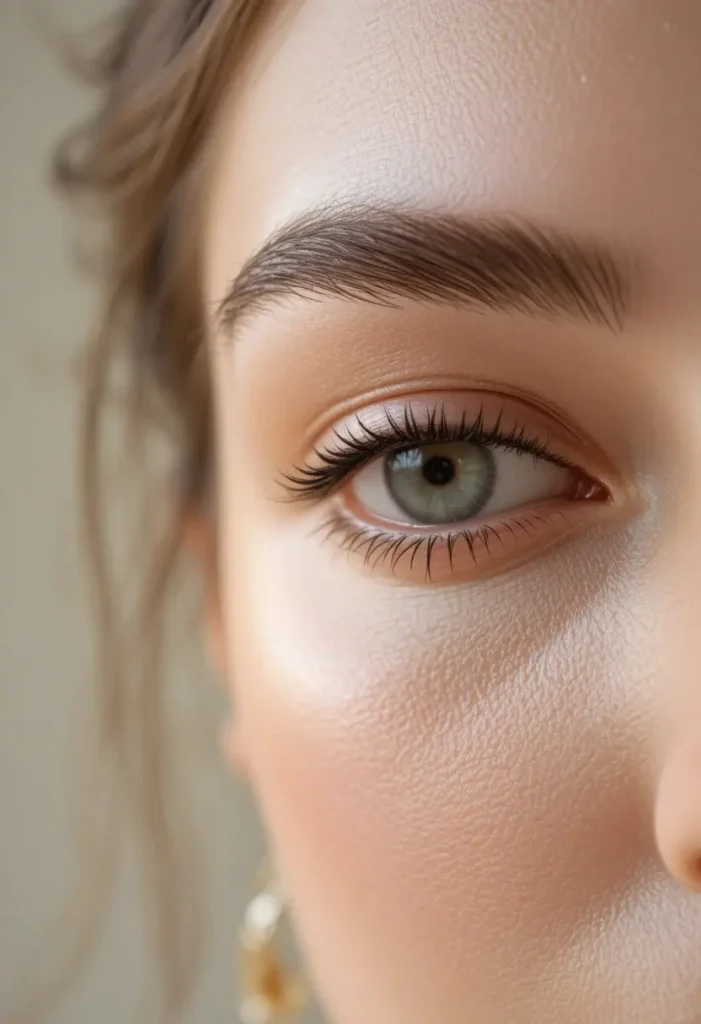
If your brows are naturally thin or have gaps from over-plucking, this gentle idea is a lifesaver. The technician applies a milder lifting solution and uses a downward-forward brush stroke that encourages each short hair to lie in the same direction, creating the illusion of density. The finish is whisper-soft, without any crunchy texture, making it perfect for sensitive skin or first-timers.
What makes this approach special is how it respects the limitations of fine hair. Instead of forcing stubborn strands straight up, the wispy style works with their natural growth pattern, simply taming and aligning them. Over subsequent laminations, you may even notice less breakage, as the treatment conditions and protects each hair. Clients often describe the result as “barely there but completely transformative.”
5. Laminated Brows with Highlighted Arches for Dimension
Take your lamination up a notch by asking your stylist to combine it with a subtle brow highlight. After setting the hairs in a feathery lift, a matte or shimmery highlighter is applied just beneath the arch, emphasizing the newfound height. This double-action technique makes your brow bone pop and gives a facelift-like effect without any needles or surgery.
The beauty of this idea lies in its versatility. For daytime, use a cream highlighter that melts into skin, while for evening, a fine champagne shimmer adds drama. The lamination holds the arch in such a way that the highlight stays perfectly visible from every angle. Many women report receiving compliments on their “bright, open eyes” rather than the brows themselves—a sign that the overall harmony is working.
6. Glass Brow Lamination for a Sleek, Wet-Look Finish
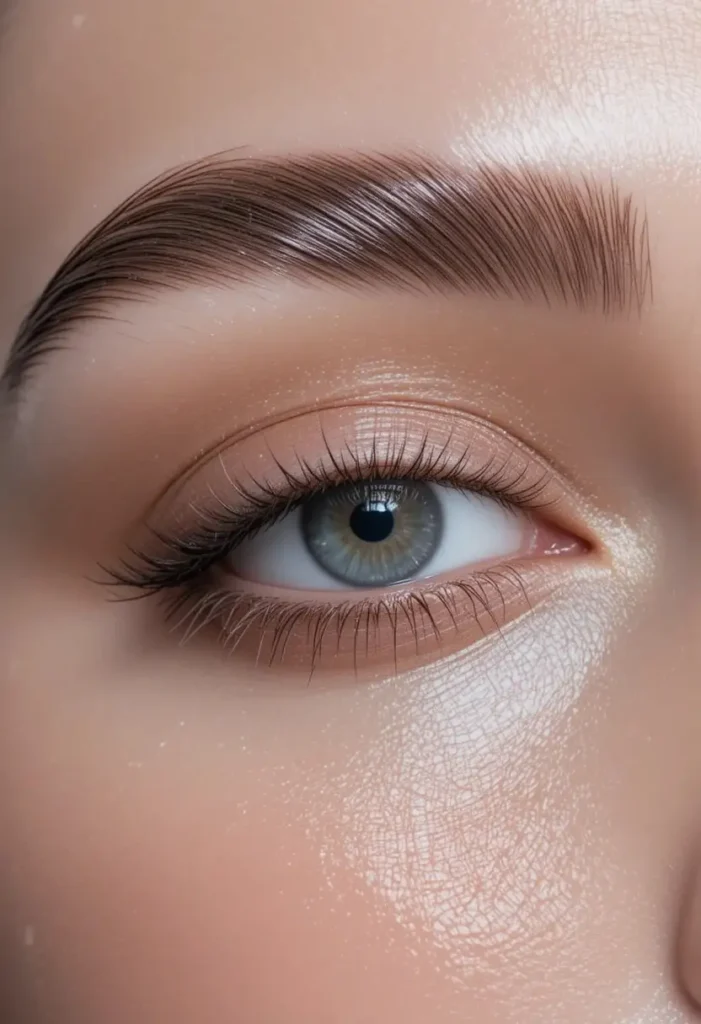
Inspired by the glass skin trend, this lamination style sets hairs in a perfectly flat, parallel alignment with a high-shine top coat. The result resembles glossy vinyl strips above your eyes, ultra-modern and minimal. It works exceptionally well on straight, coarse brow hairs that resist curling, as the process relaxes the cuticle and seals in reflective smoothness.
Unlike fluffy styles that emphasize texture, glass brows celebrate uniformity and polish. You’ll need to commit to a small daily ritual of brushing them with a spoolie and applying a clear brow oil to maintain that just-laminated sheen. However, the effect is so striking that it has become a favorite among editorial makeup artists and anyone who loves a futuristic, clean-girl aesthetic.
7. Laminated Tapered Brows with a Defined Tail
Some women desire lift at the front but a sleek, sharp tail to mimic the look of microblading. This hybrid idea laminates the inner two-thirds upward while the outer third is brushed downward and set with a strong hold. The contrast creates a brow that starts fluffy and natural then tightens into a precise point, elongating the eye dramatically.
This style pairs wonderfully with cat-eye eyeliner or lash extensions, as the tapered tail continues the same feline line. The two-zone approach requires a skilled laminator who knows exactly where to change brush direction. When done right, you get the best of both worlds: the youthfulness of laminated fronts and the sophistication of a carved tail, without any daily filling in.
8. Barely Brushed Lamination for Low-Maintenance Minimalists
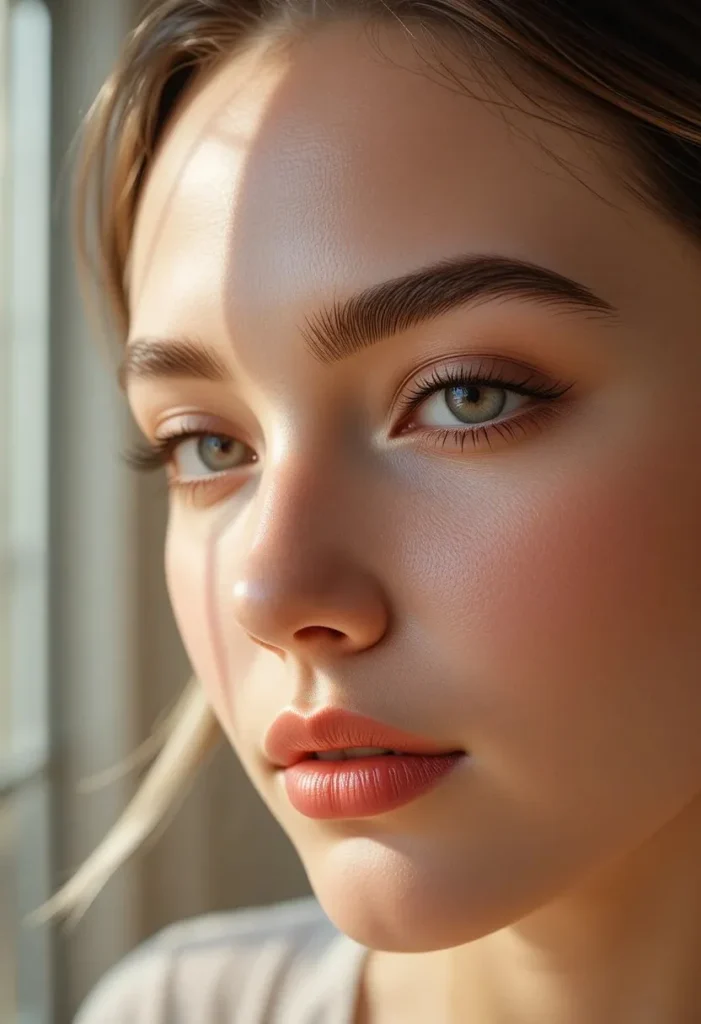
Not every lamination needs to scream “look at my brows.” The barely brushed technique uses a very gentle lift—just enough to correct downward growth and reveal your natural arch. Hairs are left slightly tousled, with a few strands falling back into place to mimic real, un-styled brows. It’s ideal for those who want the benefits of lamination (easier grooming, longer-lasting shape) without an obvious “treated” look.
Because the lift is subtle, this idea lasts longer between touch-ups, often up to eight weeks. You can wake up, run a spoolie through once, and go about your day. Many men also request this style for a neater appearance that doesn’t look groomed. The secret is using a lower-strength lotion and a wider brush pattern, allowing each hair to retain its individual character while still pointing in a harmonious direction.
9. Laminated Brows with Bleached Effect for Edgy Contrast
For the bold and artistic, combine lamination with a temporary brow bleach or tint lift. The hairs are first laminated upright or side-swept, then lightened several shades to create a bleached, almost invisible look against the skin. This ethereal style has exploded on social media, often paired with graphic liners or colorful shadows to let the eye makeup fully take over.
The contrast between the three-dimensional lift and the pale color is surprisingly wearable for those with bleached hair or platinum blondes. Dark-haired women can try a softer version: laminate first, then apply a taupe or ash-blonde brow tint just on the tips. This creates a sun-kissed, ombré effect that feels fresh and rebellious. Just note that bleaching requires extra aftercare, as both processes can dry out hairs.
10. Curled Tip Lamination for a Doll-Like, Playful Expression
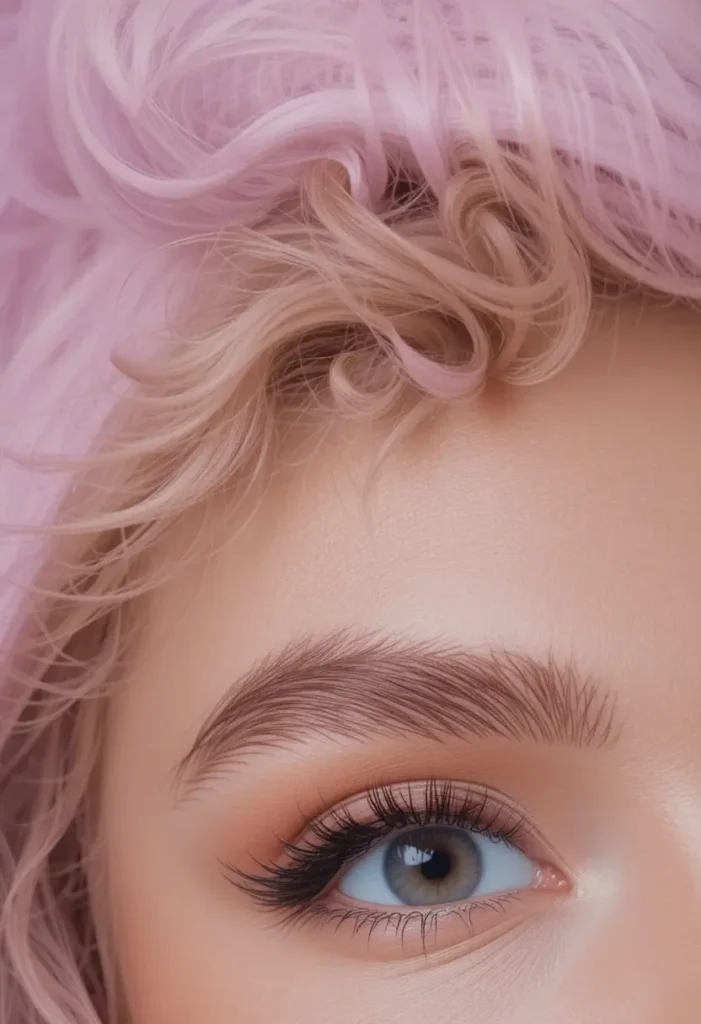
Here’s a whimsical idea borrowed from lash lifting: curling only the very ends of the brow hairs. The base remains flat against the skin, while the tips flick upward like little feathered wings. This creates a perpetually lifted, cheerful look that softens frown lines and adds a doll-like innocence to your face. It works best on longer brows that have at least an inch of growth past the natural arch.
What makes curled tip lamination special is the movement. When you raise your eyebrows or smile, the tips dance slightly, giving an animated quality that photos can’t capture. It’s a favorite among dancers, actors, and anyone who works in front of an audience. Because the roots aren’t fully lifted, this style also feels less aggressive on sensitive skin, with faster processing times and lower risk of over-processing.
11. Laminated Brows with Straight-Across Flat Top
Breaking away from the natural arch, this architectural idea laminates all hairs horizontally across, creating a blunt, straight-across top line. The effect is a bold, androgynous look that mimics the brows of ’90s supermodels like Linda Evangelista. It removes the natural arch completely, resulting in a flat, strong line that makes the eyes appear wider and more open.
To pull this off, your brow hairs need to be relatively uniform in length, or your stylist will trim them slightly. The brushing direction is purely horizontal from inner to outer corner, with no upward angle at all. This style has gained traction in avant-garde fashion circles and pairs stunningly with sharp cheekbones and a severe haircut. For everyday wear, you can soften it by leaving a few stray hairs un-laminated at the arch.
12. Ombré Laminated Brows with Faded Fronts
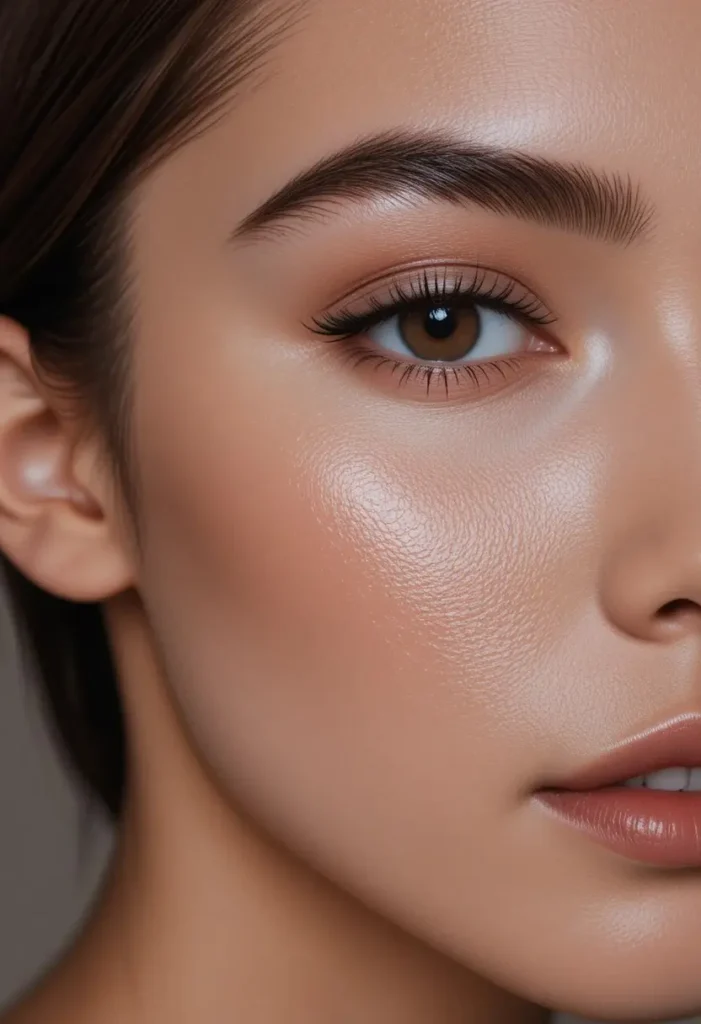
Inspired by powder brow tattoos, this idea focuses on the gradient of density rather than just the lift. The lamination is applied more intensely at the tails, while the inner corners are brushed very loosely, allowing natural sparseness to show through. The result is a brow that looks darkest and most defined at the arch and tail, fading to near-invisibility at the front, mimicking a soft makeup fade.
This technique requires your laminator to section the brow and use different brush pressures and setting times per zone. The payoff is immense: a very natural, low-commitment look that doesn’t scream “laminated.” It’s especially good for those with already full inner brows but sparse tails. After lamination, you might still fill in the tail slightly, but the overall shape and lift will hold for weeks, reducing daily effort significantly.
Read also:10+ Skincare Routine for Dark Spots Ideas: Fade Discoloration and Reveal Even-Toned Skin
13. Reverse Lamination for Downward-Grown Brows
If your brows naturally grow straight down toward your lashes, a standard upward lamination fights your biology. The reverse idea laminates hairs in their natural downward direction but with a smoother, more uniform lay. This creates a sultry, bedroom-eyed effect similar to Korean “downward brows” that are considered youthful and soft in many East Asian beauty standards.
Rather than fighting gravity, reverse lamination embraces it. The hairs are brushed downward and slightly inward, creating a cozy, relaxed frame that lowers the brow bone visually. This is a hidden gem for people with hooded eyes, as upward lamination can sometimes exaggerate the hood, while downward lamination balances it. You’ll need a stylist familiar with this niche request, but the results are uniquely flattering and refreshingly different.
14. Laminated Brows with Groomed Chaos Texture
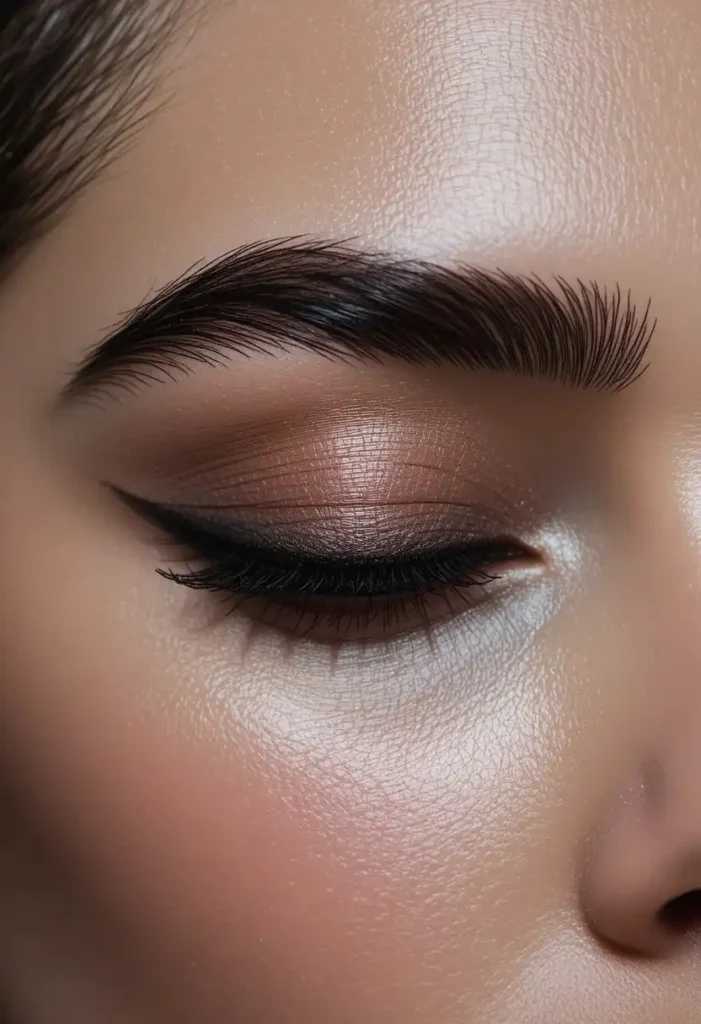
Somewhere between messy and manicured lies the groomed chaos idea. Hairs are laminated in multiple directions—some up, some sideways, a few left crisscrossing—but then sealed with a light mist of setting spray to keep everything in artful disarray. This style is for the person who wants volume and interest without any sense of perfection.
The key is that even though the directions vary, the overall silhouette remains tidy. Think of a freshly blown-out shag haircut: full of movement but still shaped. This idea works wonders for thick, stubborn brows that refuse to all lay the same way. Instead of fighting their natural swirls, you celebrate them. After lamination, simply fluff with your fingers each morning, and the groomed chaos stays within beautiful bounds.
15. Lifted Arch-Only Lamination for High Brows
Targeting just the highest point of your brow, this partial lamination leaves the inner and outer thirds untouched. The result is a subtle peak that draws the eye upward in the middle, creating a sphinx-like, lifted expression. It’s a fantastic option for asymmetrical brows, as you can laminate the lower arch on one side to match the higher natural arch on the other.
Because only a small section of hairs is processed, the risk of over-lamination is nearly zero, and the treatment takes half the time. The arch-only lift also allows you to continue using brow gel on the rest of the brow without interfering with the laminated section. Many clients love how invisible this technique is—friends will notice you look “more rested” but won’t guess you had a brow treatment.
16. Laminated Brows with a Deep, Dark Tint for Maximum Definition
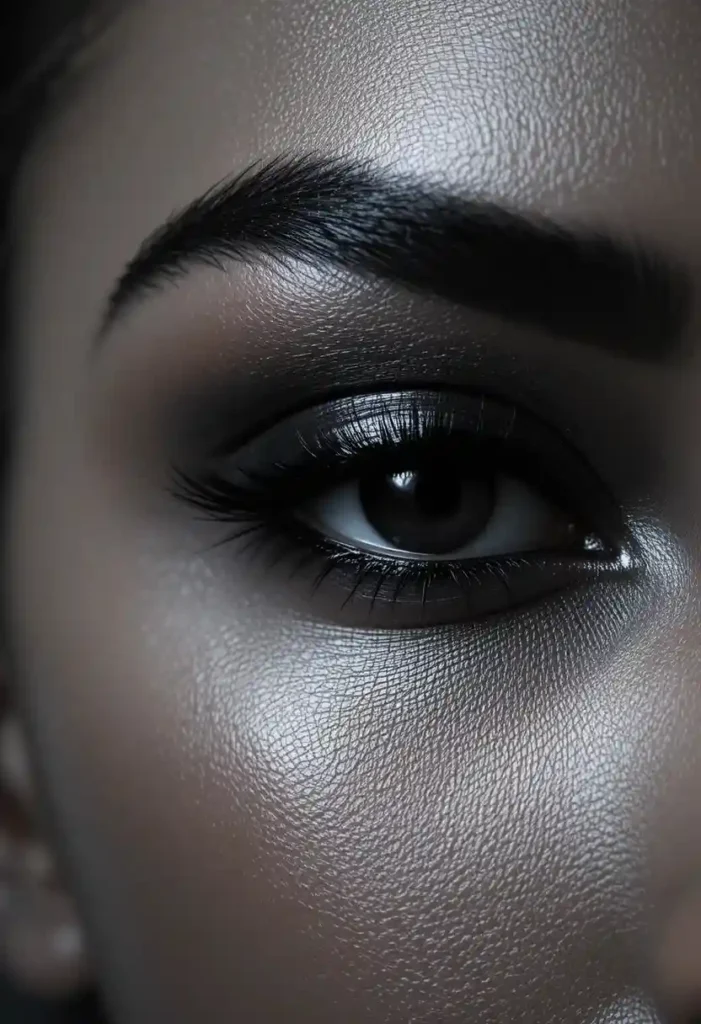
Combining lamination with a professional tint changes everything. The lamination lifts each hair upward, exposing the underside that typically sees less pigment, then a deep brown or black tint saturates every strand from root to tip. The result is a brow lamination idea that creates the illusion of extreme density and sharpness, almost like a powdered makeup look that never smudges. This pairing is especially powerful for blondes, redheads, or anyone with naturally light brows that disappear under the lift.
When the tint matches your natural hair color or goes one shade deeper, the laminated shape becomes incredibly graphic and purposeful. You will notice that even sparse areas appear filled because the lifted hairs cast shadows on the skin below. The combined effect lasts about four weeks for the tint and six for the lift, so you get a long window of zero-maintenance, camera-ready brows. Many clients schedule their lamination and tint together as a “brow facial” that saves time and money.
17. Laminated Brows with a Soft Wave for Wavy Hair Textures
If you have naturally wavy or curly brow hairs, fighting them straight often leads to breakage and frustration. This idea embraces your texture by laminating a soft, uniform wave into each hair rather than forcing it pin-straight. The technician uses a curved rod or comb to create gentle S-shapes, then sets the wave pattern so all curls move in the same direction. The finished brow looks full, bouncy, and uniquely yours.
What makes this approach genius is that it works with your biology instead of against it. After lamination, your brows will still have movement and body, but without the random kinks that used to point in odd directions. You can refresh the wave each morning by spritzing a little water and scrunching with your fingers. Women with naturally curly hair love how this creates harmony between their head hair and brow hair, making their whole look feel cohesive and intentional.
18. Feather-Tip Lamination for Extra Length Perception
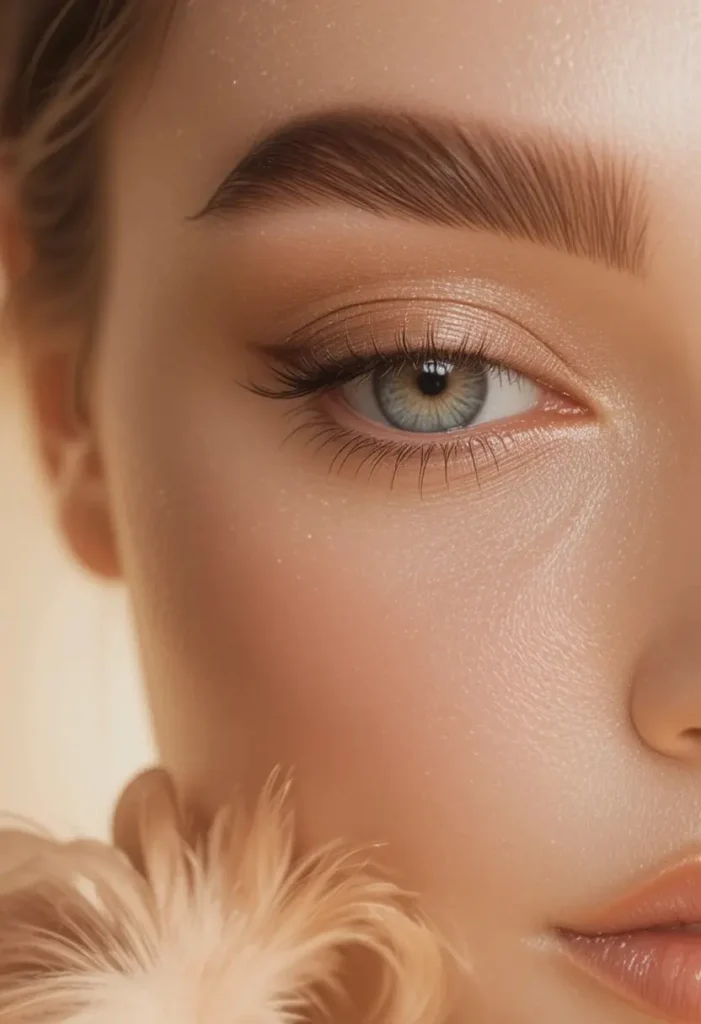
This clever variation focuses only on the outer half of each brow hair, leaving the roots unlifted. By applying the lamination solution to just the tips and brushing them upward and outward, the ends appear to float away from the skin, visually adding length. The trick is that the base stays flat, so you don’t get that “surprised” look, but the extended tips make your brows look longer and more winged, which slim a round face beautifully.
Feather-tip lamination is a favorite among women with shorter brow hairs that never seem to reach their desired length. Because only the tips are processed, the risk of over-processing or damage is minimal, and the lift lasts just as long as a full lamination. You can even combine this with a brow growth serum on the roots to encourage real length over time. The effect is so subtle that most people will just think you’ve had a great brow day, not a treatment.
19. Laminated Brows with a Matte Finish for Oily Skin
Oily skin can cause traditional lamination to lose its hold faster, as natural sebum breaks down the setting agents. The matte finish idea uses a specialized setting lotion that creates a velvet, non-shiny surface on each hair, which repels oil rather than absorbing it. This not only extends the life of your lamination by weeks but also prevents that slick, greasy look that sometimes appears on high-shine laminated brows.
Beyond the practical benefits, the matte finish gives brows a soft, powdery appearance that mimics the look of freshly applied brow powder. It’s ideal for those who prefer a natural, skin-like aesthetic over glassy editorial shine. To maintain the matte finish, avoid oil-based cleansers around the brow area and use a translucent mattifying powder if needed. Many clients with combination or oily skin report that matte lamination stays fluffy and clean for a full eight weeks.
20. Laminated Brows with Angled Inner Corners for a Sharp Start
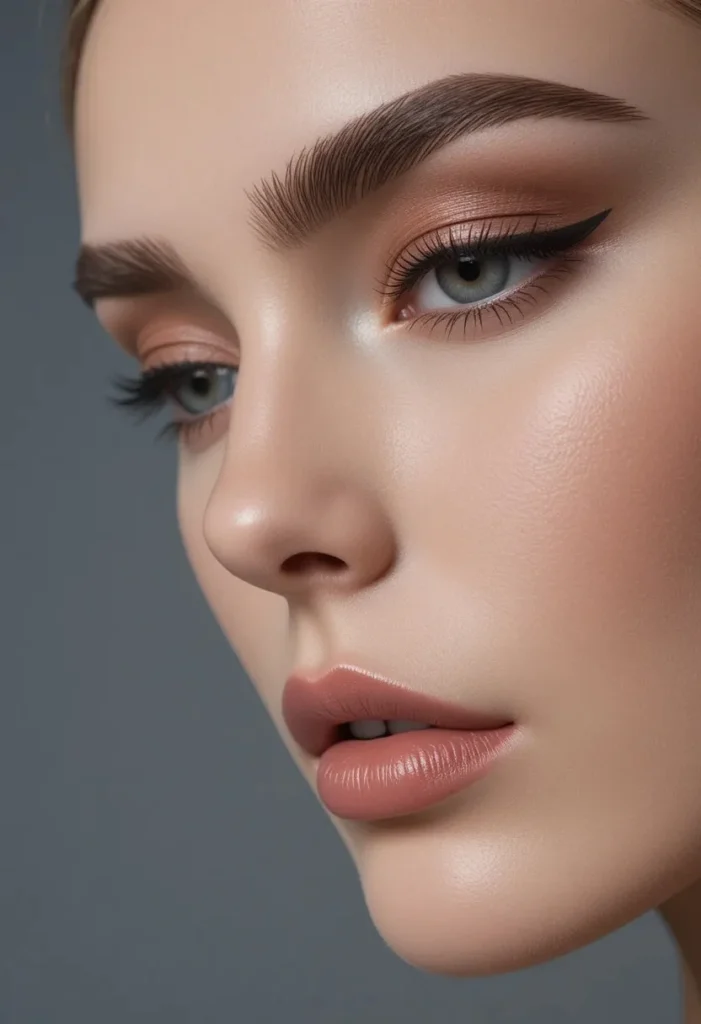
Most lamination styles soften the inner brow, but this idea sharpens it. The hairs at the very front of the brow are brushed straight down or at a severe inward angle, creating a clean, boxy start that mimics the precision of a fresh microblade stroke. The rest of the brow then lifts upward as usual, creating a fascinating contrast between a sharp square front and a feathered body.
This architectural detail works wonders for women with wide-set eyes, as the boxy inner corners visually pull everything toward the center of the face. It also gives an instant “editorial” upgrade to an otherwise classic lamination. You will need to communicate clearly with your stylist, showing a reference photo, because most technicians default to a rounded start. Once you try this, you may never go back to soft, diffused inner brows again.
21. Laminated Brows with a Vertical Gradient of Hold Strength
Here is an advanced idea that uses different setting times across the vertical height of each hair. The roots receive the shortest processing time, so they remain flexible and natural, while the mid-shafts get medium hold, and the tips are fully locked into place. This creates a brow that moves naturally at the base but stands up beautifully at the ends, combining the best of both worlds: lived-in realism with polished tips.
The vertical gradient requires a very skilled laminator who can apply solution with a fine brush and time each zone separately. The payoff is astonishing: your brows will look undetectably treated, even up close. They will feel soft to the touch, yet never fall out of place during the day. This is the holy grail for anyone who has tried lamination before and disliked the stiff, “helmet hair” sensation on their brows.
22. Laminated Brows with a Sunkissed Tip Bleach
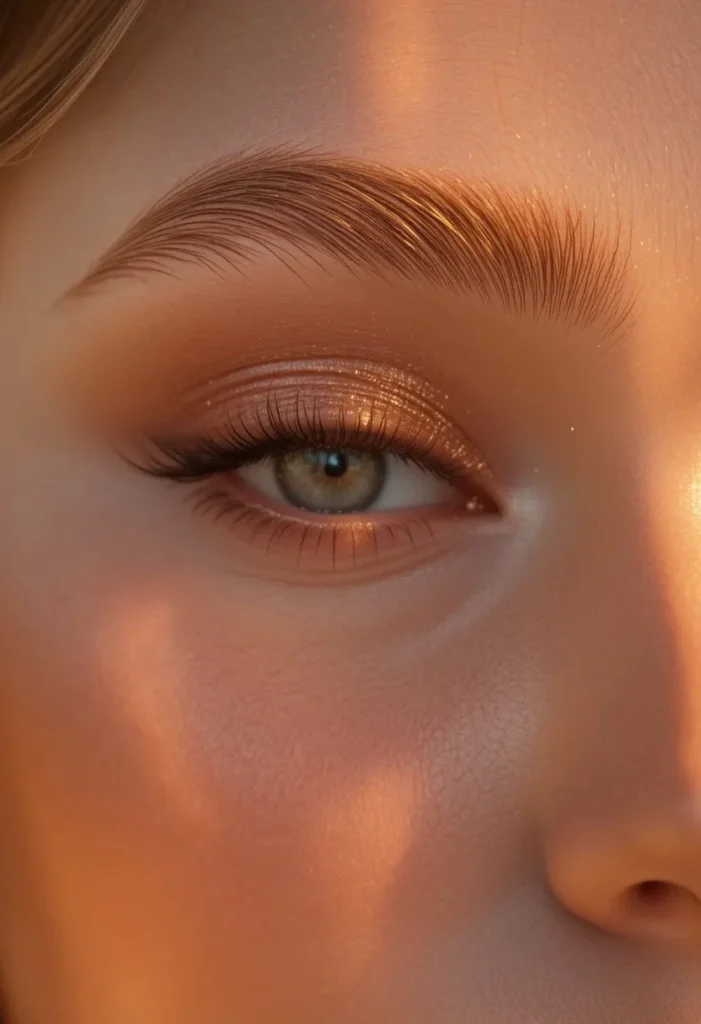
Instead of bleaching the entire brow, this idea laminates first, then applies a mild bleach only to the very tips of the upright hairs. The result is a sun-kissed, ombré effect where the roots remain dark and the tips fade to a soft blonde or caramel. When light hits the brows, the lighter tips seem to glow, adding incredible dimension and a trendy, beachy vibe that pairs perfectly with warm-weather makeup.
This style is especially stunning on brown or auburn hair, as the contrast creates depth without the commitment of full bleaching. The laminated lift makes the color transition more visible because the tips stand away from the skin. Maintenance is simple: as your brows grow, the dark roots will appear, creating a natural shadow that actually enhances the ombré look. You can refresh the tip bleach every four to six weeks without re-laminating the whole brow.
23. Hybrid Lamination and Brow Lifting for Hooded Eyes
The final idea addresses a specific anatomical concern: hooded eyelids where excess skin droops over the outer crease. A standard upward lamination can sometimes worsen the hood by pushing brow hairs into the fold. The hybrid approach laminates the inner two-thirds upward for openness, but the outer third is brushed downward and slightly outward, effectively lifting the hooded skin by redirecting hair weight away from the crease.
This custom technique requires a consultation where the stylist maps your hood and marks the exact point where the brush direction changes. When done correctly, your eyes will look visibly more open, and you may notice that eyeshadow creasing decreases because the brow hairs no longer push product into the fold. It’s a game-changer for mature clients or anyone with genetic hooding. After trying this hybrid lamination, many report feeling like they’ve had a mini brow lift without any downtime or expense.
Conclusion
Finding your perfect brow lamination idea comes down to understanding your natural hair texture, face shape, and personal style. From the barely-there whisper of a soft wispy set to the bold statement of a bleached editorial arch, there is a technique that will make your morning routine simpler and your eyes more captivating. Bring these ideas to your next brow appointment, talk openly with your stylist about what feels right for you, and enjoy the confidence that comes with beautifully framed, effortlessly elegant brows that last for weeks.

Mehboob Ahmad is the founder and writer behind BeautyVibeWorld. With a genuine passion for skincare, makeup, and everyday beauty routines, Mehboob started this platform to share simple, practical, and research-backed advice that real people can actually use without the confusion of conflicting trends and overhyped products.
Every article on BeautyVibeWorld is written with care, backed by research, and regularly updated to stay accurate and relevant. Mehboob believes good beauty advice should be honest, easy to follow, and free of unnecessary complexity.
Outside of writing, Mehboob enjoys exploring new beauty trends and staying up to date with the latest in skincare and haircare research to keep bringing fresh, reliable content to BeautyVibeWorld readers.