
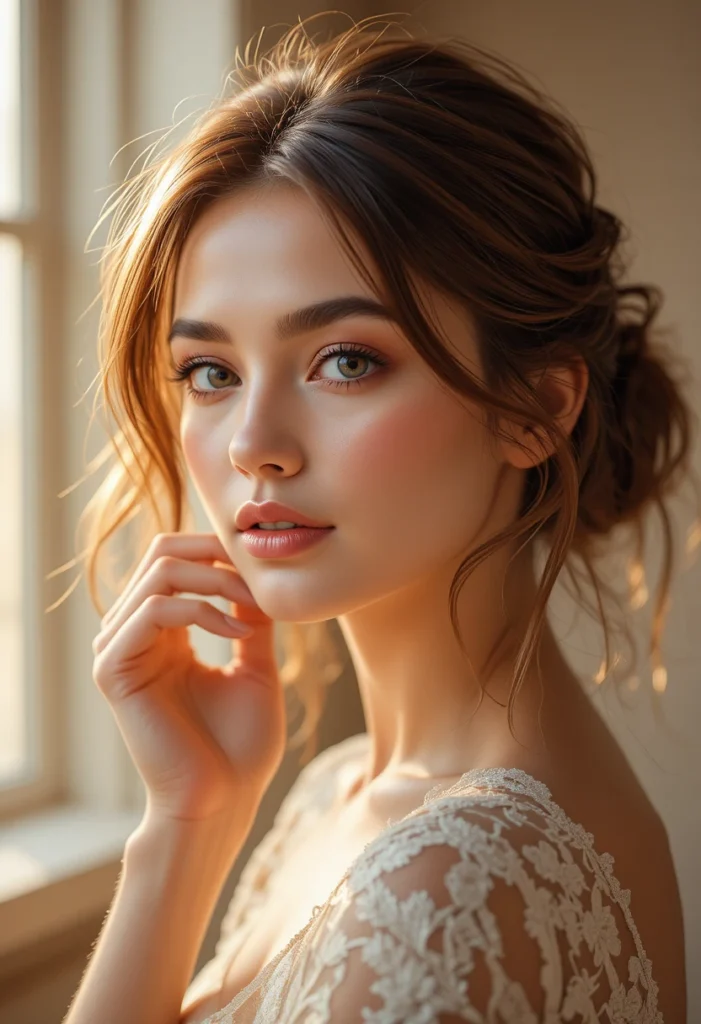
If you have thinner hair, you might assume updos are out of reach. Too many styles fall flat, expose sparse areas, or feel frustratingly fragile. But the right easy up dos for thinner hair looks tips actually work with your natural texture to create fullness and bounce. You don’t need thick strands or complicated techniques—just a few clever twists, soft placements, and gentle lifts that take minutes to master.
Below you’ll find 23 simple, head-turning styles designed specifically for finer hair. Each one focuses on volume-boosting tricks like loose pinning, strategic teasing (without damage), and soft textures that hold all day. No harsh products, painful tugging, or expensive tools. Just quick, beautiful results that make you feel confident from morning to night. Let’s get started.
1. Messy Low Bun with Face-Framing Pieces
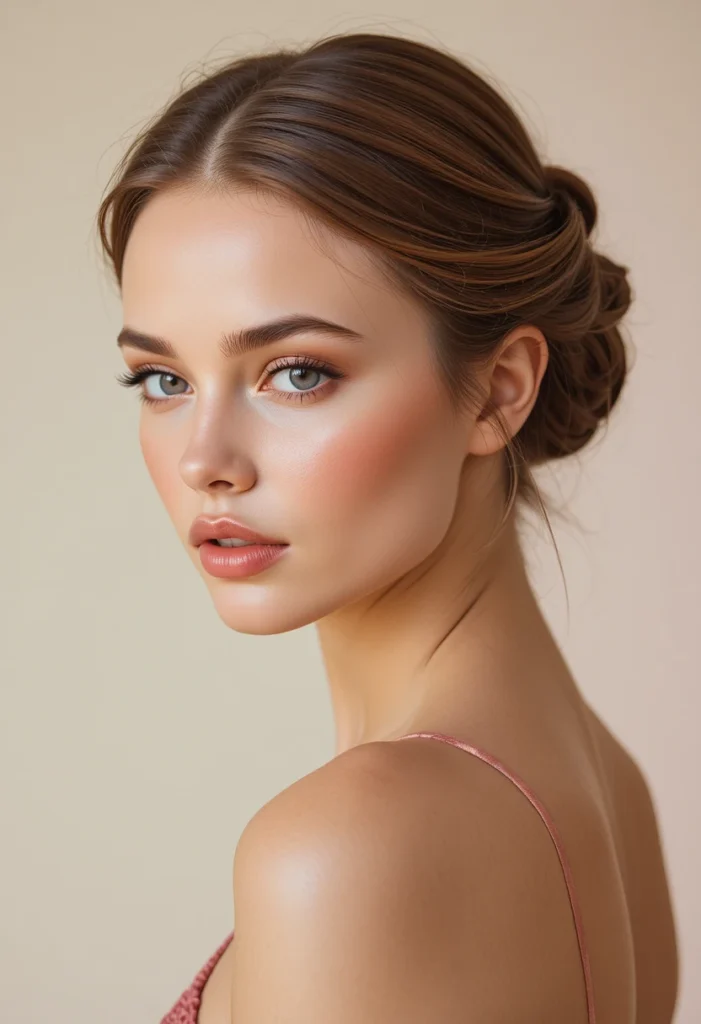
A sleek, tight bun can make thinner hair look even thinner. Instead, go for a messy low bun that stays loose at the crown. Gather your hair at the nape, twist it softly, and secure with small pins. Then gently pull out a few strands around your ears and forehead—those wispy pieces break up any visible scalp and add softness.
The key is texture. Before twisting, run your fingers through dry hair with a touch of texture spray. This gives the bun grip and body without weighing it down. Let the ends poke out slightly rather than tucking everything in. That imperfect finish reads as intentionally voluminous, not thin.
2. Twisted Half-Up with Hidden Lift
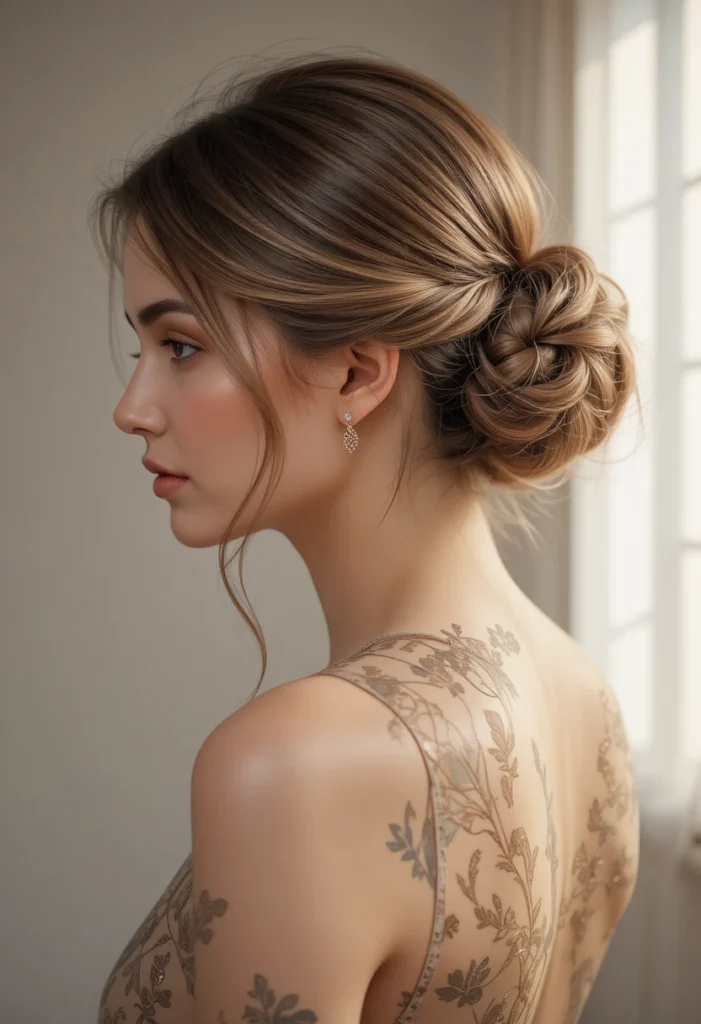
Half-up styles are perfect for thinner hair because they keep length while lifting the top. Take two small sections from above each temple, twist them backward, and join at the center back. Secure with a clear elastic or small claw clip. Then—here’s the trick—gently push the twist forward before tightening. That creates a hidden pocket of air under the crown.
Fluff the lower half with your fingers to blend. Avoid pulling the twists tight against your head. Leave about an inch of slack so the hair bubbles up slightly. This simple volume hack makes your ponytail look twice as thick without any backcombing.
3. Side-Swept Rolled Chignon
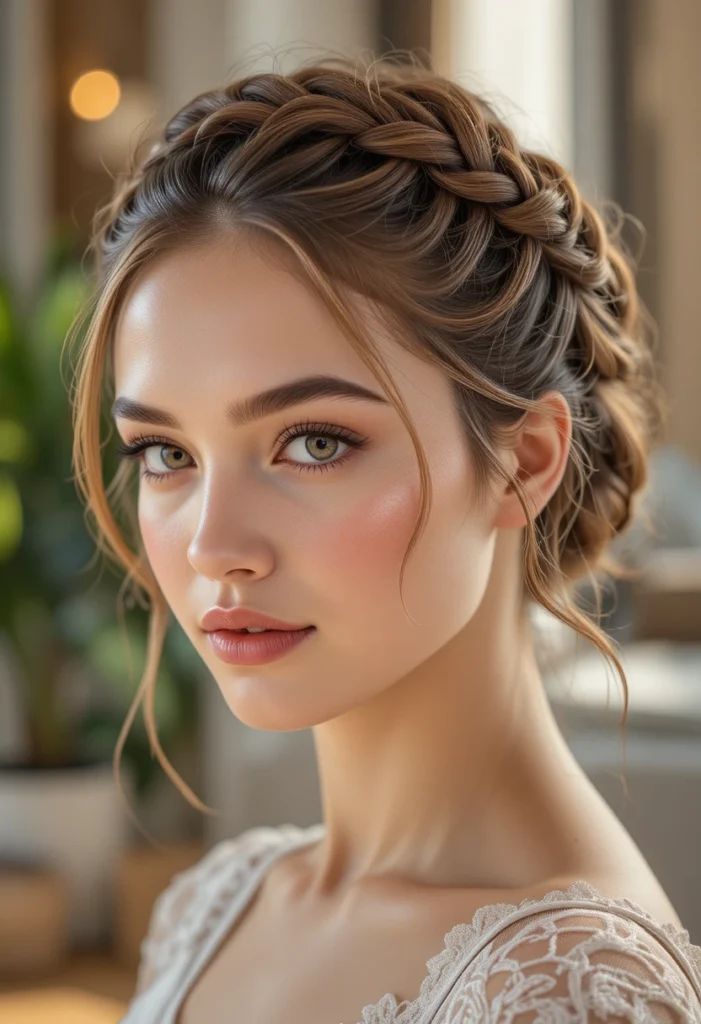
A side placement changes everything for fine hair. Brush all your hair to one side, just behind your ear. Then roll the length inward toward your neck, like making a soft cinnamon bun. Pin the roll flat against your head with crisscrossed bobby pins. The asymmetry distracts from any thin spots and adds instant drama.
For best results, start with day-old hair or a little dry shampoo. Clean hair slips too easily. The roll should feel cushiony, not tight—if you see gaps, use smaller pins to anchor the edges. Let a few bottom layers dangle free for a romantic, undone vibe that hides fine ends.
4. Braided Crown with Tucked Ends
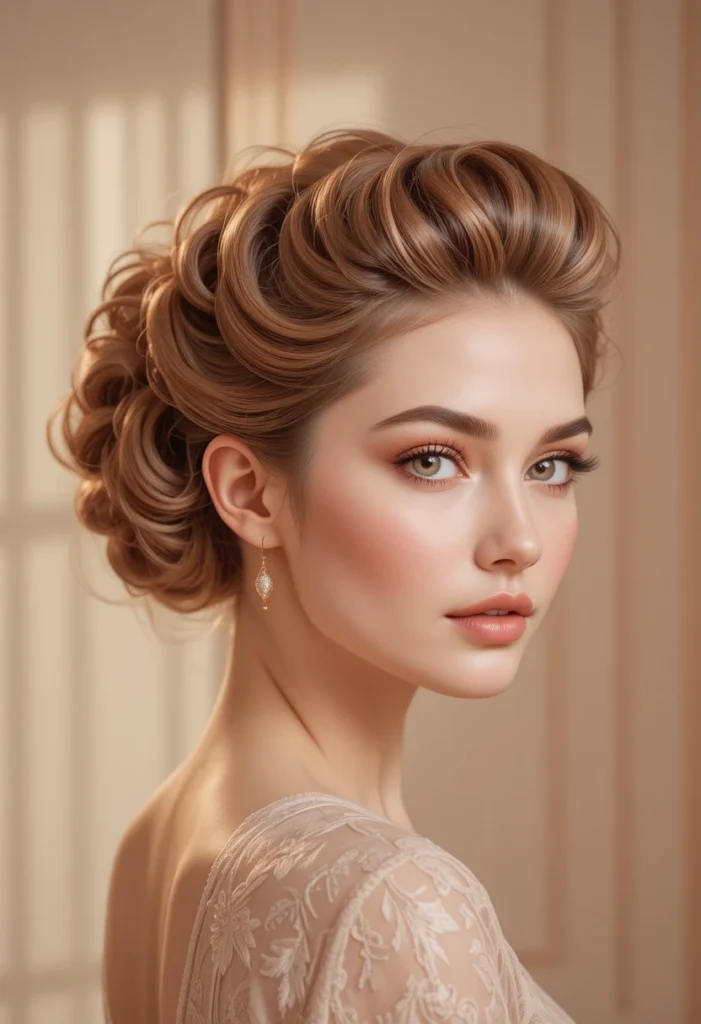
A braided crown looks intricate but takes minutes on thinner hair. Part your hair down the middle. Create two loose three-strand braids from each side, starting at the temples and braiding toward the back. Instead of elastic bands, tuck the tail of each braid under the opposite braid’s start point. Use two pins to hold each tucked end.
This technique eliminates bulky elastics and spreads volume evenly around your head. The braids lie flat against your scalp but the tucked loops create unexpected height. If your hair is very fine, add a volumizing powder at the roots before braiding. The grip will keep everything in place for hours.
5. Pin-Curl Clustered Updo
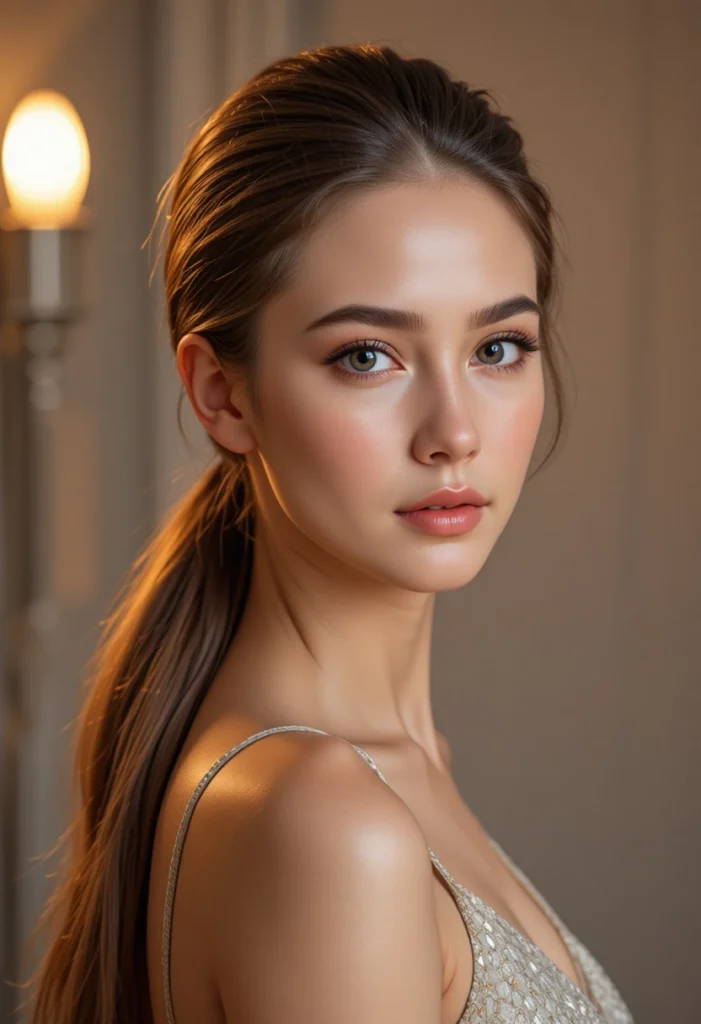
Pin curls aren’t just for vintage looks—they build massive texture on thin hair. Section dry hair into 2-inch squares. Wrap each section around two fingers, slide off, and pin the loop flat against your head with a double-prong clip. Continue pinning until your whole head is covered in small loops. Let them set for five minutes.
Remove the clips and gently separate each curl with your fingertips. Don’t brush! Now gather all that springy texture into a low, loose cluster and pin randomly. The individual curls hold each other up, creating a cloud of volume that looks like you have twice the hair. No teasing required.
6. Low Ponytail with a Hidden Twist
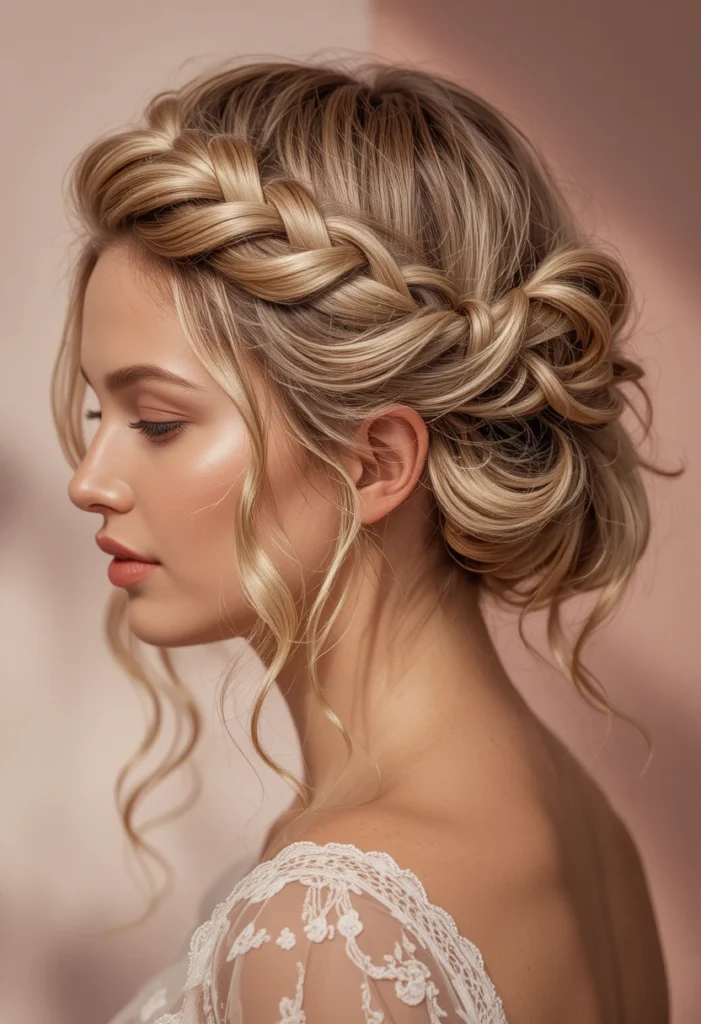
A basic low ponytail can look limp on fine hair, but a single hidden twist changes everything. Gather your hair as if for a low ponytail, but before securing it, divide the ponytail into two halves right above the band. Pull the entire length up and through that small gap. This inverted ponytail trick creates a twisted detail that adds visual density.
The twist also lifts the roots slightly without any backcombing. After pulling through, gently tug the sides of the twist to widen it. Use a small claw clip underneath the ponytail to prop it up. That extra support makes the style appear fuller and bouncier for hours, even on the finest strands.
7. Rope-Twist Half-Up with Volume Pockets
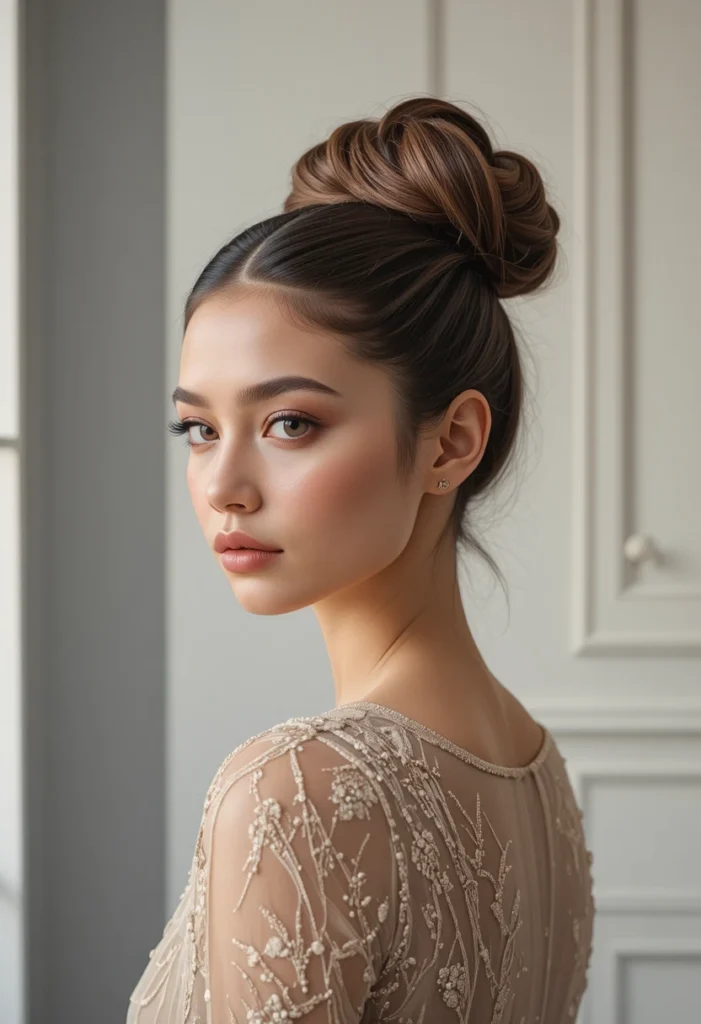
Rope twists are simpler than braids and hold shape beautifully on thinner hair. Take two small sections from your temples and twist each one individually away from your face. Then cross them at the back of your head and pin them together. Before pinning, lift each twist slightly to create a pocket of air underneath.
Those air pockets are your best friend for volume. Secure the twists with small pins inserted horizontally. Then gently pull a few millimeters of hair from the top of each twist to soften the edges. The result is a sculpted, airy look that gives fine hair major lift without any product buildup.
8. Double Stacked Buns
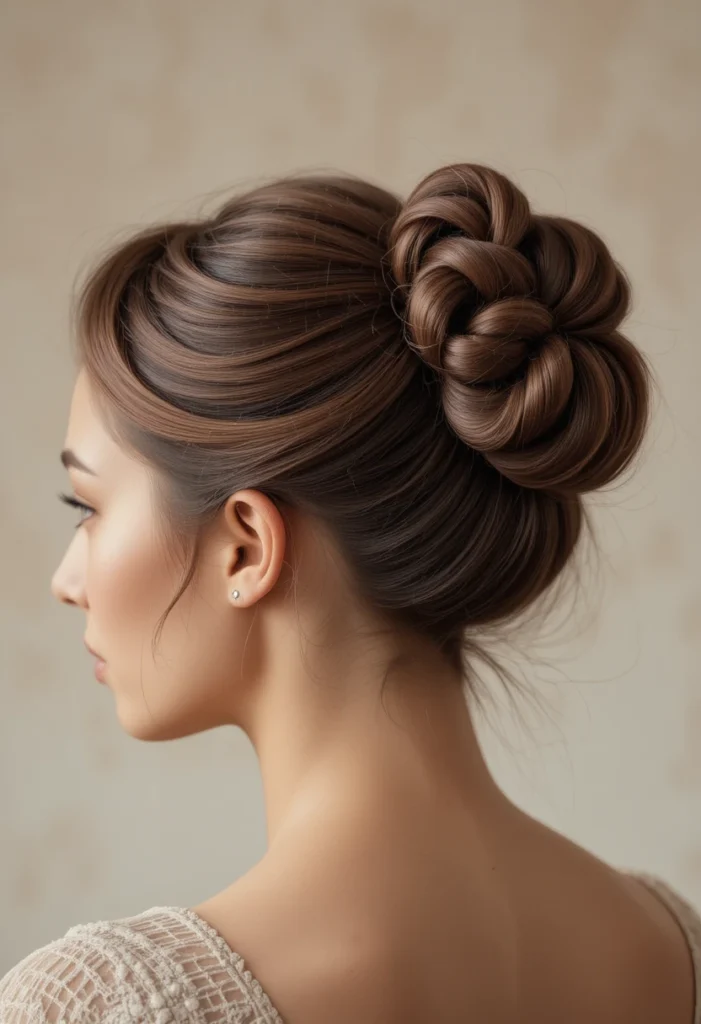
Two small buns stacked vertically create the illusion of thickness by breaking your hair into manageable, puffy sections. Part your hair horizontally at ear level. Tie the top section into a tiny, loose bun at the crown. Then tie the bottom section into another small bun directly below the first. The stacked shape mimics thick, layered hair.
Keep both buns messy—pull out random ends and let the edges fray. The gap between the buns shows scalp, but because there are two distinct volumes, the eye reads overall density. Use mini spin pins for a secure hold that won’t flatten the buns over time.
9. Scarf-Weaved Low Chignon
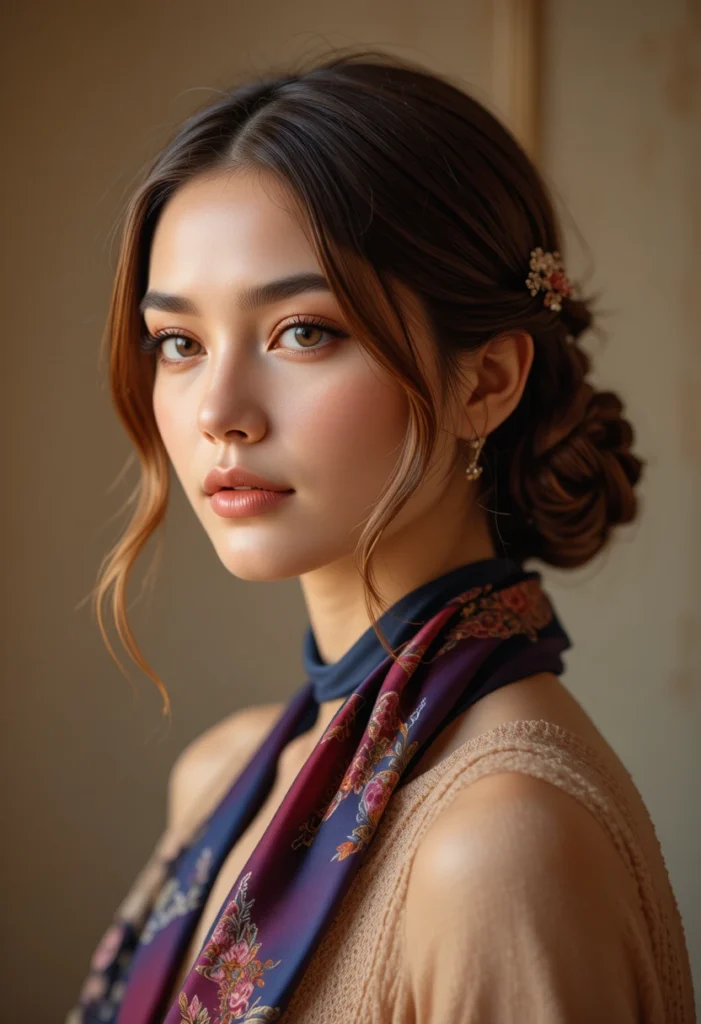
A soft silk scarf adds color and disguises thin spots instantly. Tie a thin scarf around your head like a headband, leaving the tails long. Gather all your hair into a low side ponytail. Then weave the scarf tails into the ponytail as if you were braiding—cross the tails over and under the hair strands.
Once the tails run out, wrap the entire ponytail into a loose chignon and tuck the ends of the scarf inside the bun. The scarf acts as structural support, filling gaps and adding texture. This style works especially well on days when your hair feels extra flat or slippery.
10. Pinched Loop Bun
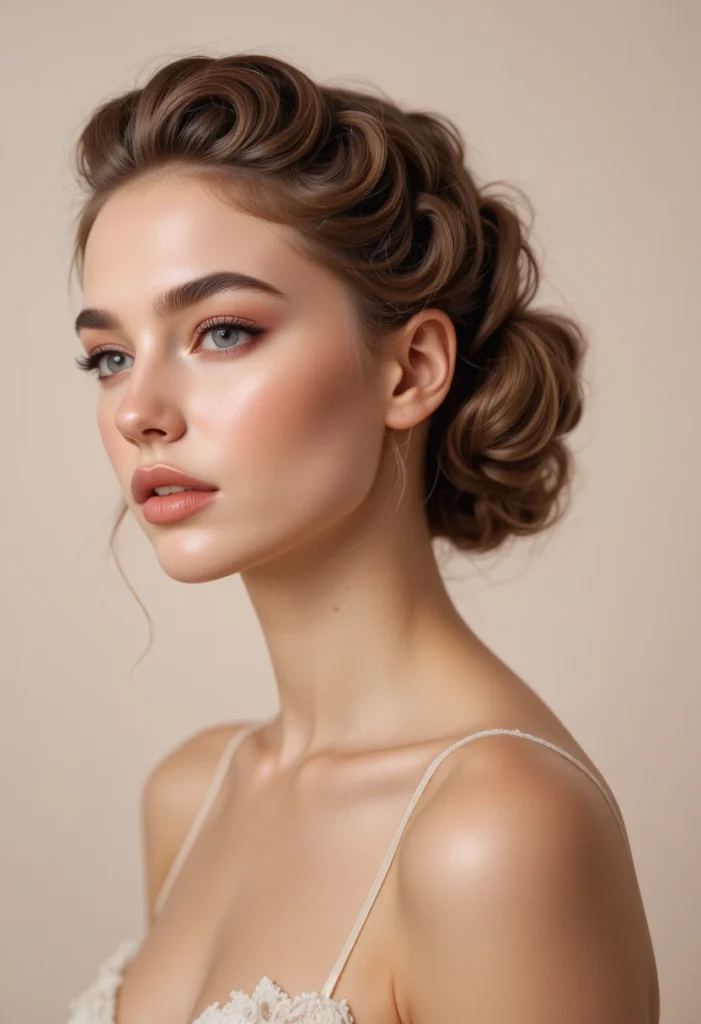
The pinched loop bun takes thirty seconds but looks intentionally undone. Pull your hair into a high ponytail. Instead of wrapping the length around the base, create a loop by folding the ponytail in half. Pinch the middle of the loop with one hand while securing the folded ends to your scalp with pins.
The resulting shape is a flat, wide loop that sits like a bow against your head. Spread the loop open with your fingers to make it look thicker. This style works because the hair doubles back on itself, instantly creating the appearance of more strands than you actually have.
11. Deep Side Part with Rolled Under
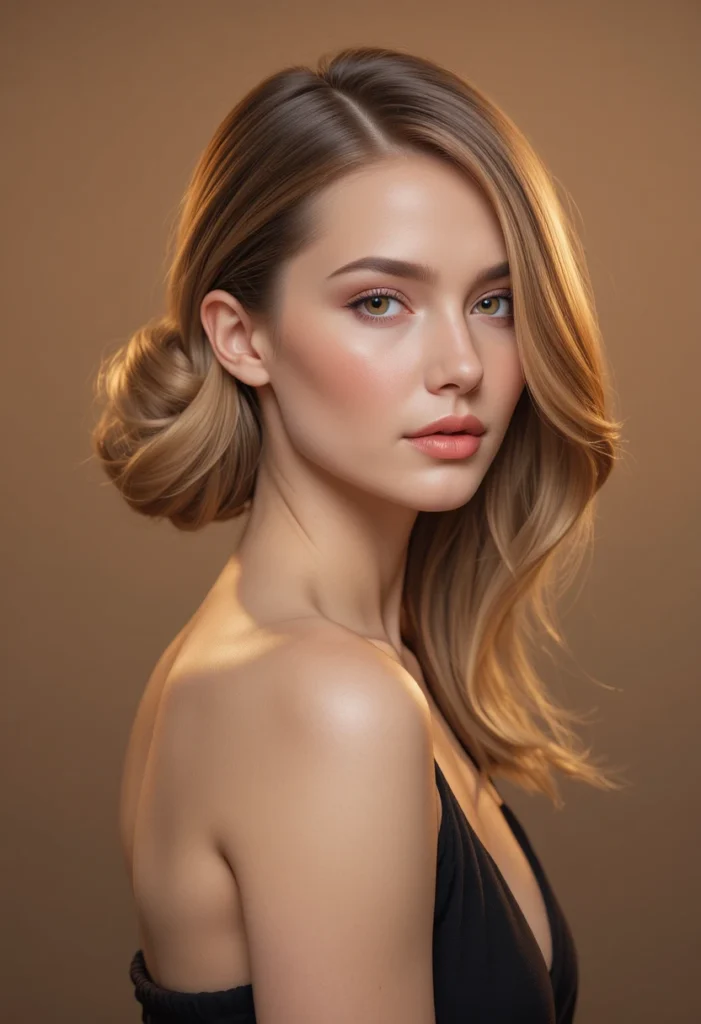
A dramatic side part alone adds lift, but rolling the heavier side under takes it further. Brush all your hair to one side and make a deep part above your opposite eyebrow. Then take the bulk of the hair and roll it under toward your neck in a soft, horizontal fold. Pin the fold flat against your head.
Leave the ends free to cascade down your shoulder. The rolled section acts like a hidden cushion, pushing the top layer upward. This is one of the most effortless volume tricks for thinner hair because it requires no heat, no teasing, and no special products—just two minutes and three pins.
12. Figure-Eight Pins
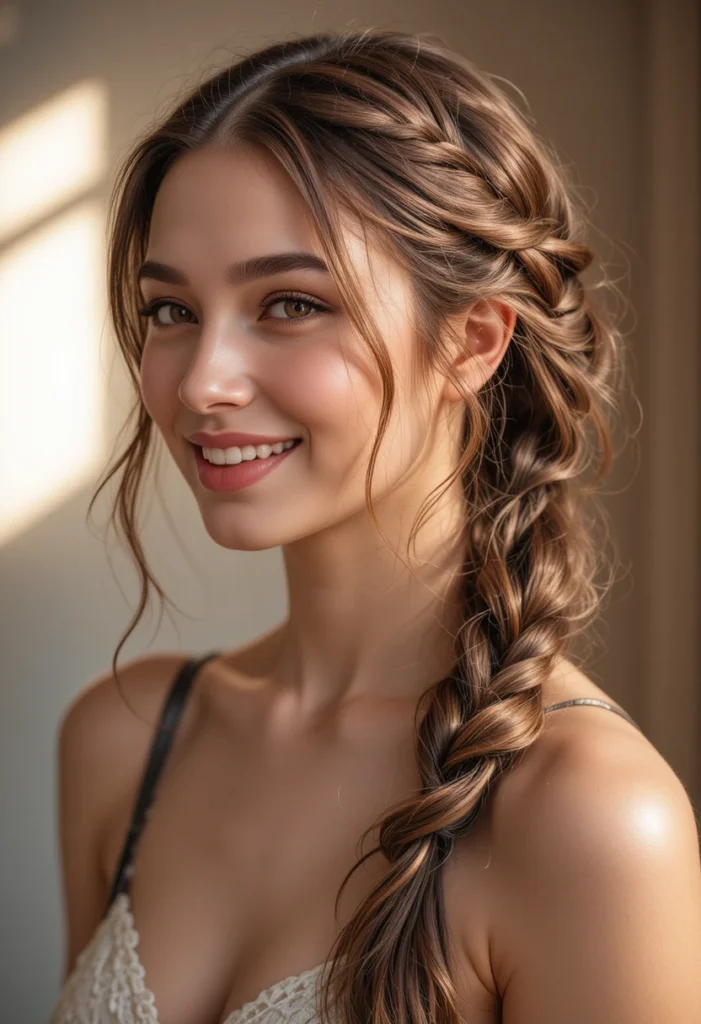
The figure-eight pattern distributes thin hair evenly so no sparse area stands out. Twist your dry hair loosely and lay it against your head in a figure-eight shape—two loops side by side, crossing at the center. Pin each loop at its outer edge and one pin at the crossover point.
This style works best on shoulder-length or longer fine hair. The double loops create shadows and highlights that mimic thick, wavy hair. Let a few short pieces around your hairline stay loose to soften the look. You can also mist with light-hold hairspray, but the pins alone will hold for hours if placed securely.
Read also:17 Hair Breakage Prevention Tips: Protect Your Length and Restore Your Hair’s Strength
13. Fake Fishtail Pull-Through
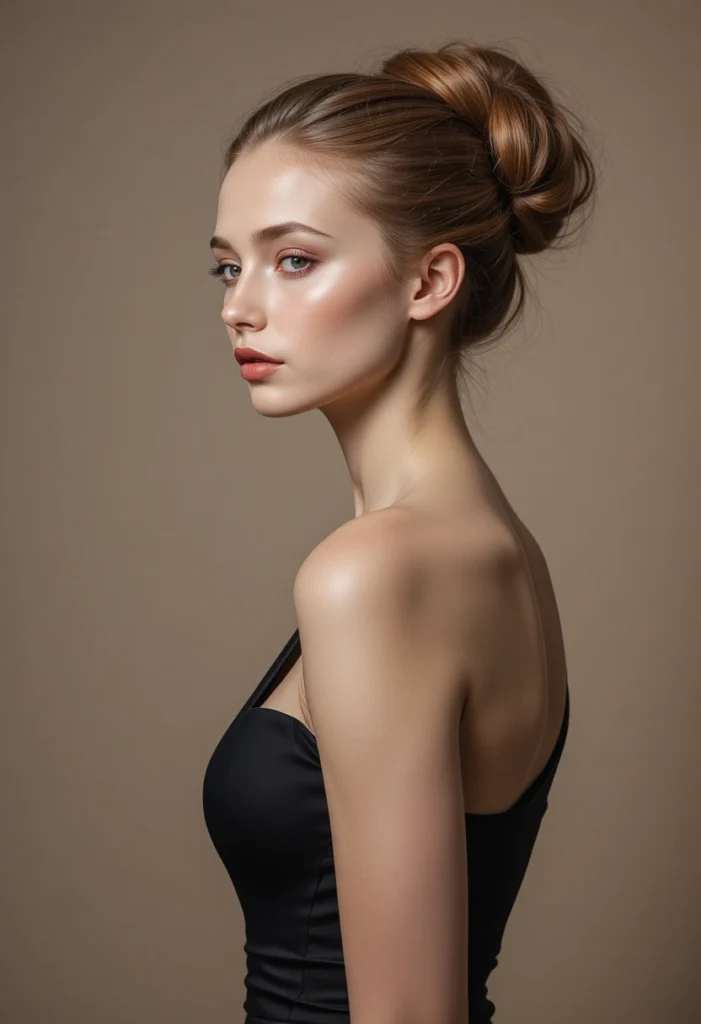
A real fishtail braid can be tedious, but a fake version uses elastics to build instant mass. Gather your hair into a low ponytail with a clear elastic. Then add another elastic two inches down. Pull the section between the elastics apart gently to create a puffed, braided effect. Repeat every two inches down the length.
This creates a series of bubbled segments that look like an intricate braid. For thinner hair, use smaller gaps between elastics so each bubble stays dense. The visual repetition of puffs tricks the eye into seeing thick, healthy hair. Finish by hiding the top elastic under a small piece of hair wrapped around it.
14. Leaning Tower Bun
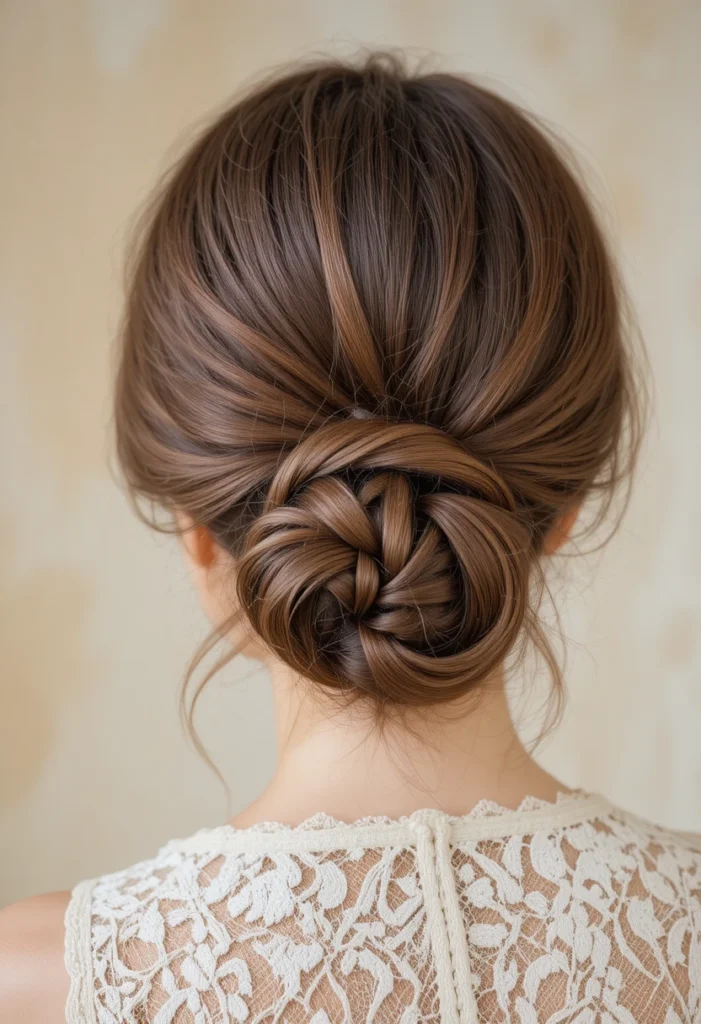
A bun placed slightly off-center gives the illusion of height on the opposite side. Gather your hair into a high ponytail but position it an inch left of your crown. Twist the ponytail loosely and coil it into a bun that leans toward the right. Pin only the left edge of the bun firmly, leaving the right side softer.
The asymmetry makes the bun look larger because the eye follows the diagonal line. Add a small decorative clip on the lower side to anchor the style. This is a five-minute updo that works beautifully for dinner dates or work events where you want quiet elegance without volume sacrifices.
15. Knotted Low Bun with Surface Texture
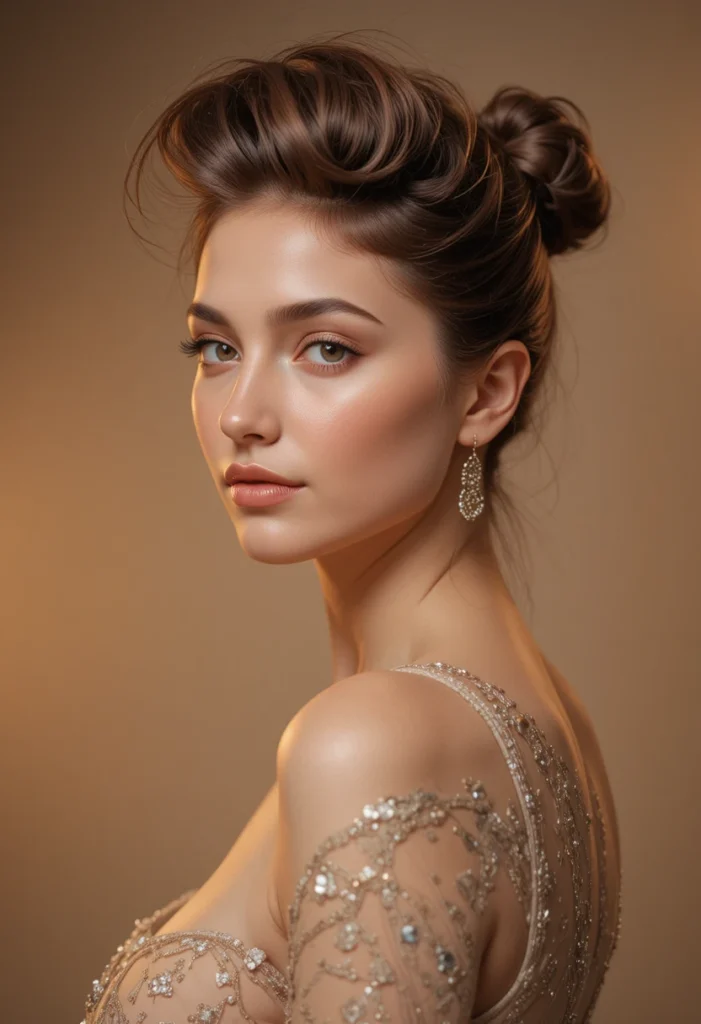
Knots create natural ridges that read as thickness. Divide your damp hair into three horizontal sections. Tie each section into a simple, loose overhand knot—just like tying a shoelace but without pulling tight. Stack the three knots vertically at your nape and pin each one in place.
The stacked knots create deep shadows and peaks that make thin hair look richly textured. Don’t smooth the knots flat; let them puff out. This style holds surprisingly well because knots lock into each other. It also protects fine ends from breaking since there’s no tight elastic or heat involved.
16. Forward Roll with Lifted Crown
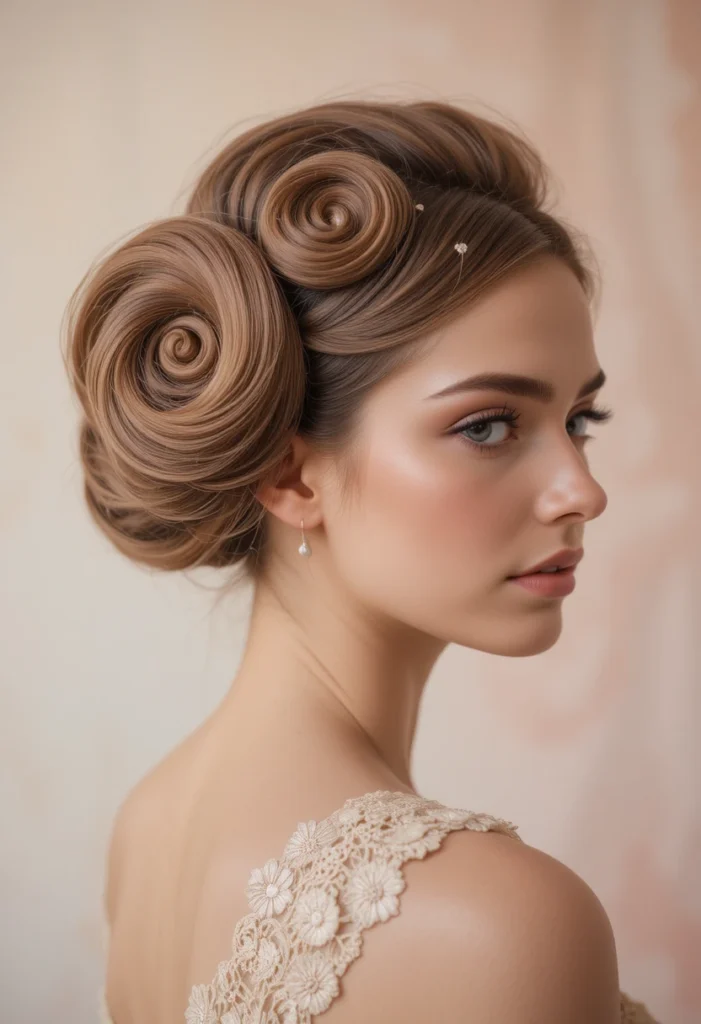
Most updos pull hair backward, which can flatten the crown. Try rolling forward instead. Lean your head down so your hair falls toward your face. Starting at your forehead, gently roll the hair backward toward your crown, like making a French roll upside down. Pin the roll as you go, then stand up straight.
The forward-rolled section sits like a padded headband across your crown, lifting everything beneath it. Leave the back length loose or tuck it under. This technique is especially good for very fine, straight hair that refuses to hold volume. The roll itself becomes the volume.
17. Three-Piece Pinwheel
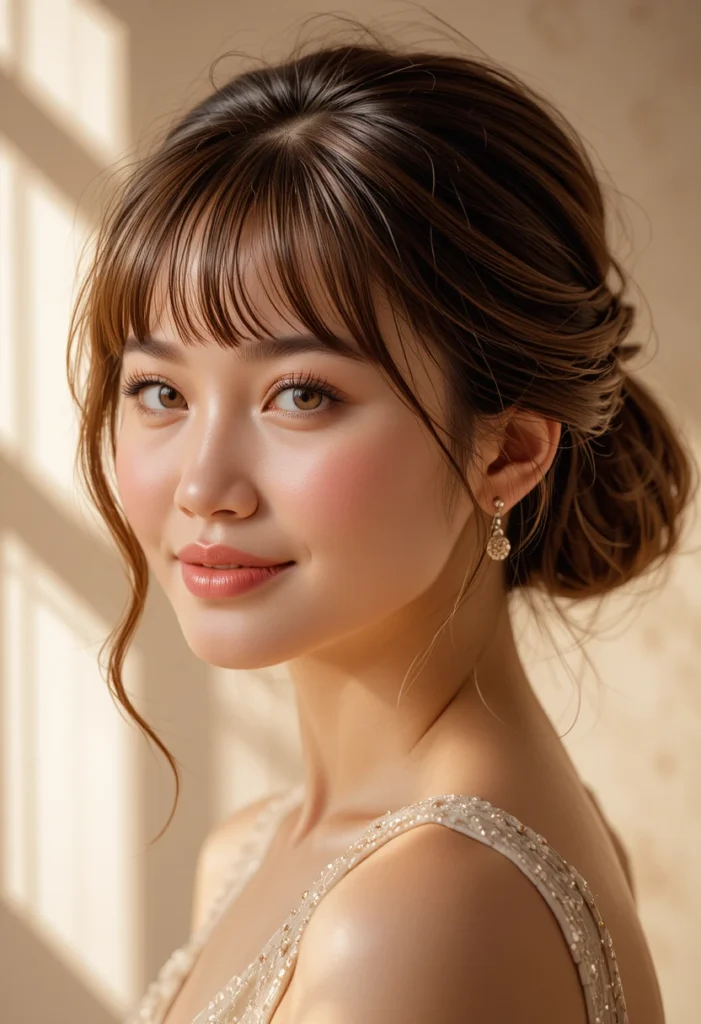
Divide your hair into three equal sections—left, right, and back. Twist each section into a small, flat pinwheel coil and pin it close to your scalp. Arrange the three pinwheels in a triangle pattern: one at the crown, one behind the left ear, one behind the right ear. The triangulation fills out your whole head evenly.
Because each pinwheel is small and separate, they each look dense and plump. Space them an inch apart so the scalp shows in between—that contrast actually makes each wheel appear thicker. This is a great second-day style when your hair has some natural grit but needs a refresh.
18. Tucked Under Curtain Bangs Style
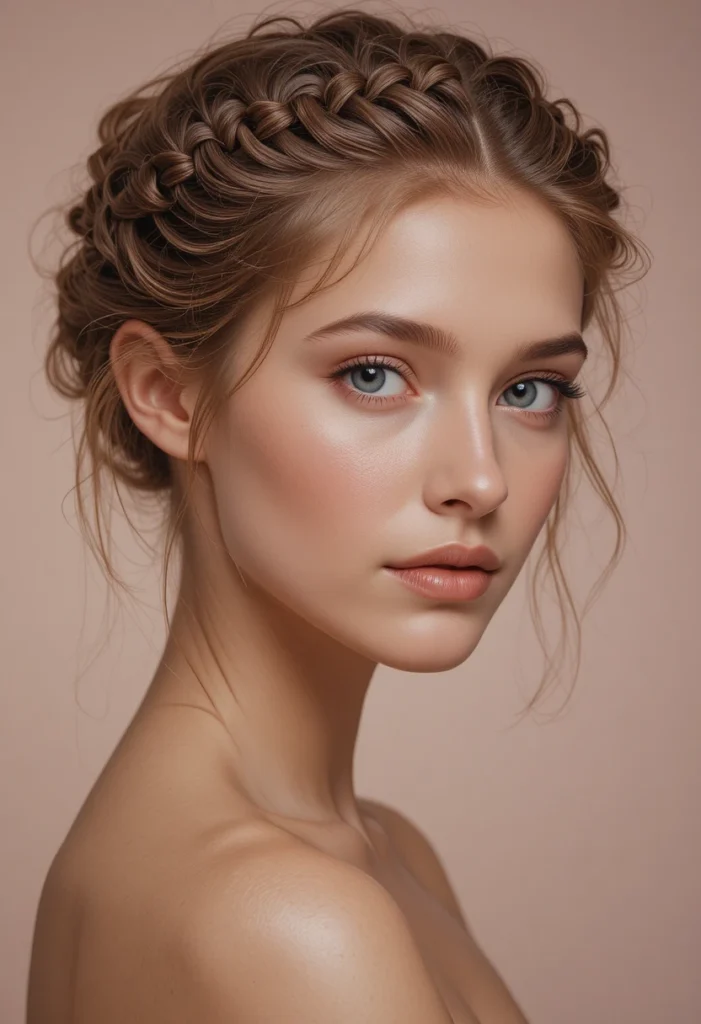
If you have curtain bangs or face-framing layers, use them to build a soft updo. Pull the back half of your hair into a low, loose bun. Then take your front sections and tuck each one under the bun’s edge instead of pulling them back. Pin the tucked ends invisibly inside the bun.
This leaves a soft, curved shape around your face without any tension on the hairline. The tucked-under technique adds a rounded silhouette that hides thin temples or receding edges. It also keeps hair off your face while looking intentionally messy and romantic.
19. Twisted Mini Rolls Along the Hairline
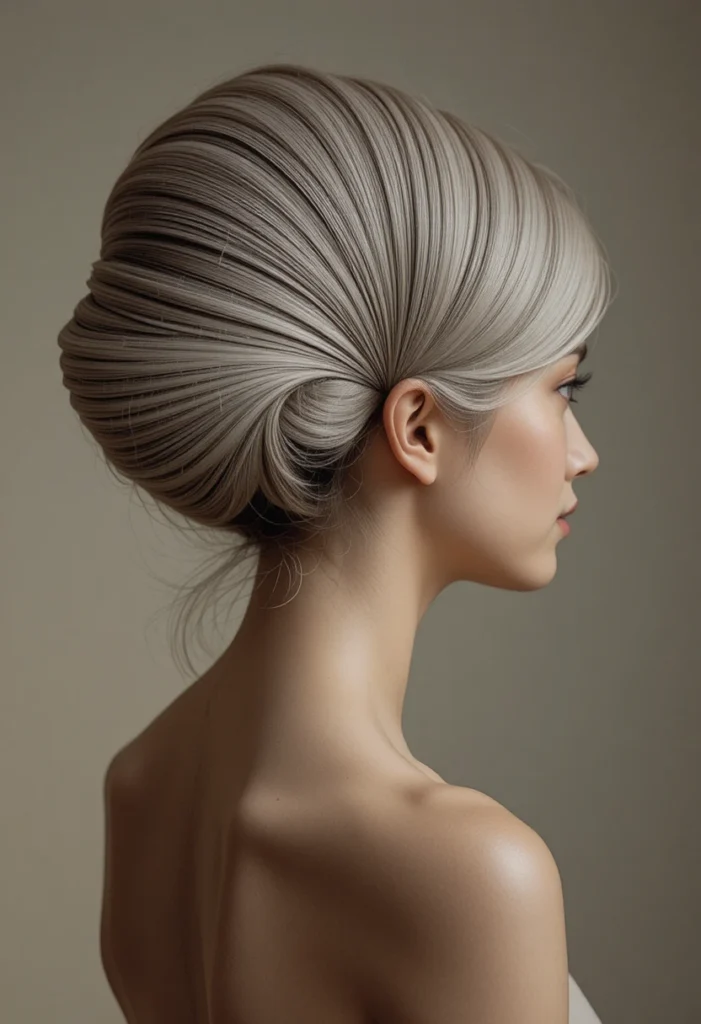
Small twisted rolls placed along your hairline act like built-in volume padding. Take thin one-inch sections from your hairline (starting above one ear and moving across the forehead). Twist each section loosely and roll it toward the crown, pinning it flat. Repeat until you’ve created four to five mini rolls.
These micro-rolls lift your entire front profile without needing height at the crown. They also break up any visible scalp along the part line. Leave the rest of your hair down or pull it into a low ponytail. The contrast between the textured front and smooth back creates the illusion of much thicker hair overall.
20. Folded Fan Bun
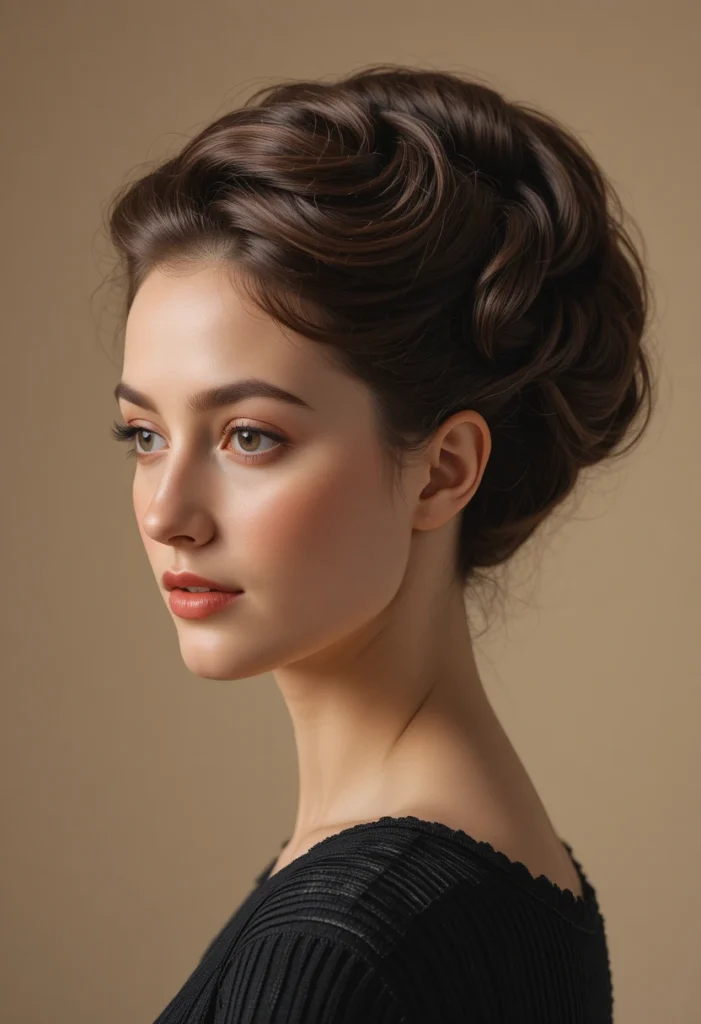
This style looks complex but uses a simple folding technique. Make a low ponytail. Fan the ponytail out flat against your head like a peacock tail. Then fold the fanned hair upward in two or three horizontal folds, stacking each fold on top of the last. Pin each fold at its outer edges.
The folded layers trap air between them, giving the bun a puffy, cloud-like appearance. For thinner hair, use smaller folds (about one inch each) so each layer stays crisp. This updo works exceptionally well on fine hair that’s been lightly texturized with sea salt spray.
21. Diagonal Lace Braid into Bun
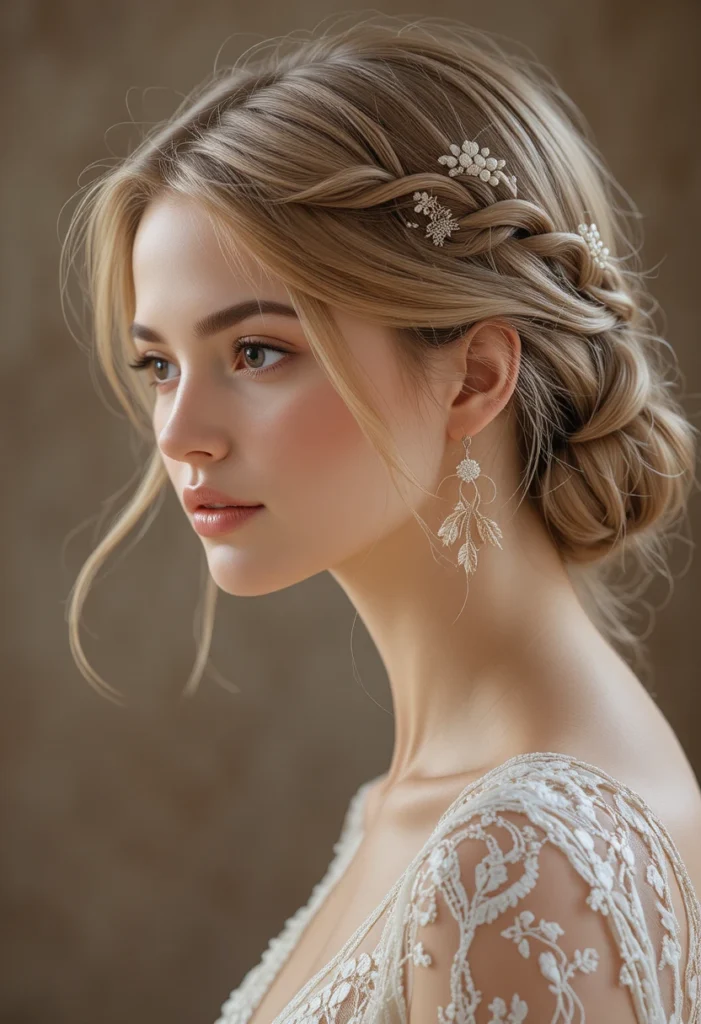
A diagonal lace braid pulls hair from only one side, leaving the rest free to add volume. Start at your left temple and make a loose lace braid moving diagonally down toward your right nape—adding small pieces only from the top edge. Once you reach the nape, gather all hair into a low side bun.
The open, airy braid creates a sweeping line of texture that directs attention away from thin spots. Because the braid is lace (not full), it doesn’t consume too much hair. The remaining hair in the bun feels thicker by comparison. This is an excellent choice for fine hair that tangles easily.
22. S-Curve Pin Set
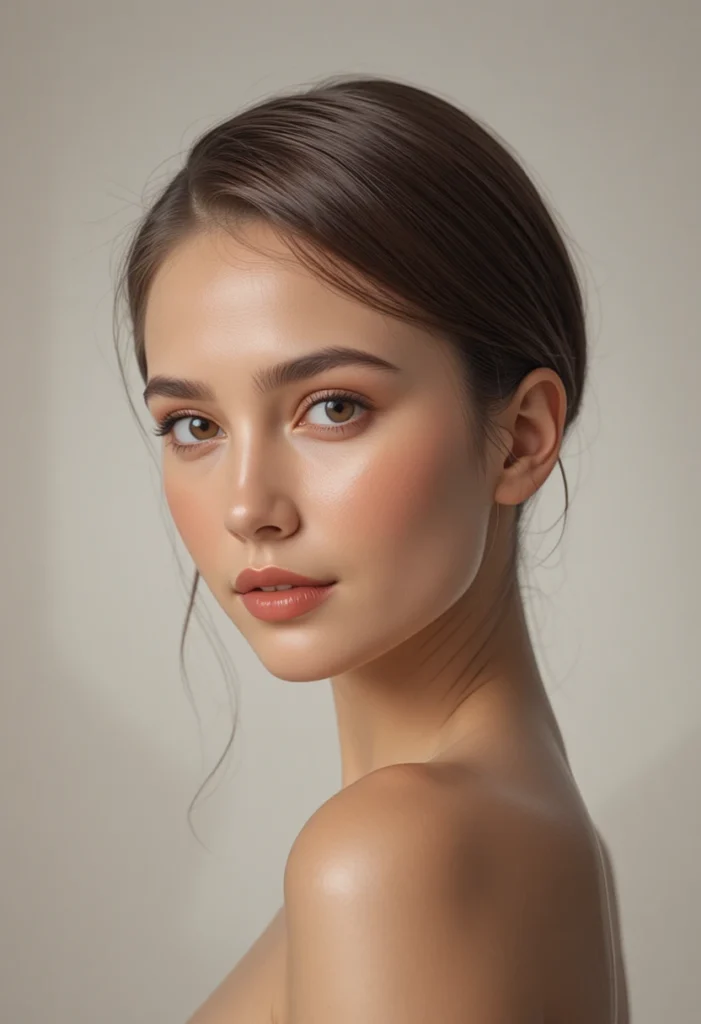
Instead of one continuous bun, use three to four separate S-curve pins (also called wave pins) to shape your hair into soft waves pinned flat. Press small sections of hair against your head in an S-shape—over, under, over. Slide a wave pin over each curve. The repeating S-pattern creates a scalloped texture that looks like thick, curled hair.
This is essentially a heatless, pinless (except the pins) set that doubles as an updo. Let the ends stick out slightly for a modern edge. The S-curves reflect light differently across your head, adding visual dimension that thinner hair often lacks. Mist lightly with flexible hairspray to set.
23. Sleek Wrap with Hidden Volume Pad
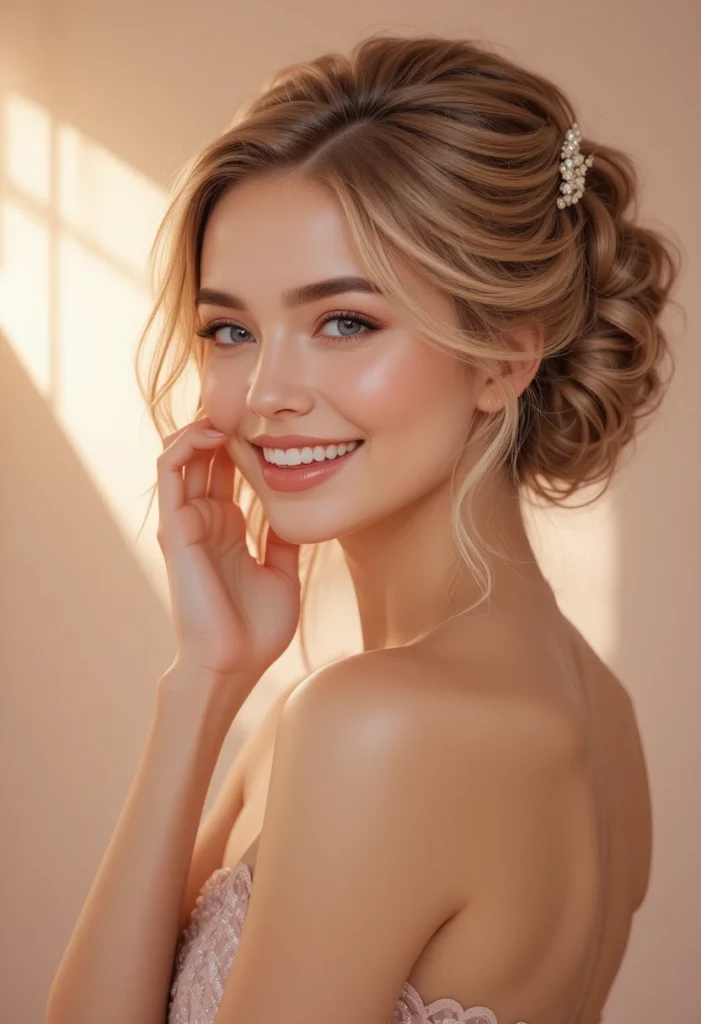
For a polished look that still adds thickness, use a small hidden volume pad (a foam bump or even a rolled sock). Place the pad under your top layer at the crown. Brush your hair smoothly over it and gather everything into a low, sleek wrap. Twist the length and tuck it under itself, pinning flat.
The hidden pad does all the work—your natural hair simply glides over it. This is the only “cheat” on the list, but it’s perfect for formal events where you want a smooth, elegant finish without sacrificing fullness. Secure with strong pins and a light veil of spray. No one will ever know it’s there.
Conclusion
Thinner hair doesn’t mean boring hair. With these 23 easy up dos for thinner hair looks tips, you have a full wardrobe of styles that lift, fluff, and celebrate what you have. Each one takes just a few minutes, uses minimal tools, and focuses on gentle techniques that protect fine strands. The next time you feel like hiding your hair under a hat or reaching for harsh backcombing, try a messy low bun, a tucked braided crown, or a folded fan bun instead. You’ll be surprised how much volume lives inside your own hands. Now go ahead—pin, twist, and step out feeling beautifully confident.

Mehboob Ahmad is the founder and writer behind BeautyVibeWorld. With a genuine passion for skincare, makeup, and everyday beauty routines, Mehboob started this platform to share simple, practical, and research-backed advice that real people can actually use without the confusion of conflicting trends and overhyped products.
Every article on BeautyVibeWorld is written with care, backed by research, and regularly updated to stay accurate and relevant. Mehboob believes good beauty advice should be honest, easy to follow, and free of unnecessary complexity.
Outside of writing, Mehboob enjoys exploring new beauty trends and staying up to date with the latest in skincare and haircare research to keep bringing fresh, reliable content to BeautyVibeWorld readers.