
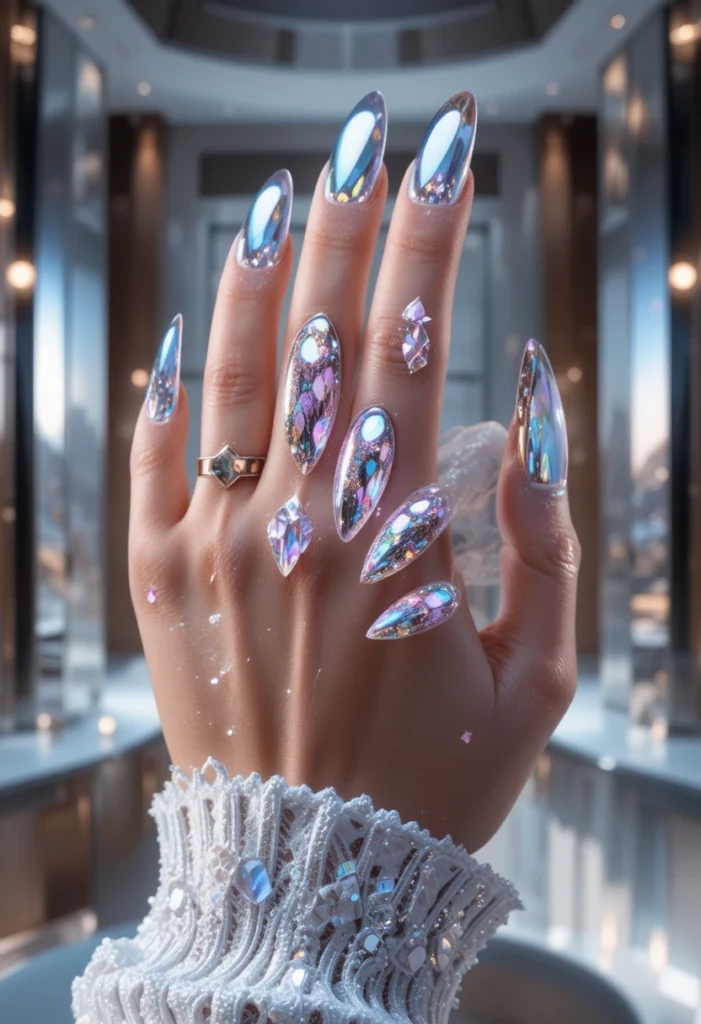
Chrome nails have taken over social feeds, salons, and beauty conversations for one simple reason — they look like liquid metal poured straight onto your fingertips. That mirror-like, futuristic shine has become one of the most requested nail looks of the year, and the best part is that you don’t need a professional technician to achieve it. With a bit of patience, the right products, and some practice, anyone can create salon-quality chrome nails from the comfort of their own home.
This guide walks through more than ten creative and practical ways to approach chrome nail art, covering everything from base preparation to finishing touches, color combinations, and long-lasting application methods. Whether you’re a nail art beginner or someone who already dabbles in gel and acrylic designs, these ideas will help you understand the technique, the tools involved, and how to personalize the chrome effect to match your own style.
Understanding What Chrome Nails Really Are
Chrome nails get their signature look from a special chrome powder pigment that is buffed onto a cured gel base, creating a reflective, metallic finish. Unlike regular polish, this pigment doesn’t rely on color alone — it relies on light reflection, which is why the finish looks almost liquid or mirrored under different lighting. The effect can be applied over nearly any base color, which is part of why it has become so versatile in modern nail art.
The chemistry behind chrome nails involves micro-fine metallic particles that adhere to a tacky or slightly cured gel layer. When buffed with a soft applicator, these particles align in a way that reflects light uniformly across the nail surface. Understanding this foundational concept is important before attempting the look at home, because the success of the finish depends heavily on how well the base layer is prepared and cured. Without a smooth, properly cured surface, the chrome pigment will look patchy instead of seamless.
Essential Tools You Need Before Starting
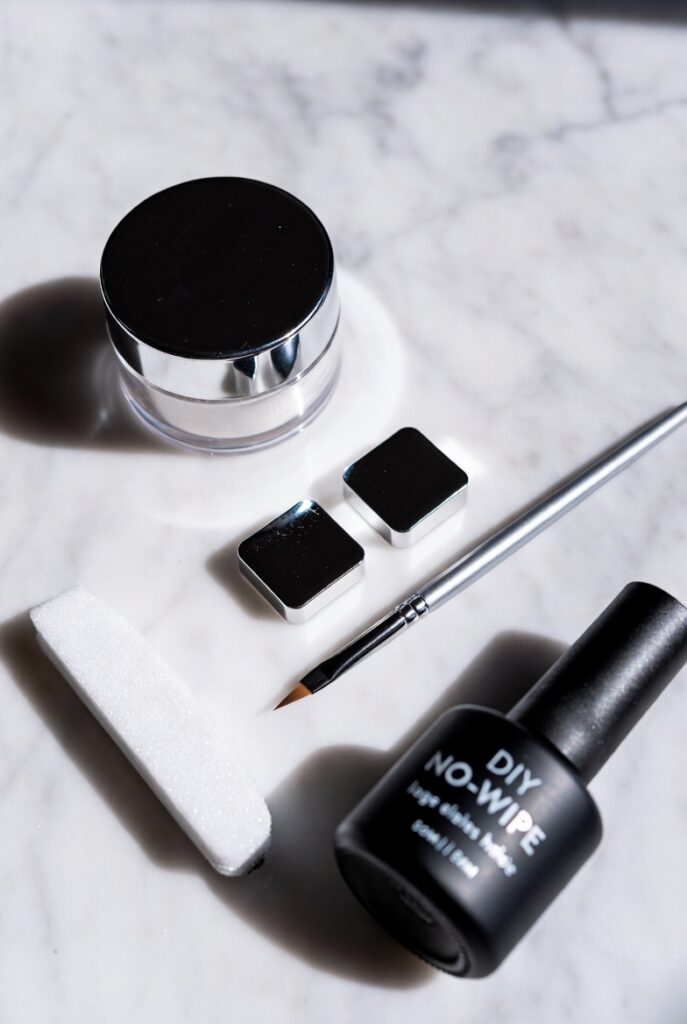
Before diving into any chrome nail tutorial, having the right tools on hand makes a significant difference in the outcome. At a minimum, you’ll need a UV or LED lamp for curing gel layers, a set of quality nail files and buffers, a tack-free top coat, and of course, the chrome pigment itself, which typically comes in a small jar and is applied using a soft silicone or sponge applicator. Investing in tools designed specifically for chrome application, rather than improvising with random household items, tends to produce far more consistent results.
Beyond the basic kit, many home nail artists also keep cuticle oil, a lint-free wipe, and isopropyl alcohol nearby to clean the nail surface between steps. This might seem like a minor detail, but any oil or residue left on the nail bed can prevent the chrome pigment from adhering evenly. A clean, dry, and properly cured surface is the single biggest factor separating a flawless chrome manicure from one that looks smudged or uneven, so gathering the right supplies ahead of time saves both frustration and product waste.
Choosing The Right Base Color For Chrome Application
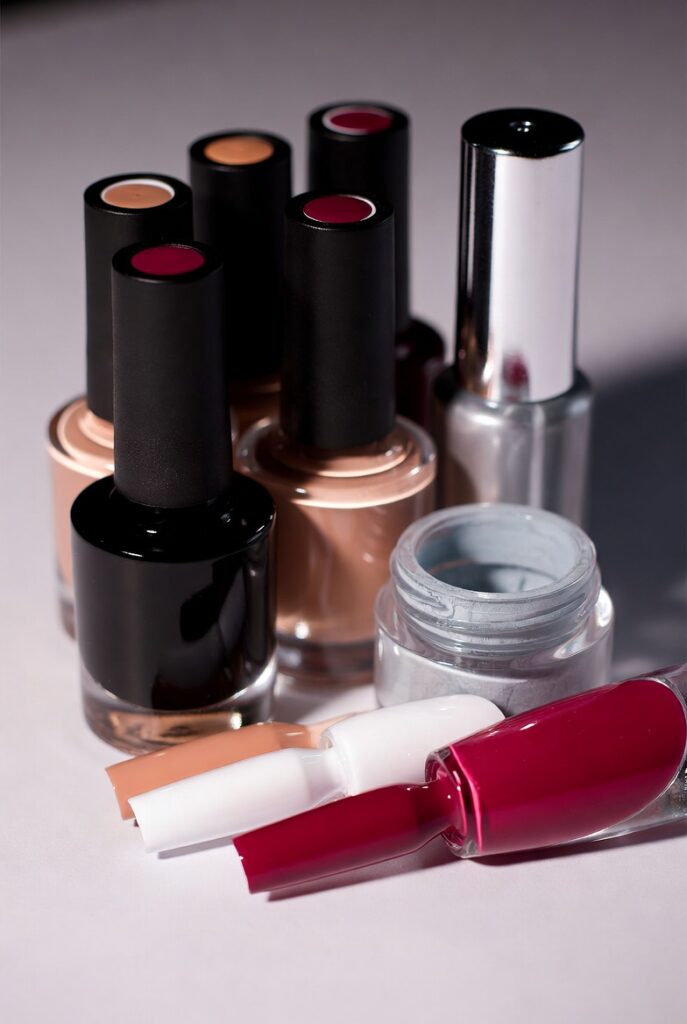
One of the most creative aspects of chrome nail designs is that the base color completely changes the final appearance of the metallic effect. A black base creates a deep, almost gunmetal finish, while a white or nude base produces a soft, pearlescent silver look. Choosing the right base isn’t just a style preference — it directly affects how the light reflects once the chrome powder is applied, which is why experimenting with different shades can lead to dramatically different results even when using the same pigment.
Darker bases tend to be more forgiving for beginners because they hide minor inconsistencies in buffing, while lighter bases require a steadier hand and more even pressure during application. Some nail enthusiasts also experiment with colored bases like deep red, emerald green, or navy blue to create a tinted chrome effect that still maintains that reflective, mirror-like quality. Taking time to test a small swatch on one nail before committing to a full set can help you decide which base best complements your desired final look.
Preparing The Nail Surface For A Flawless Finish
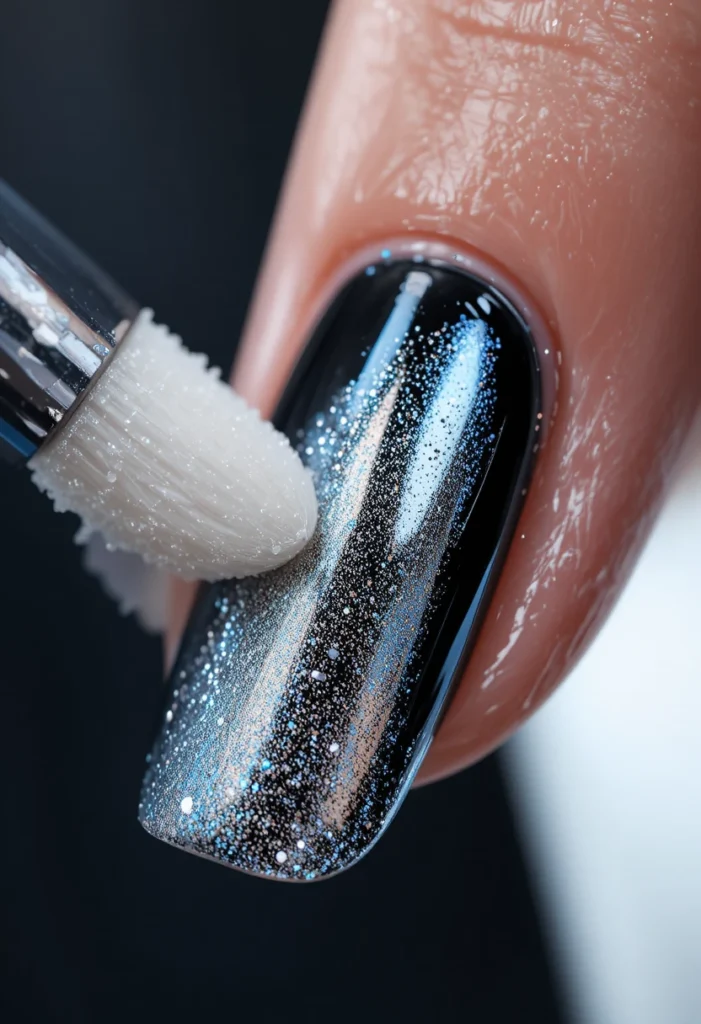
Surface preparation is arguably the most overlooked step in any chrome nails tutorial, yet it determines whether the final result looks professional or amateurish. Before any gel polish goes on, the natural nail should be gently buffed to remove shine, pushed back at the cuticle, and wiped clean with alcohol to eliminate oils. Skipping this stage often leads to lifting, bubbling, or an uneven chrome finish that doesn’t reflect light consistently across the nail.
Once the nail bed is prepped, applying a thin base coat and curing it properly under a lamp sets the foundation for everything that follows. Many home nail artists rush through curing times, but under-curing is one of the biggest reasons chrome powder fails to adhere smoothly. Taking a few extra seconds under the lamp, and ensuring each layer is fully set before moving forward, creates the smooth canvas that chrome pigment needs to look truly mirror-like.
Applying The Chrome Powder Correctly
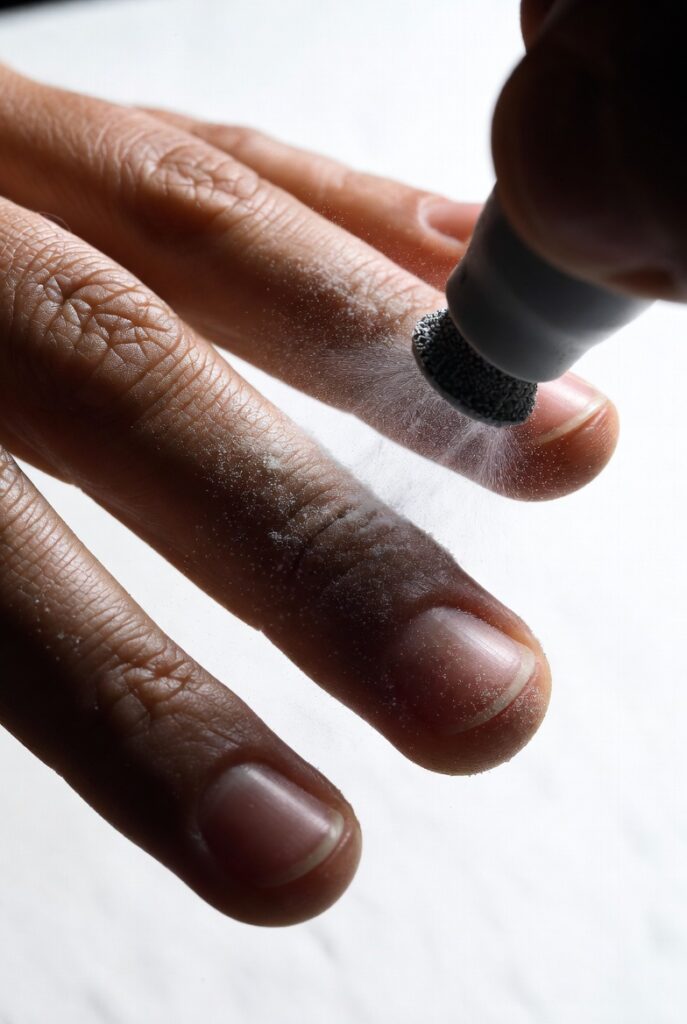
The actual application of chrome pigment is where the transformation happens, and it requires a gentle, circular motion rather than aggressive rubbing. Using a small sponge-tipped applicator or a silicone tool, the powder is picked up and pressed lightly onto the tacky top coat, gradually building up shine with soft, repeated motions. Pressing too hard or moving too quickly can cause streaking, which is why a slow, controlled hand tends to produce the best mirror effect.
It’s also worth noting that temperature and humidity in the room can affect how the pigment behaves, since chrome powder is sensitive to tackiness levels on the gel surface. If the top coat has cured too much, the powder won’t stick properly, and if it hasn’t cured enough, it can smear instead of buff to a shine. Finding that right window of tackiness, often just seconds after curing, is a skill that improves with practice and repetition.
Read also:10+ Coquette Nail Aesthetic Pink Ideas: Embrace Soft, Feminine Charm at Your Fingertips
Sealing The Chrome Effect With A Top Coat
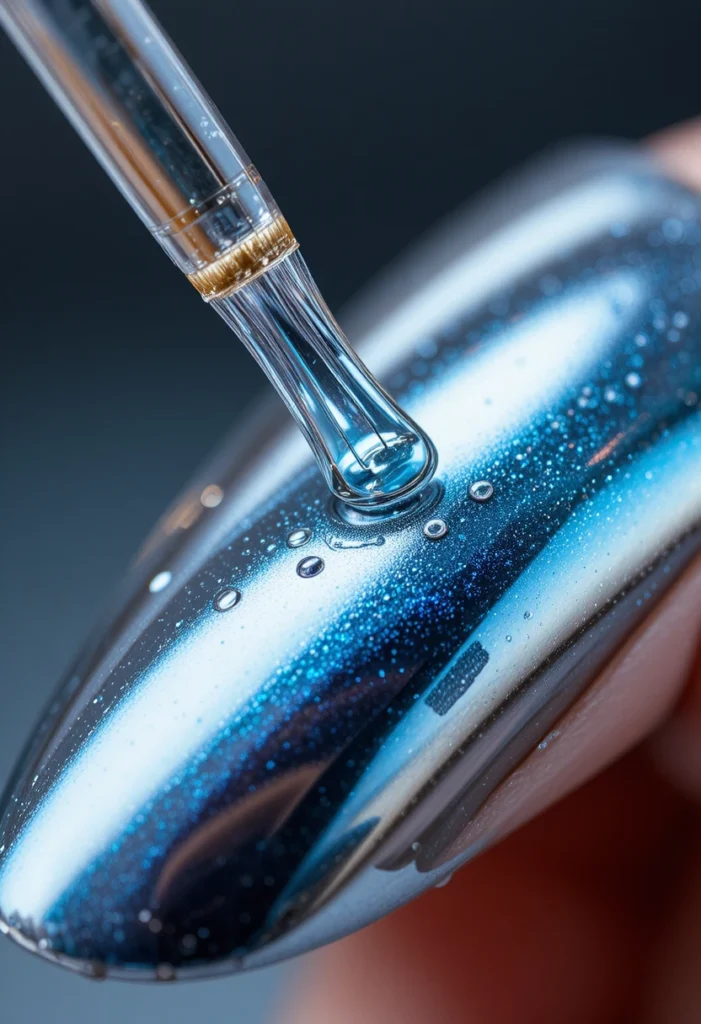
Once the chrome shine has been achieved, sealing it properly is essential to make sure the metallic finish lasts without smudging or dulling over time. A high-quality, non-wiping gel top coat should be brushed on gently, taking care not to drag the brush too firmly across the chrome layer, since this can disturb the reflective pigment underneath. Curing this final layer under the lamp locks in the shine and adds a protective barrier against daily wear.
Some nail artists prefer applying two thin coats of sealant rather than one thick layer, as this reduces the risk of the chrome pigment shifting or smearing during the curing process. A well-sealed chrome manicure can maintain its mirror-like brilliance for two to three weeks with proper care, making the extra effort during this step absolutely worth it for long-lasting results.
Creating Two-Tone Chrome Combinations
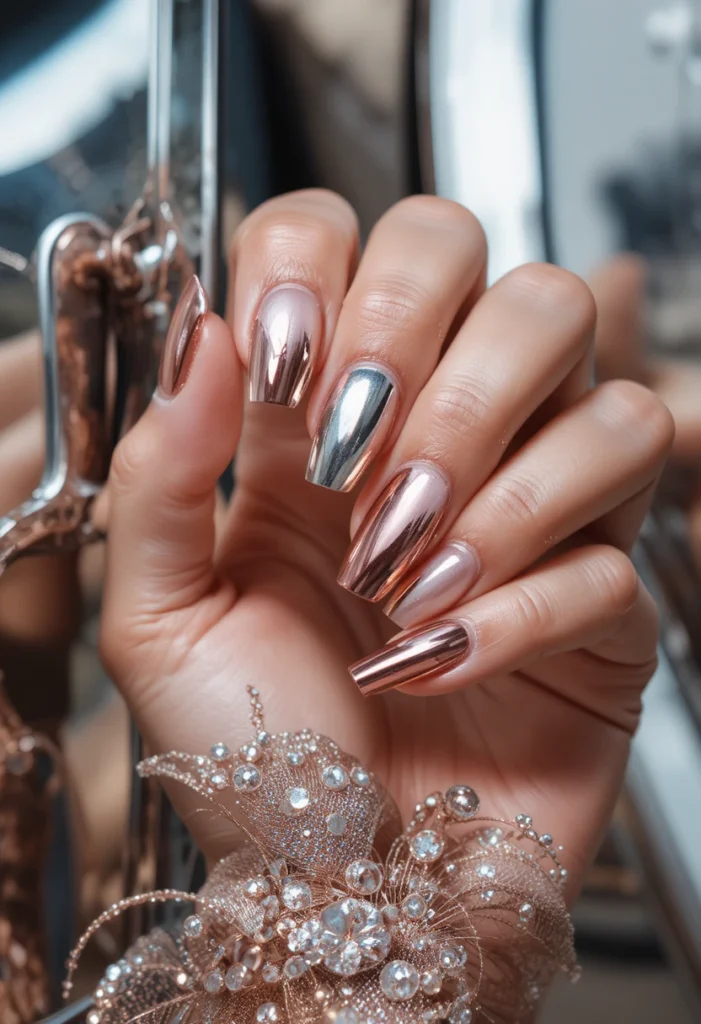
For those wanting to elevate a basic chrome look, blending two different chrome pigments on a single nail can create a stunning gradient or duo-tone effect. This is typically achieved by applying one pigment near the cuticle area and a contrasting shade toward the tip, then gently blending the two in the middle using light buffing motions. The result is a nail that shifts color depending on the angle of light, adding depth that a single-tone chrome finish simply can’t achieve.
Popular combinations include silver blending into a soft lavender, or rose gold fading into a deeper bronze, both of which photograph beautifully and add a custom, high-fashion feel to an otherwise simple manicure. This technique does require a bit more patience since blending must happen before the tackiness window closes, but the visual payoff makes it a favorite among nail art enthusiasts looking to stand out.
Adding Accent Details To Chrome Nails
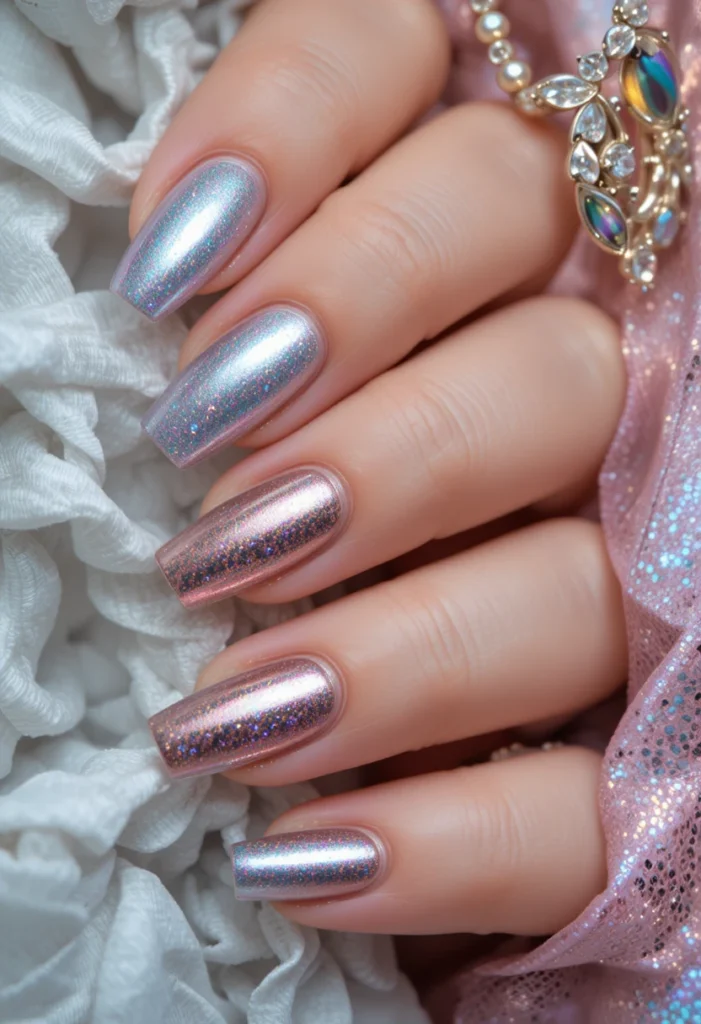
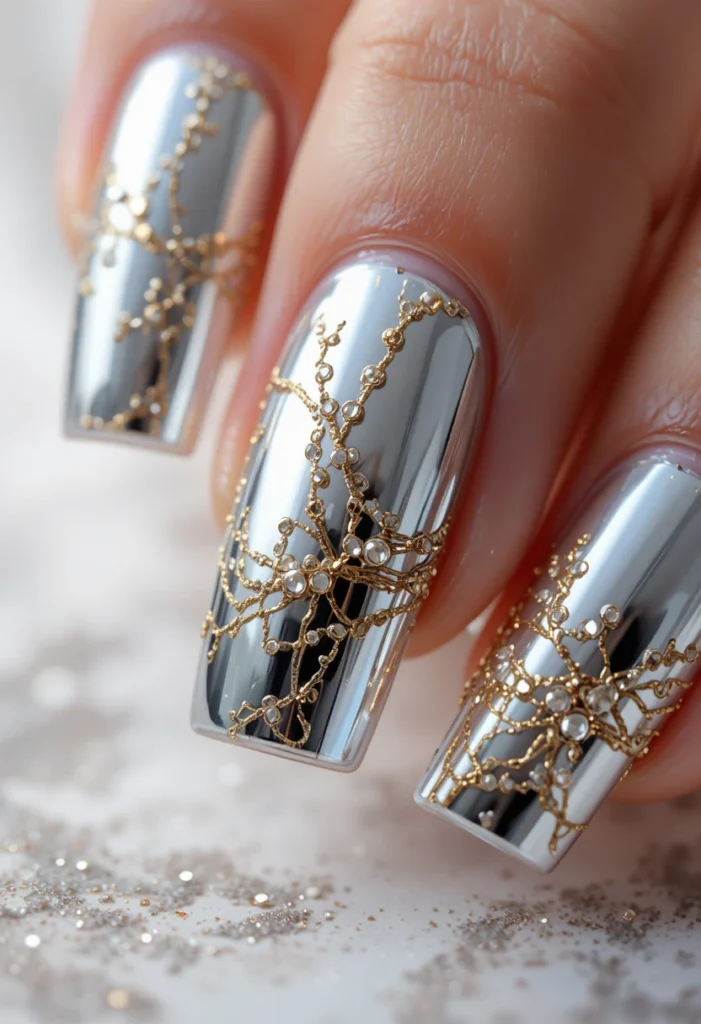
While chrome nails are stunning on their own, many people enjoy adding subtle accent details to one or two nails to break up the uniform metallic look. Thin hand-painted lines, minimal geometric shapes, or a single accent nail in a matte finish can create contrast against the high-shine chrome base, giving the overall design more personality without overwhelming the mirror effect. These small additions are usually done after the chrome layer is sealed, using a fine detail brush and gel polish.
The key to successful accent work is restraint, since chrome nails already command attention on their own. Adding too many competing elements can dilute the sleek, reflective quality that makes chrome designs so eye-catching in the first place. A single delicate line or a small cluster of dots near the cuticle is often enough to add a personalized touch while still letting the chrome finish remain the star of the design.
Choosing Chrome Shades For Different Occasions
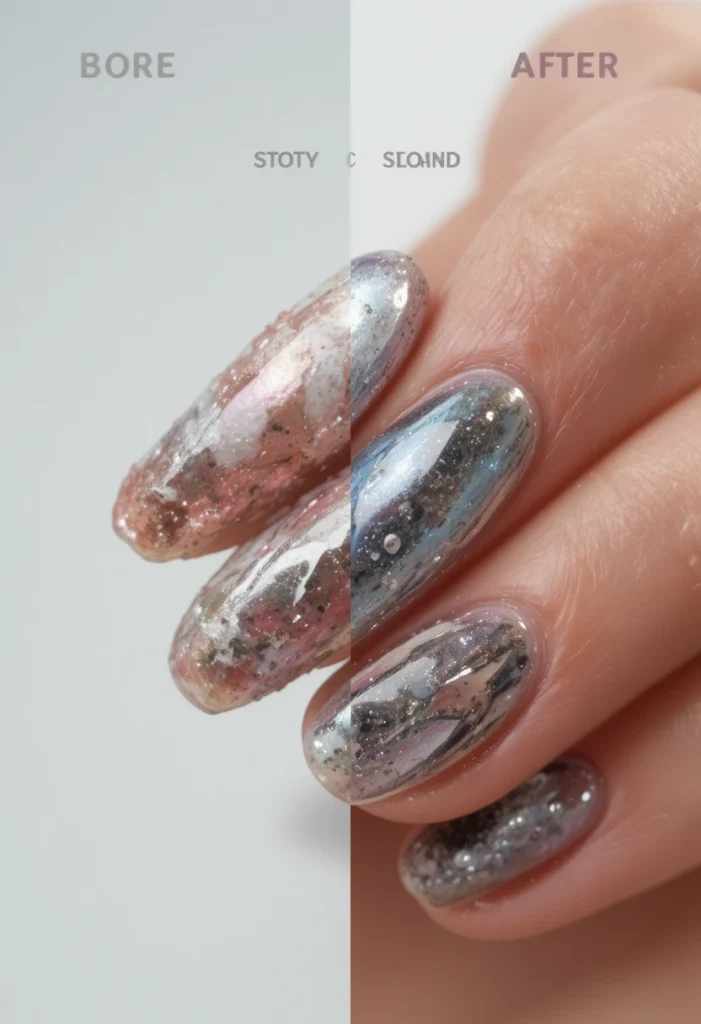
Chrome nails aren’t a one-look-fits-all trend, and choosing the right shade can help tailor the look to different settings, from everyday wear to special occasions. Silver and soft pearl chromes tend to work well for everyday elegance, offering a subtle shimmer that isn’t overly bold under office lighting. On the other hand, deep gold, ruby red, or emerald green chrome finishes are often favored for evening events, holidays, or celebrations where a more dramatic statement feels appropriate.
Seasonal color psychology also plays a role in how people choose their chrome shade, with cooler tones like icy blue or silver being popular in colder months, while warmer tones like rose gold or copper trend during spring and summer. Understanding the mood and setting you’re dressing your hands for can make the choice between hundreds of available pigments feel much more intentional rather than overwhelming.
Fixing Common Chrome Nail Mistakes
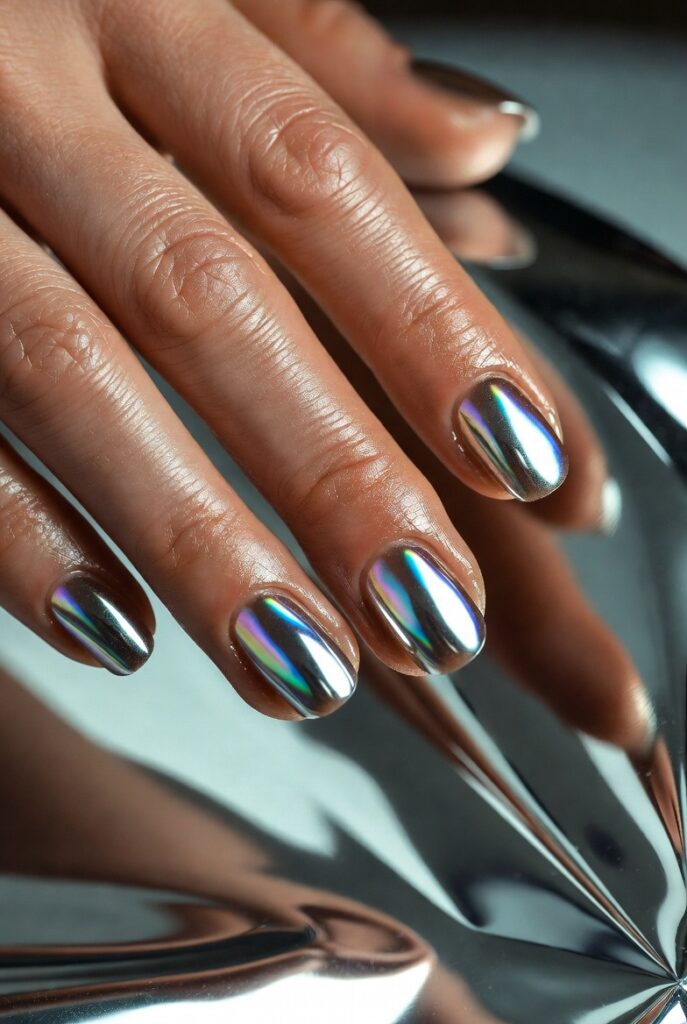
Even experienced nail artists occasionally run into streaking, patchiness, or dull spots when working with chrome pigment, and knowing how to correct these issues without starting over is a valuable skill. In most cases, a dull or uneven patch can be fixed by adding a very thin layer of top coat directly over the affected area, curing briefly, and reapplying a small amount of chrome powder with gentle buffing motions. This spot-correction method often saves an entire manicure from having to be redone from scratch.
Another common issue is chrome powder settling into the cuticle area unevenly, which can be cleaned up using a fine brush dipped in cleanser before the final seal is applied. Understanding that chrome application is a skill that improves with repetition helps take the pressure off achieving perfection on the very first try, since even small imperfections are usually fixable without undoing all the previous work.
Chrome nails prove that a salon-level, head-turning manicure doesn’t have to come with a salon price tag. With the right prep, quality tools, and a little patience for practice, that iconic mirror shine is well within reach at home. Start with one shade, get comfortable with the technique, and build up to gradients and accents once the basics feel natural — the results are worth the effort.
Conclusion
Chrome nails prove that a salon-level, head-turning manicure doesn’t have to come with a salon price tag. With the right prep, quality tools, and a little patience for practice, that iconic mirror shine is well within reach at home. Start with one shade, get comfortable with the technique, and build up to gradients and accents once the basics feel natural. Whether you’re going for a subtle everyday sheen or a bold statement look for a special occasion, chrome nails offer endless room to experiment and make the style your own — one buffed, gleaming nail at a time.

Mehboob Ahmad is the founder and writer behind BeautyVibeWorld. With a genuine passion for skincare, makeup, and everyday beauty routines, Mehboob started this platform to share simple, practical, and research-backed advice that real people can actually use without the confusion of conflicting trends and overhyped products.
Every article on BeautyVibeWorld is written with care, backed by research, and regularly updated to stay accurate and relevant. Mehboob believes good beauty advice should be honest, easy to follow, and free of unnecessary complexity.
Outside of writing, Mehboob enjoys exploring new beauty trends and staying up to date with the latest in skincare and haircare research to keep bringing fresh, reliable content to BeautyVibeWorld readers.