
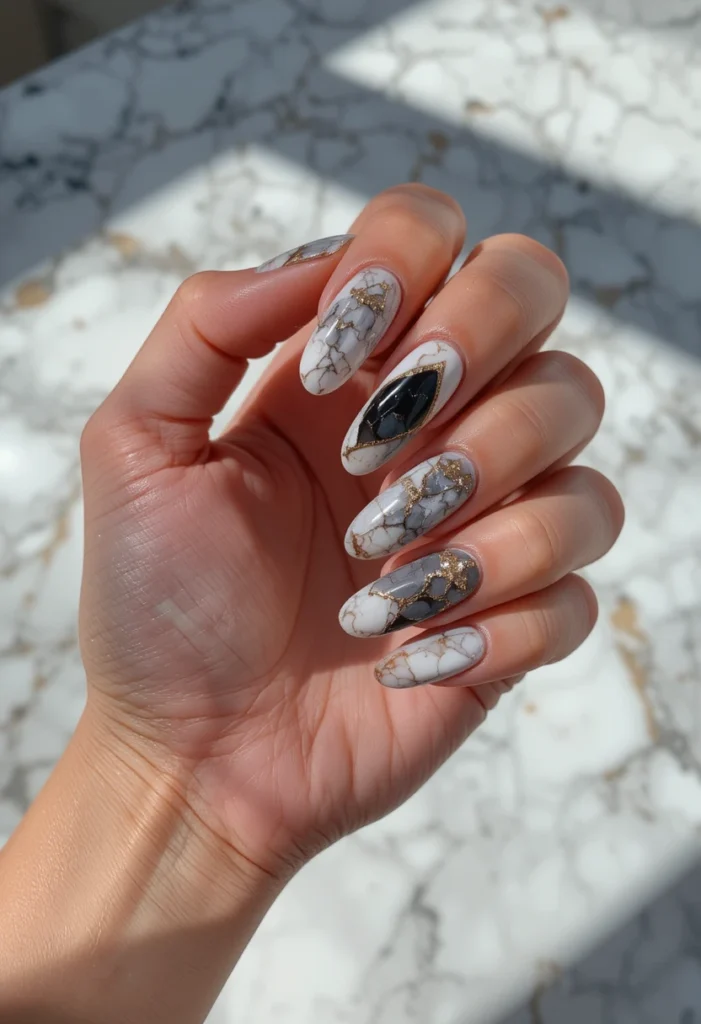
Marble nail art has become a favorite among nail enthusiasts who want a design that feels artistic, elegant, and completely unique every single time. Inspired by the natural veining found in polished stone, this technique creates soft, flowing patterns that no two attempts ever replicate exactly the same way. It’s a style that manages to look intricate and high-end while actually relying on fairly simple tools and techniques once the basic process is understood.
This guide explores more than fifteen ideas and concepts behind this technique, covering color choices, tools, and application methods that help capture that organic, stone-like effect. Whether you’re completely new to this style or looking to refine an existing attempt, these insights will help build a clearer understanding of what makes marble nail art so distinct and how to approach it with more confidence.
Understanding The Marble Effect Concept
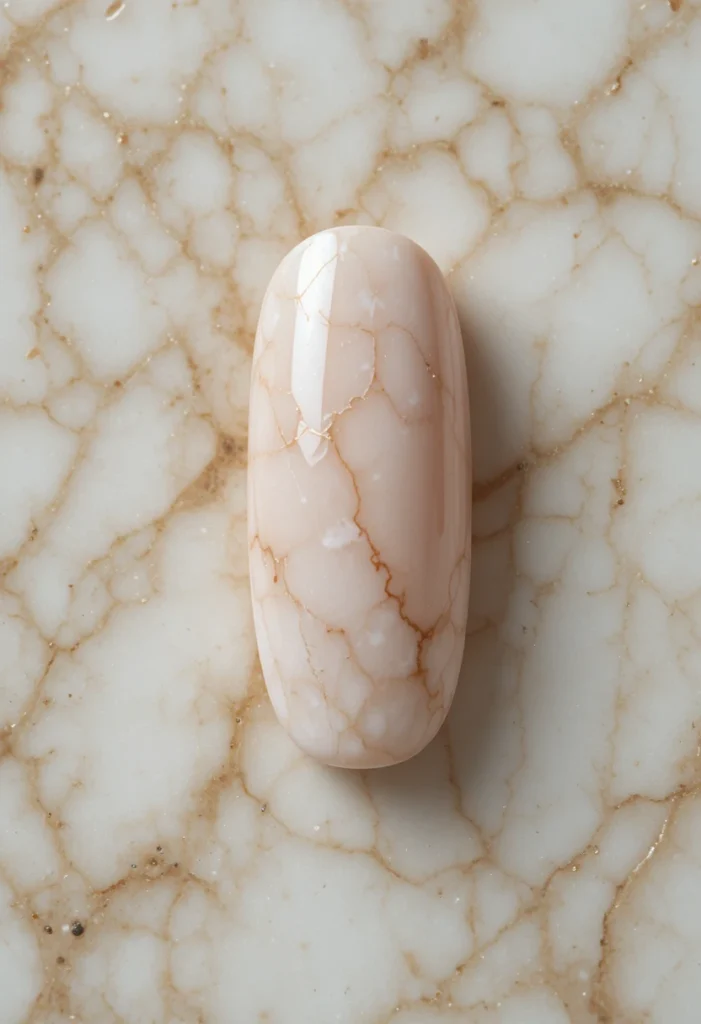
At its core, this technique relies on manipulating wet polish to mimic the natural veining and swirling patterns found in stones like marble or granite. Rather than following a precise, repeatable pattern, the design depends on controlled randomness, where a thin tool is dragged through wet polish to create organic lines that shift and blend unpredictably. This unpredictability is actually part of the appeal, since it means every finished design carries its own distinct character.
Understanding this foundational concept helps explain why patience and a light touch matter more than precision in this particular style. Unlike geometric or symmetrical nail art, this technique rewards a looser, more intuitive approach, where slight variations in pressure or direction actually enhance the natural, stone-like quality of the final result rather than detracting from it.
Choosing The Right Base Color
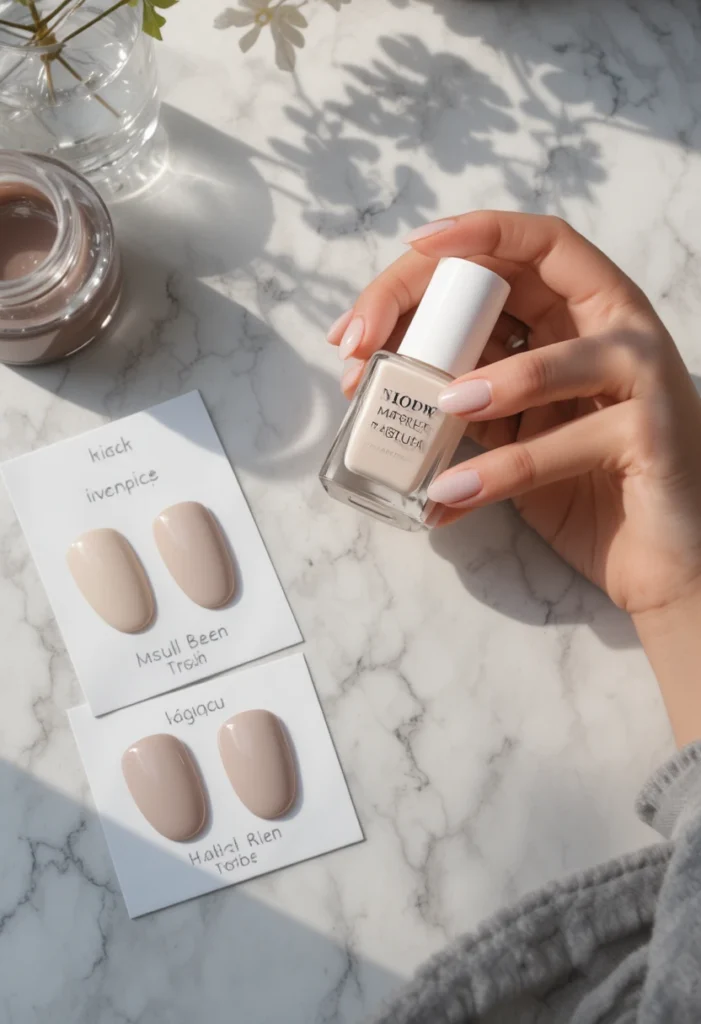
The base color chosen for this technique significantly influences the overall mood of the finished design, since it acts as the backdrop against which the veining patterns will stand out. Soft whites, creams, and pale greys tend to mimic classic marble most closely, creating that clean, luxurious stone-like appearance many people associate with this style. Darker bases, such as black or deep charcoal, produce a moodier, more dramatic version of the same effect.
Choosing a base color also affects how visible the veining will appear once the design is complete, since high contrast between the base and the veining color tends to create a bolder, more graphic look. Lower contrast combinations, such as a soft grey base with white veining, produce a subtler, more understated finish that feels closer to natural stone.
Selecting Veining Colors For Contrast
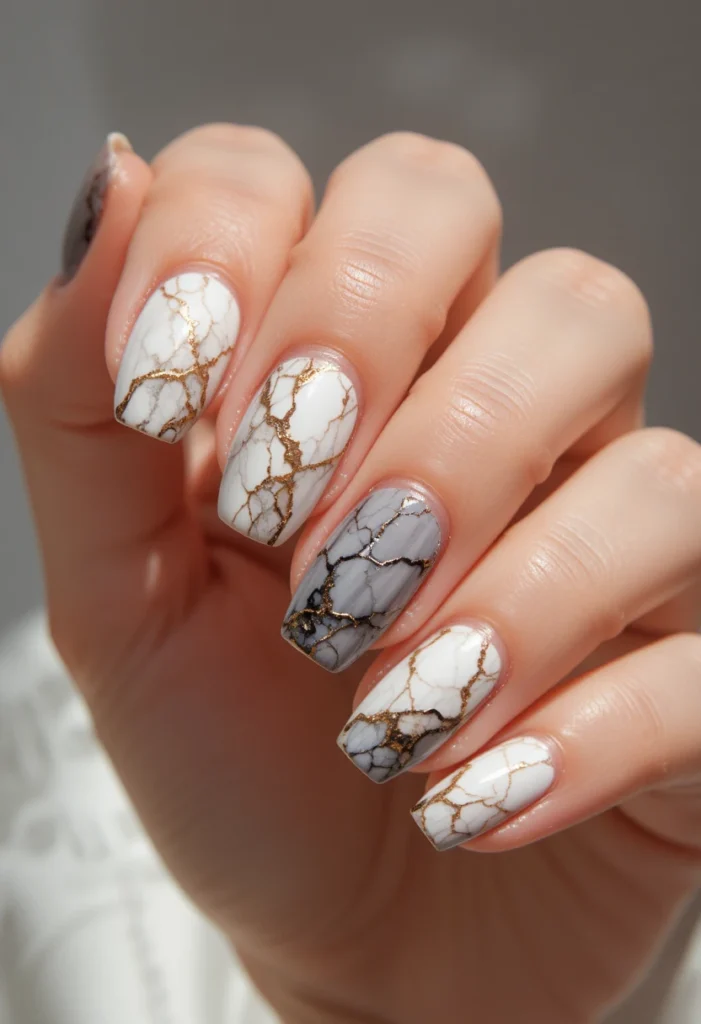
The color used to create the veining lines plays just as important a role as the base color itself, since this is what defines the visual pattern people associate with marble. Classic combinations often pair a white or cream base with grey or black veining, closely mimicking natural stone, while more creative variations might use gold, deep green, or even soft pink veining for a modern twist. The choice here largely comes down to whether the goal is a realistic stone look or a more artistic, decorative interpretation.
Metallic veining colors, such as gold or silver, tend to add a luxurious quality that elevates the design beyond a simple color pairing, catching light in a way that plain veining colors don’t. This metallic detail has become especially popular for special occasion designs, since it introduces subtle shine without requiring any additional embellishment beyond the marbling technique itself.
Using Water Marbling Techniques
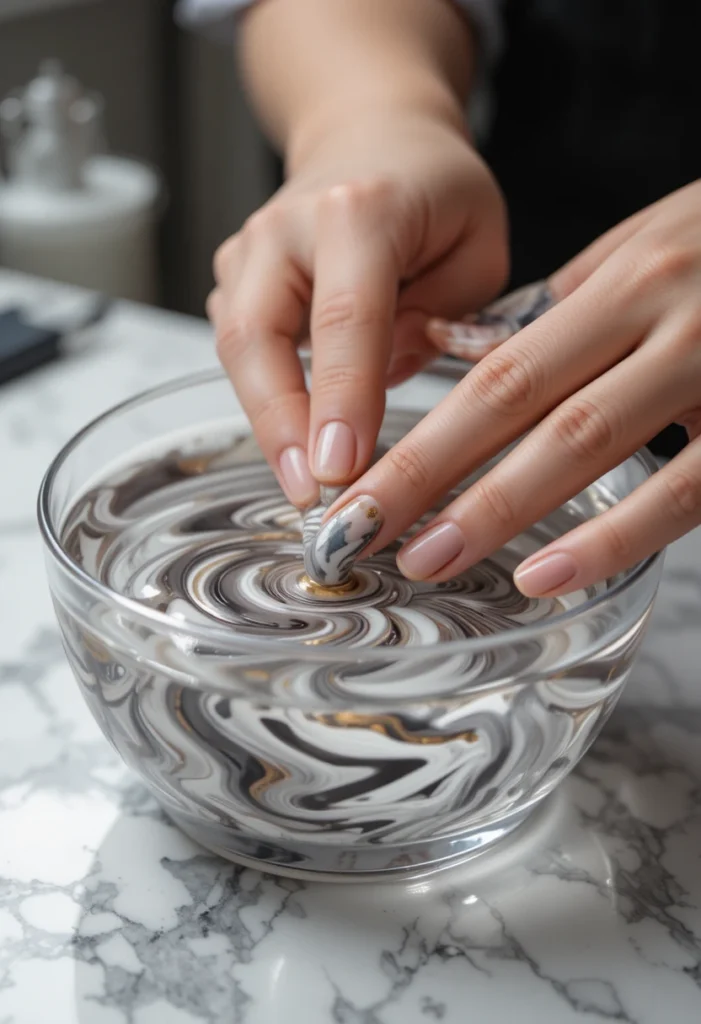
One popular method for achieving this effect involves dropping polish onto the surface of water and manipulating it with a thin tool before dipping the nail directly into the pattern. This technique creates thin, delicate swirls that transfer onto the nail in a way that closely mimics natural stone veining, though it requires a bit of practice to control the placement and density of the pattern. Water temperature and polish consistency both play a role in how well this method works.
Because this technique involves dipping the entire nail into water, some cleanup around the surrounding skin is usually necessary afterward. Despite the slightly messier process, many people find that water marbling produces some of the most authentic-looking veining patterns, since the polish spreads and swirls in a way that’s difficult to replicate using dry application methods alone.
Read also:16+ Butterfly Nail Art Designs: Flutter Into Whimsical, Eye-Catching Style
Creating Marble Effects With A Dotting Tool
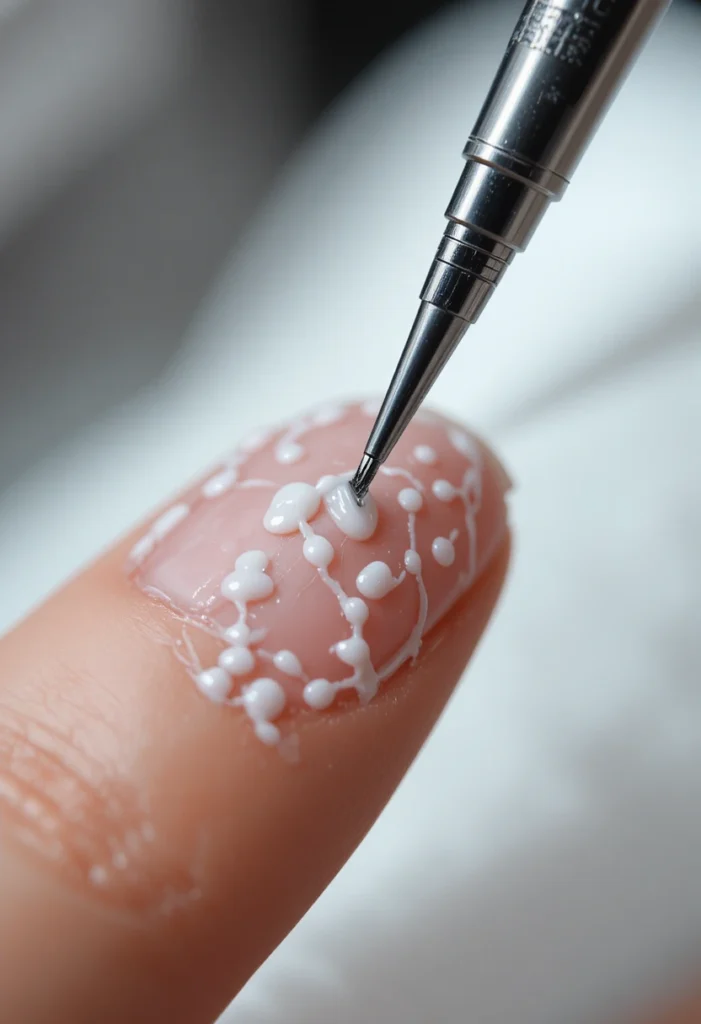
A simpler, less messy alternative to water marbling involves using a fine dotting tool or thin brush directly on the nail to drag wet polish into veining patterns. This method offers more control over placement, since the artist can guide exactly where each line appears rather than relying on the unpredictability of water. This makes it a popular starting point for those newer to the technique who want a bit more predictability in their results.
Working quickly is essential with this method, since the polish needs to remain wet enough to blend smoothly as the tool passes through it. Once the polish begins to dry, dragging a tool through it tends to create jagged, uneven lines rather than the soft, flowing veining that defines this style, making timing an important factor even with this more controlled approach.
Using A Fine Detail Brush For Precision
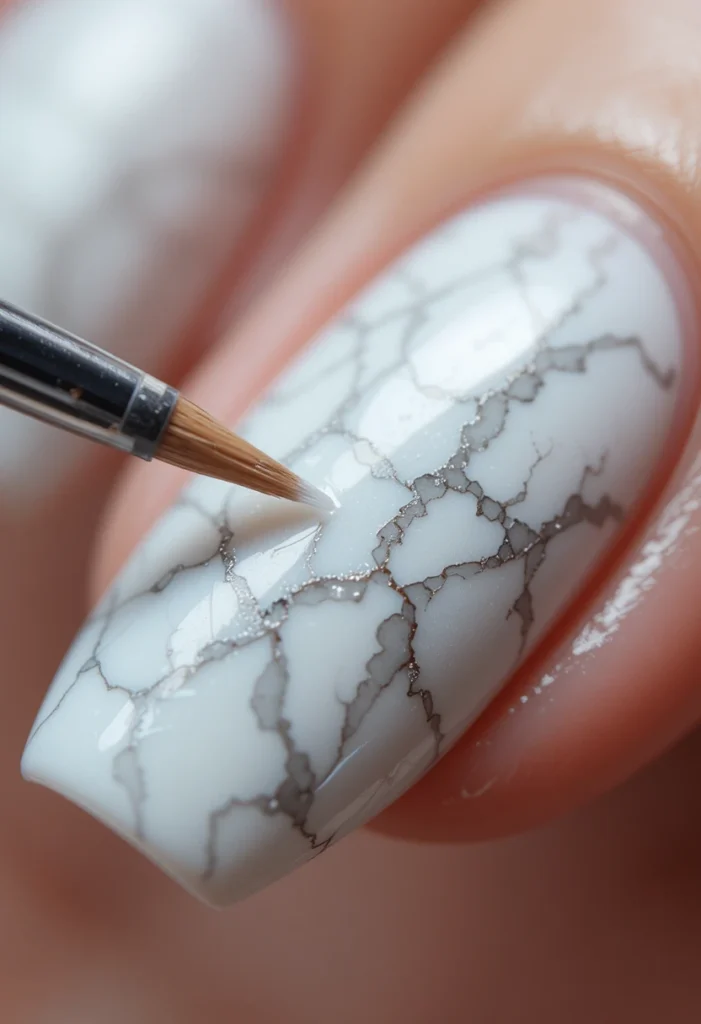
For those wanting even finer control over their veining patterns, a thin detail brush allows for more deliberate placement of individual lines rather than relying on broader dragging motions. This method works particularly well for adding smaller, secondary veins that branch off from a main line, mimicking the way natural stone often has both prominent and subtle veins running through it. This layered approach tends to produce a more realistic, dimensional final result.
Because this method requires more precision, it often takes longer than water marbling or dotting tool techniques, but the added control allows for more intentional, detailed patterns. This makes it a favored approach for those creating marble designs for special occasions, where a bit more time investment feels worthwhile for a more polished, refined finish.
Building Depth With Multiple Vein Layers
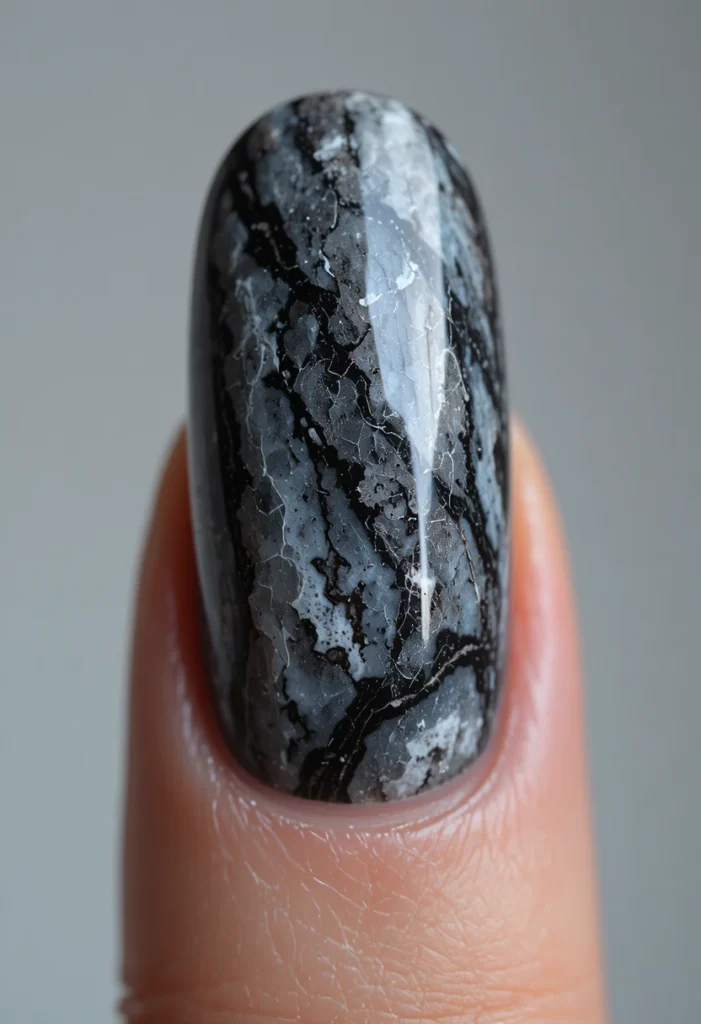
Rather than relying on a single veining color, layering two or three different shades can add significant depth and realism to this technique, mimicking the way natural stone often contains subtle variations in color throughout its veining. A primary darker vein might be layered with a secondary, lighter grey line running alongside it, creating a more complex, dimensional pattern than a single-color approach could achieve alone.
This layering technique requires working in stages, allowing each vein color enough time to be placed thoughtfully before adding the next without muddying the previous line. While this extra step takes more time, the resulting design tends to feel considerably more sophisticated and closer to the organic, multi-toned appearance found in genuine marble stone.
Incorporating Gold Foil Accents
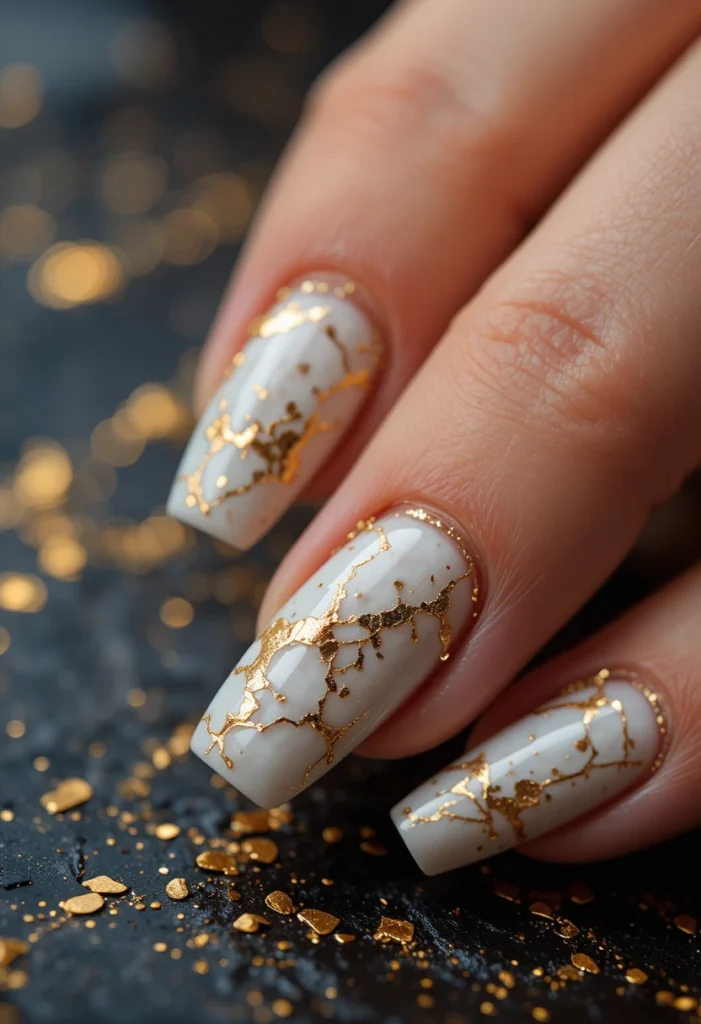
Adding small pieces of gold foil along the veining lines introduces a luxurious, textured element that elevates this technique beyond a purely painted design. The foil is typically applied while the top coat is still slightly tacky, allowing small fragments to adhere directly along the painted veins, mimicking the natural gold flecking sometimes found in certain types of marble and granite. This detail adds a tactile, dimensional quality that flat polish alone can’t replicate.
This technique works best when used sparingly, with small foil pieces placed only along select portions of the veining rather than covering the entire design. This restrained application keeps the overall look elegant rather than overly busy, allowing the foil accents to feel like a natural extension of the marbling pattern rather than a separate decorative element.
Achieving A Glossy Finish For Realism
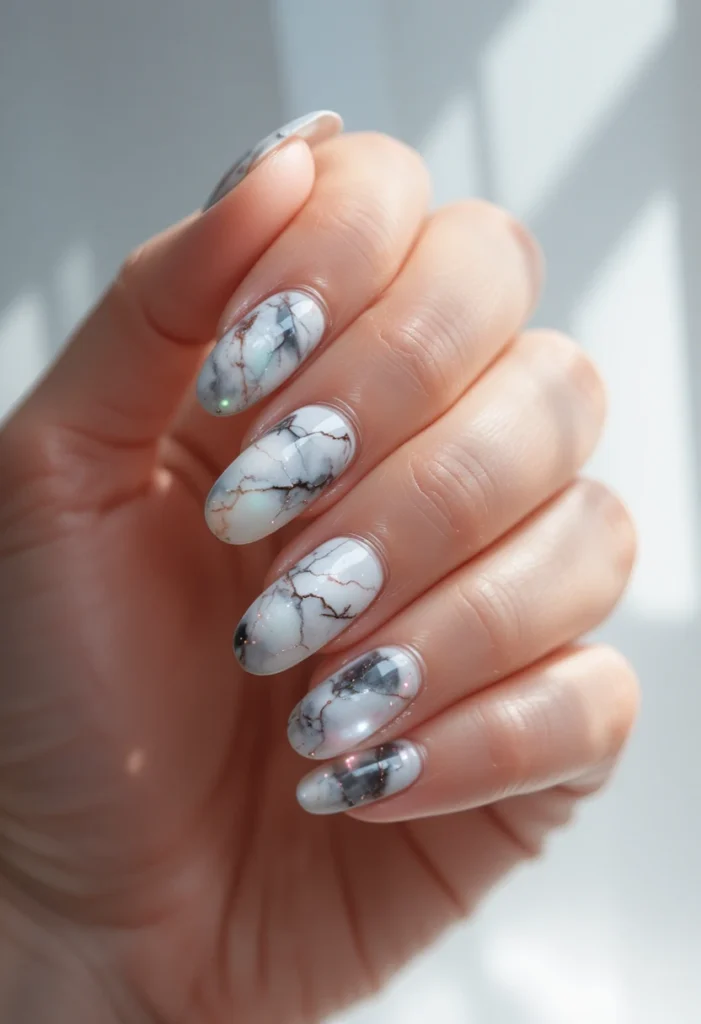
A high-shine top coat plays a significant role in how convincingly this technique mimics real stone, since polished marble naturally has a reflective, glass-like surface. Applying a thick, glossy sealant over the finished design enhances the depth of the veining patterns, making them appear as though they’re embedded within the nail rather than simply painted on top. This finishing step is often what elevates a good marble design into one that looks genuinely convincing.
Multiple thin layers of top coat, rather than a single thick application, tend to produce the smoothest, most reflective finish without risking any smudging of the delicate veining underneath. This attention to the final layer matters just as much as the marbling technique itself, since even a well-executed pattern can look flat without adequate shine to complete the effect.
Trying A Matte Marble Variation
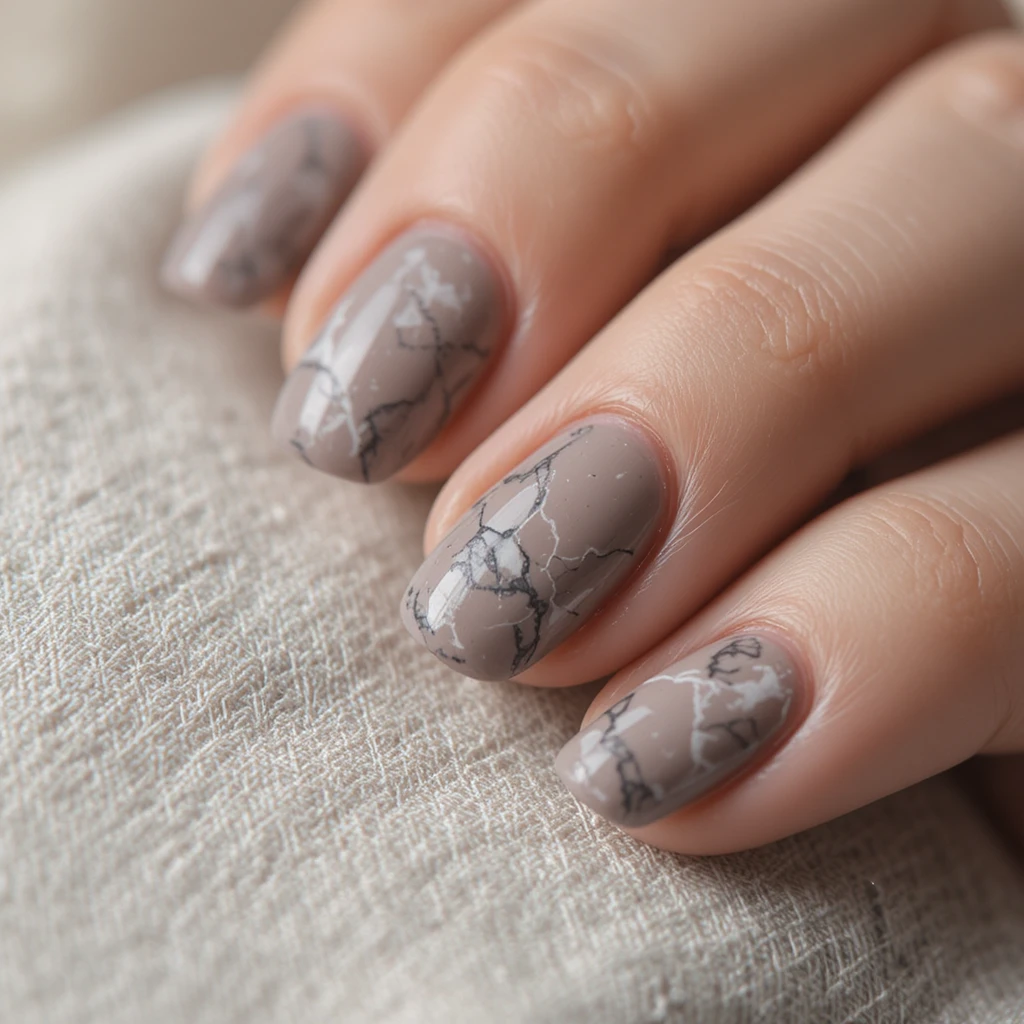
While glossy finishes dominate this style, a matte version offers a completely different, more subdued interpretation of the same veining technique. Matte top coats mute the contrast between the base and veining colors slightly, creating a softer, more velvety appearance that feels less like polished stone and more like a chalky, natural rock texture. This variation has gained popularity among those wanting a less traditional take on the design.
This finish tends to work particularly well with muted, earthy color palettes, since the lack of shine allows softer tones to feel intentional rather than washed out. Choosing between matte and glossy ultimately comes down to whether the goal is a realistic stone replica or a more artistic, textural interpretation of the same underlying technique.
Pairing Marble With Negative Space
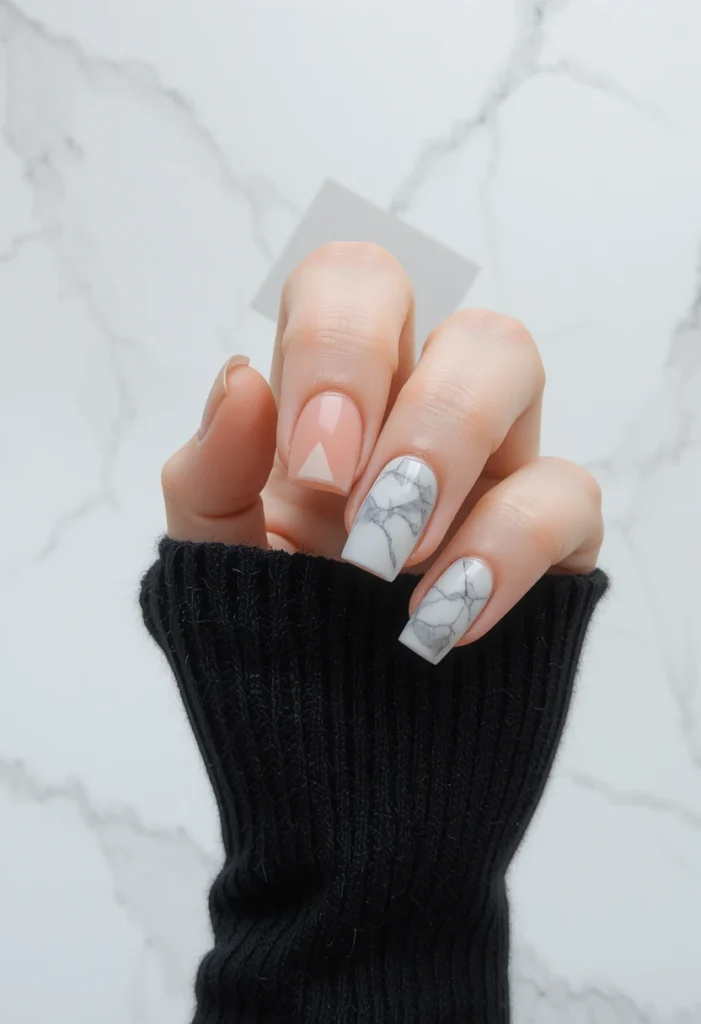
Combining this veining technique with sections of bare, unpainted nail creates a striking contrast between the organic marbling pattern and clean, minimal negative space. This pairing works particularly well when the marble design is concentrated near the base or tip of the nail, allowing the bare section to act as a visual break that keeps the overall look from feeling too busy. This combination has become popular among those who enjoy blending multiple nail art trends into a single cohesive design.
The precision required for clean negative space sections means careful masking is often necessary before the marbling process begins, ensuring the bare area remains crisp and untouched by stray polish. This extra preparation step pays off in the contrast it creates, making the marbled sections feel even more intricate against the simplicity of the untouched nail.
Creating An Accent Nail With Marble Detail
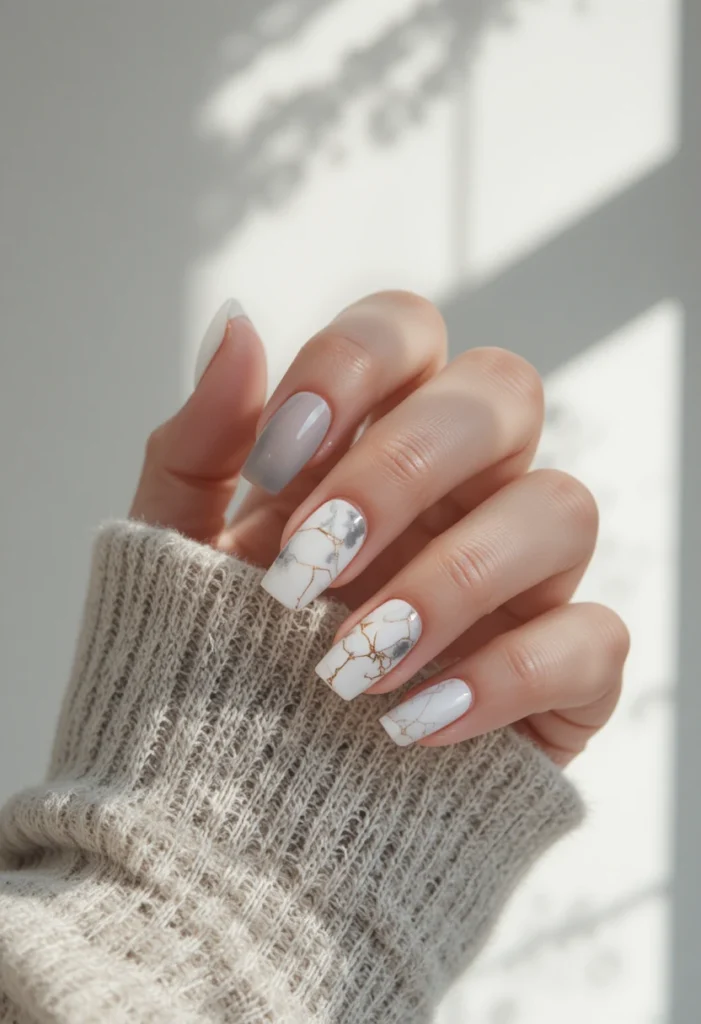
Rather than applying this technique to every nail, many people opt to feature it on just one or two accent nails, allowing the remaining nails to stay simple with a solid, complementary color. This approach lets the marbling stand out as a focal point rather than becoming visually overwhelming across an entire set. It also tends to be a more manageable starting point for those still building confidence with the technique.
Choosing which nail to feature as the accent often depends on personal preference, though the ring finger tends to be a popular choice for statement designs. This selective application allows for experimentation with more intricate veining or layered color work on a single nail without the pressure of replicating the exact same pattern across all ten.
Combining Marble With Metallic Frames
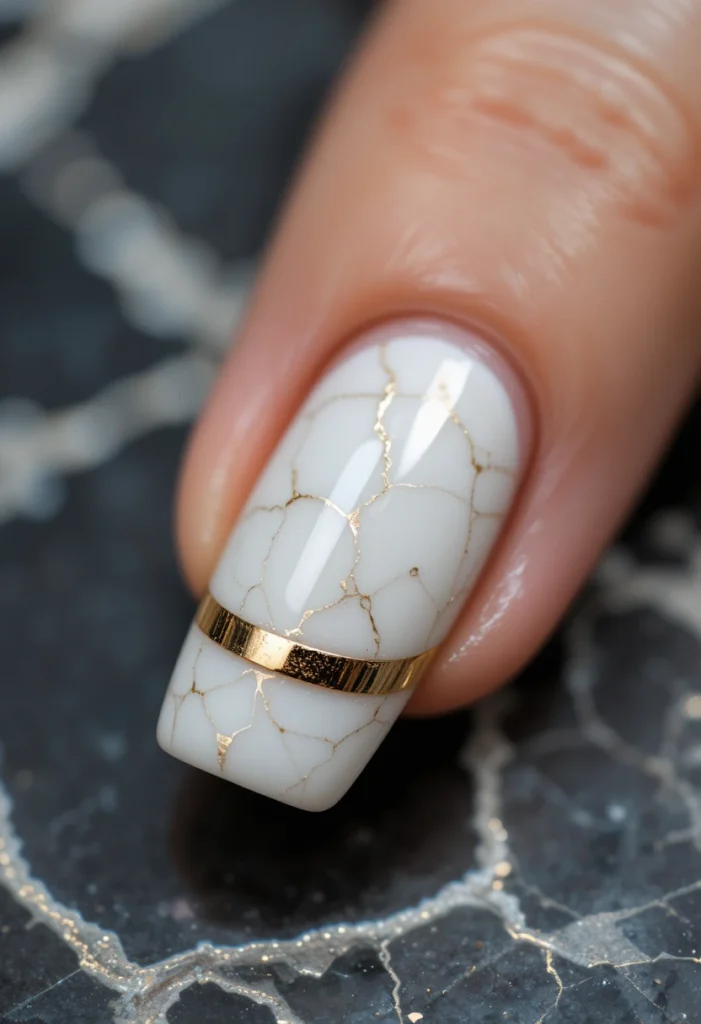
Outlining the edge of a marbled nail with a thin metallic line adds a polished, finished quality to the design, almost like a frame around the organic veining pattern within. This detail is typically added after the marbling and top coat have fully set, using a fine brush to trace a delicate gold or silver line along the nail’s edge. This framing effect helps the design feel more deliberate and complete, rather than an unbordered pattern that simply fades into the nail’s edge.
This technique pairs particularly well with darker base colors, since the metallic outline creates a strong contrast that draws attention to the shape of the nail itself alongside the marbling detail within. The combination of organic veining and a crisp metallic border creates a balanced design that feels both artistic and polished at the same time.
Fixing Common Marbling Mistakes
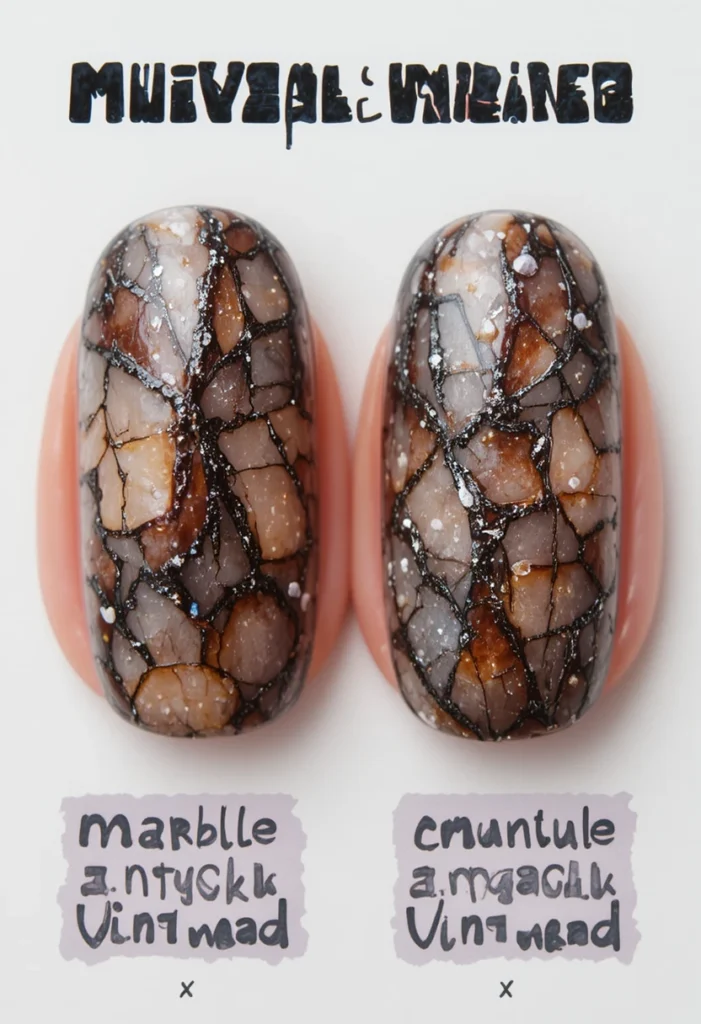
Smudged veining, overly muddy color blending, and patterns that dry before they can be properly shaped are among the most common issues beginners encounter with this technique. In most cases, these problems stem from working too slowly, allowing the polish to begin drying before the desired pattern has been achieved. Recognizing this timing issue early helps beginners adjust their pace rather than assuming the technique itself isn’t working for them.
Correcting muddy or overly blended veining sometimes requires wiping away the attempt with a lint-free wipe dipped in polish remover and starting again, rather than trying to layer more polish over an already muddled design. Most people find that after a few attempts, they develop a better sense of timing and pressure, allowing the veining patterns to come out cleaner and more defined with each subsequent try.
Maintaining And Extending Wear Time
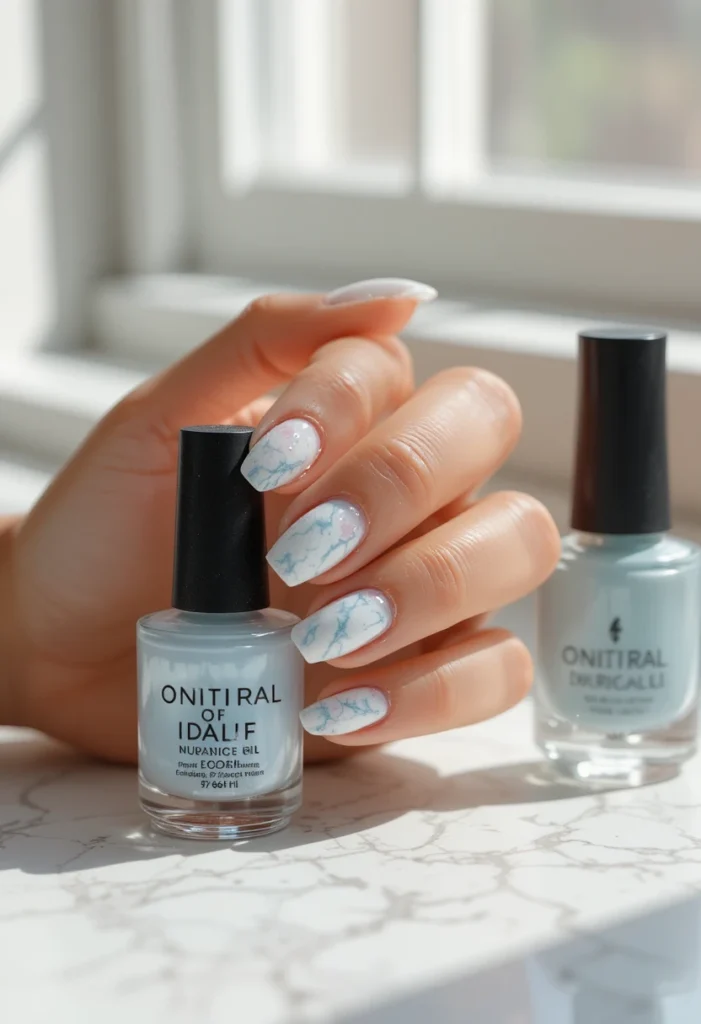
Like most detailed nail art, this technique benefits from proper sealing and occasional touch-ups to keep the design looking crisp over time. A durable, high-quality top coat reapplied every few days helps protect the fine veining details from everyday wear, since even small chips near the edges can make an otherwise intricate pattern look unfinished. Avoiding harsh chemicals or excessive water exposure in the days following application also helps preserve the sharpness of the design.
For those using gel-based systems, proper curing at each stage plays a significant role in how long the design holds up before chipping or lifting occurs. Taking a little extra care during the initial application, combined with mindful upkeep afterward, allows this detailed, artistic technique to remain looking polished for as long as possible, making the time invested in creating it feel far more worthwhile.
Conclusion
Marble nail art proves that some of the most beautiful designs come from embracing a little unpredictability rather than chasing perfect precision. With the right base colors, veining techniques, and finishing touches, this stone-inspired style can be recreated at home with results that genuinely rival professional work. Start with simple two-tone combinations, get comfortable with timing and blending, and let each design evolve naturally into something uniquely yours .

Mehboob Ahmad is the founder and writer behind BeautyVibeWorld. With a genuine passion for skincare, makeup, and everyday beauty routines, Mehboob started this platform to share simple, practical, and research-backed advice that real people can actually use without the confusion of conflicting trends and overhyped products.
Every article on BeautyVibeWorld is written with care, backed by research, and regularly updated to stay accurate and relevant. Mehboob believes good beauty advice should be honest, easy to follow, and free of unnecessary complexity.
Outside of writing, Mehboob enjoys exploring new beauty trends and staying up to date with the latest in skincare and haircare research to keep bringing fresh, reliable content to BeautyVibeWorld readers.