
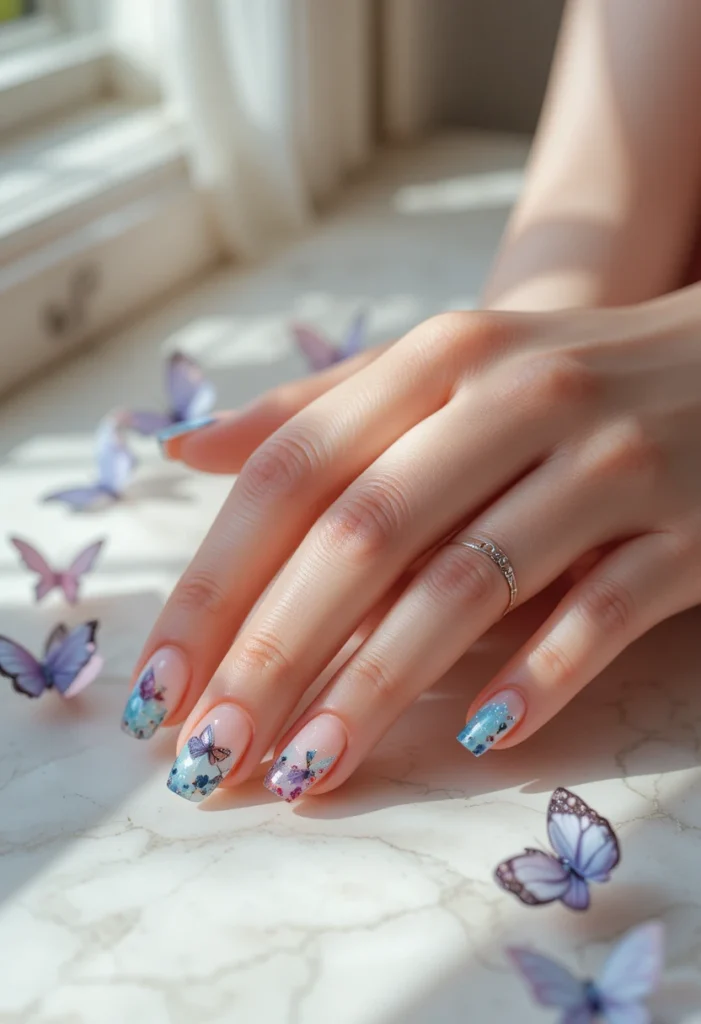
Butterfly nail art continues to captivate anyone drawn to delicate, nature-inspired beauty, blending soft color transitions with intricate wing patterns that feel both playful and elegant. This design theme carries a timeless charm, evoking lightness and transformation while still offering endless room for creative interpretation. Whether rendered in soft pastels or bold, dramatic colors, this motif consistently ranks among the most requested nail art themes for good reason.
This guide explores more than sixteen creative directions for this beloved design, covering placement styles, color techniques, and detailing methods that bring this fluttering motif to life. Whether you’re after something subtle and minimal or bold and statement-making, these ideas will help you understand what makes this theme so versatile and how to translate it onto your own nails.
Understanding The Appeal Of Butterfly Motifs
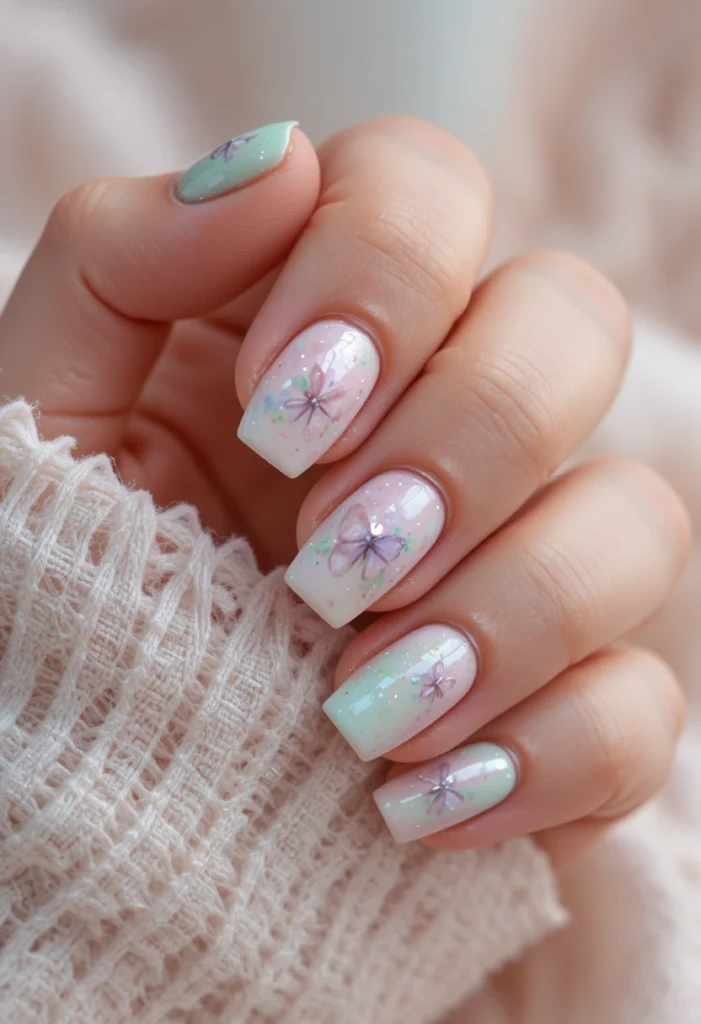
The enduring popularity of this design theme comes from its natural symbolism, often associated with growth, freedom, and transformation, which resonates with people on a level beyond simple aesthetics. Unlike more abstract nail art themes, this motif carries an emotional resonance that makes it feel personal and meaningful, not just decorative. This deeper connection is part of why it remains a consistently requested design across seasons and trends.
From a purely visual standpoint, the natural symmetry and intricate detailing found in wing patterns also lend themselves beautifully to nail art, since the curved, layered shapes translate well onto the small, curved canvas of a nail. This combination of emotional symbolism and visual adaptability explains why this theme has maintained its popularity far longer than many other nail art trends.
Choosing Soft Pastel Color Palettes
Pastel tones remain one of the most popular choices for this design theme, echoing the soft, delicate coloring often found in real butterfly wings. Gentle shades like lavender, blush pink, and baby blue create a dreamy, whimsical quality that feels light and airy rather than bold or overpowering. This color approach tends to suit those wanting a design that feels pretty and subtle rather than a dramatic statement piece.
The muted nature of pastel palettes also makes it easier to blend multiple colors within a single wing design without the transitions feeling harsh or disjointed. This softness allows for more forgiving color blending, making pastel-based designs a popular entry point for those newer to more detailed nail art techniques within this theme.
Exploring Bold Jewel-Toned Wings
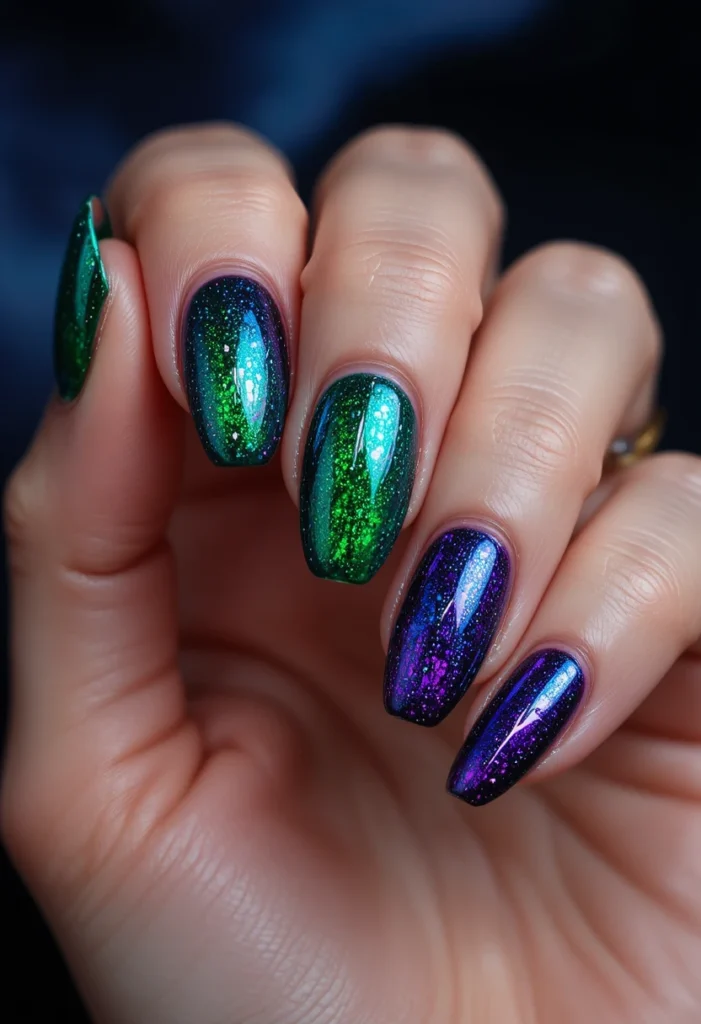
For those wanting a more dramatic take on this theme, deep jewel tones like emerald, sapphire, and amethyst bring a rich, striking quality to wing-inspired designs. These saturated colors mimic the more vivid, iridescent butterfly species found in nature, creating a design that feels luxurious and bold rather than soft or whimsical. This palette tends to suit evening looks or special occasions where a more statement-making manicure feels appropriate.
Jewel tones also pair particularly well with metallic accents, since the depth of the color allows gold or silver detailing to stand out with striking contrast. This combination of rich color and metallic shine has become a favorite among those looking to elevate this classic motif into something that feels more formal and eye-catching.
Creating Symmetrical Wing Patterns
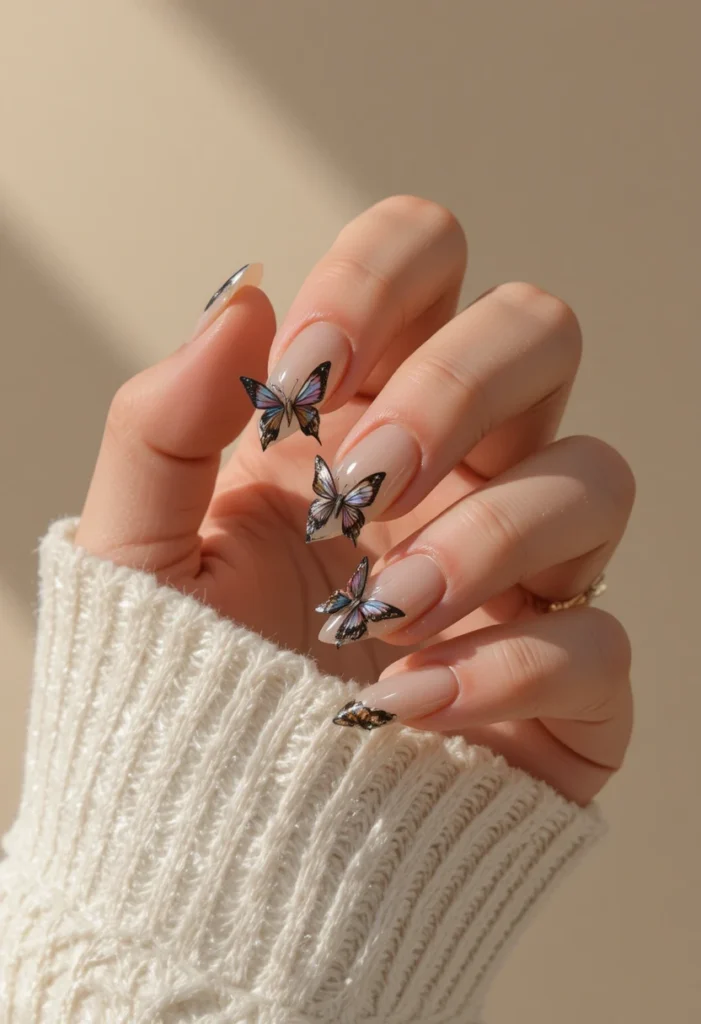
Symmetry plays a central role in how convincingly this design mimics the natural structure of real wings, since most butterfly species display near-identical patterns on each side of their body. Achieving this balance typically involves painting one wing first, then mirroring the same shape, color placement, and detailing on the opposite side. This careful attention to symmetry is often what separates a polished, professional-looking design from one that feels slightly uneven.
Working from a light guideline or stencil can help maintain this balance, especially for more intricate patterns with multiple color sections. Even slight asymmetry can be noticeable in this particular theme, given how much the human eye naturally expects mirrored balance when looking at wing-shaped designs.
Designing Asymmetrical Butterfly Placement
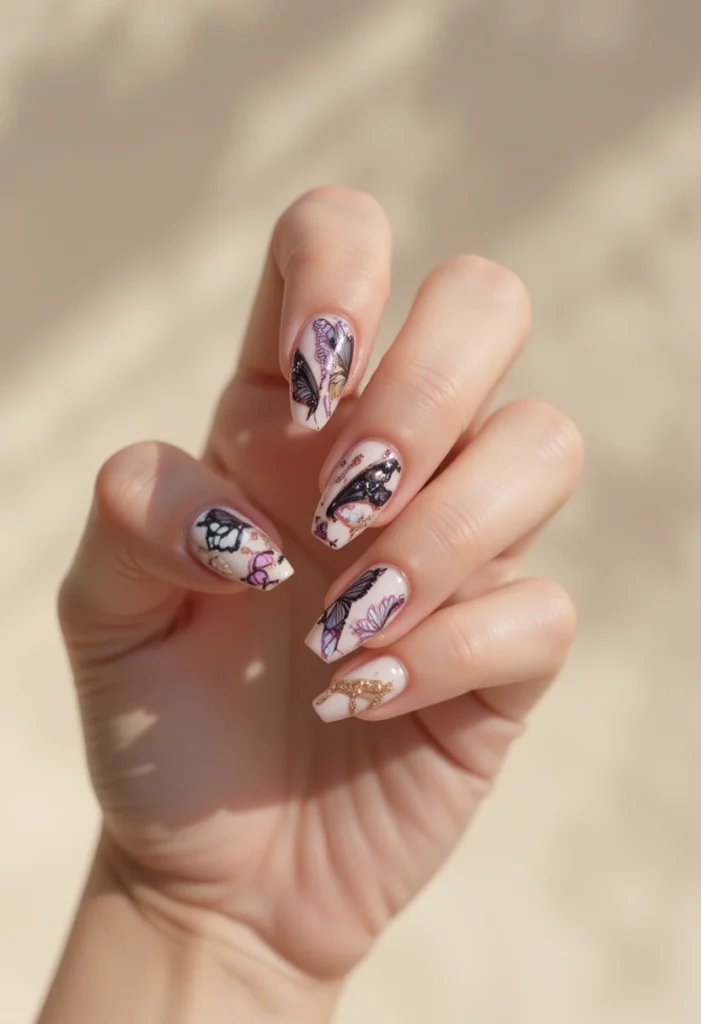
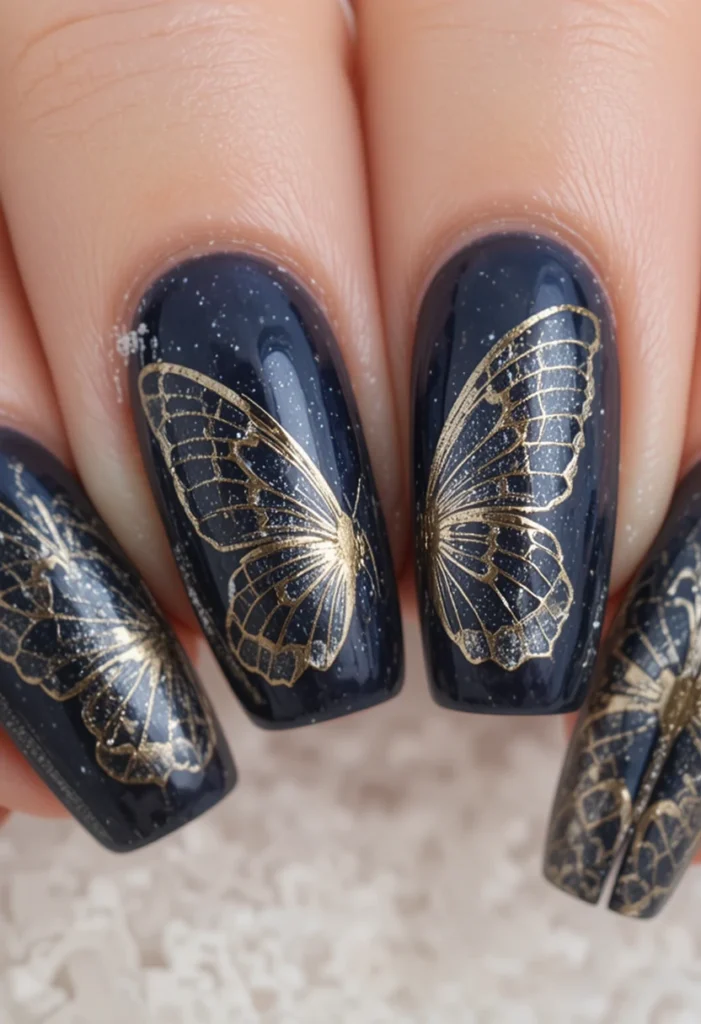
While symmetry defines the wings themselves, the placement of the overall motif across a set of nails doesn’t need to follow the same rigid balance. Positioning a single wing shape on one nail, with the mirrored half appearing on the neighboring nail, creates a design that only completes itself when the hand is viewed as a whole. This asymmetrical placement across multiple nails adds a creative, unexpected element to an otherwise classic theme.
This approach also allows for more variation in how the motif is styled from nail to nail, since not every nail needs to carry the same level of detail. Some artists use this technique to gradually build the full image only when fingers are placed together, creating a subtle surprise that rewards closer observation.
Adding Fine Line Detail To Wings
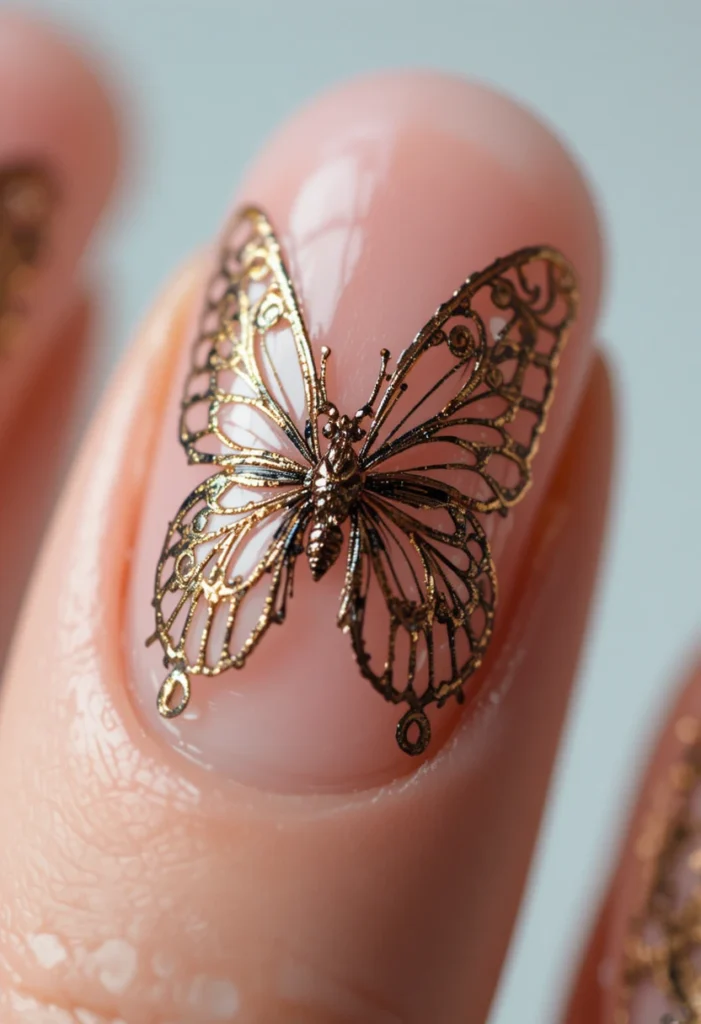
Delicate line work plays a significant role in making this design feel intricate rather than flat, since real wings are defined by fine veining and segmented patterns rather than solid blocks of color. Thin black or metallic lines added within each wing section mimic this natural structure, giving the design a more realistic, layered quality. This detailing step often separates a simple silhouette from a design that feels genuinely wing-like.
Achieving these fine lines typically requires a detail brush or nail art pen, since standard polish brushes tend to be too thick for this level of precision. Taking time with this step, even though it adds to the overall process, tends to make the biggest visual difference in how convincing and detailed the final design appears.
Incorporating Gradient Wing Effects
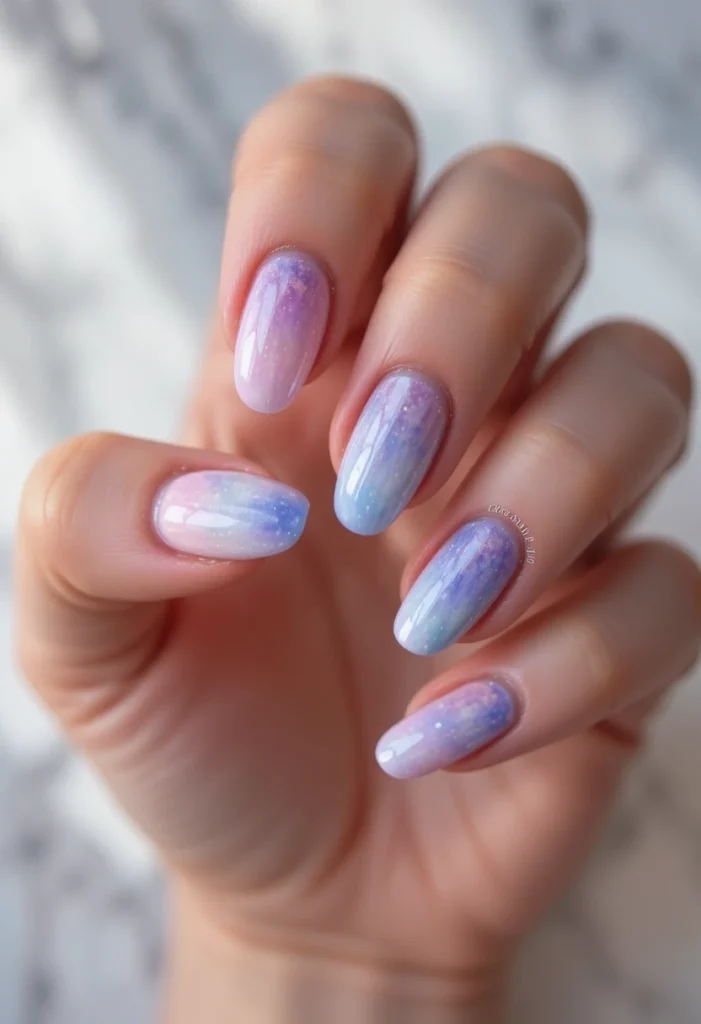
Blending two or more colors within a single wing shape adds depth and dimension that a flat, single-color design can’t achieve on its own. This gradient effect often mimics the natural color transitions found in real butterfly wings, where colors shift gradually from the body outward toward the wing tips. A soft sponge or blending brush is typically used to diffuse the colors smoothly within the confines of the wing outline.
This technique works particularly well when paired with complementary color pairings, such as a soft yellow blending into orange, or blue transitioning into purple. The gradual color shift adds a sense of movement to the design, echoing the natural variation found in real wing patterns rather than relying on a single flat tone.
Using Metallic Foil For Wing Accents
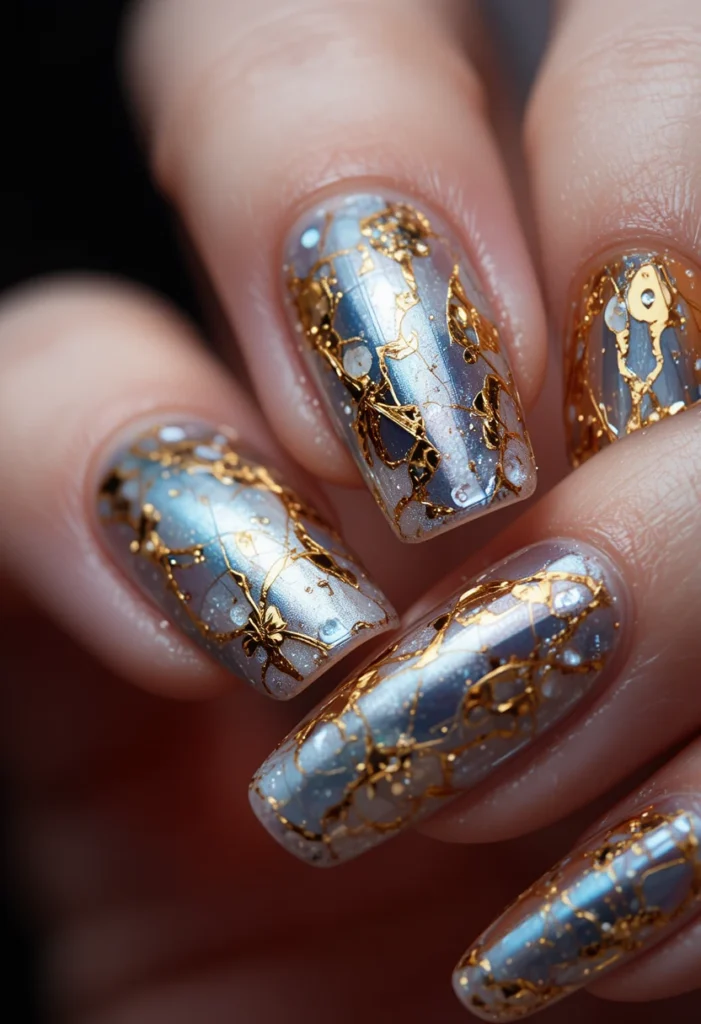
Small pieces of metallic foil applied along the edges or central sections of a wing design introduce a reflective, eye-catching quality that plain polish alone can’t replicate. This detail mimics the natural iridescence found in certain butterfly species, where wings appear to shift color slightly depending on the angle of light. The foil is typically applied while the top coat remains slightly tacky, allowing small fragments to adhere directly to the design.
This technique tends to work best when used sparingly, placed only along specific sections rather than covering the entire wing shape. This restrained application keeps the overall design elegant, allowing the metallic accents to enhance the motif rather than overwhelming its natural, delicate quality.
Read also :15+ Pastel Nail Colors Spring Refresh
Combining Butterflies With Floral Elements
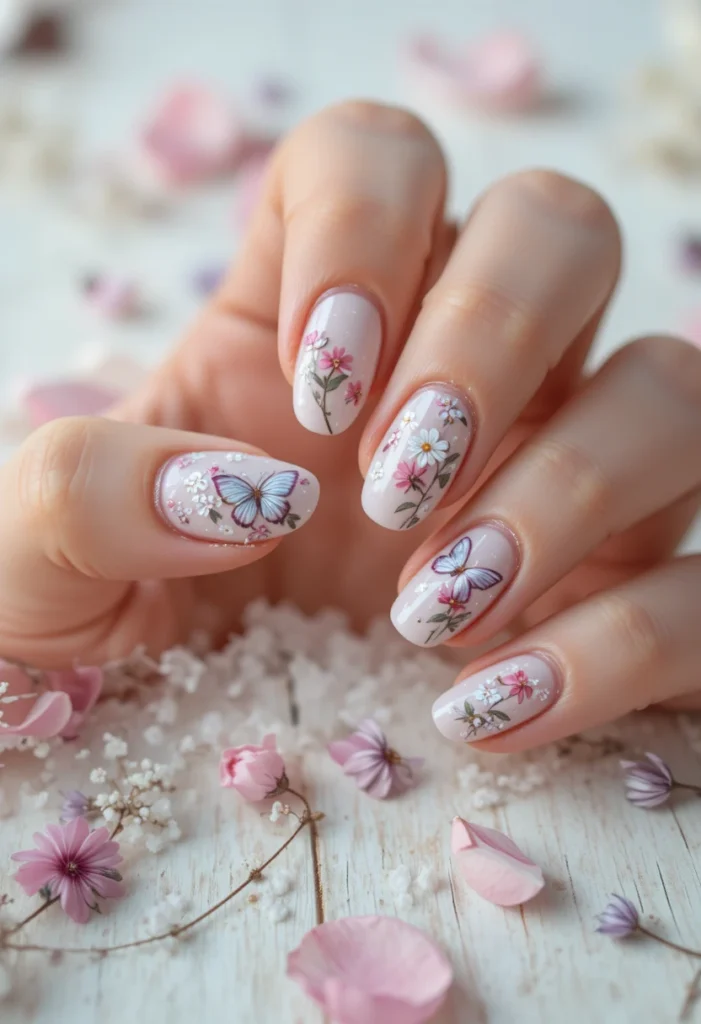
Pairing this motif with small floral details creates a fuller, more garden-inspired design, often placing tiny flowers alongside or beneath the wing shapes. This combination feels particularly cohesive, since both elements share a similar delicate, nature-inspired quality that complements rather than competes with one another. This pairing has become popular for spring and summer designs, where a fuller floral aesthetic feels seasonally appropriate.
Balancing the two elements requires some restraint, since combining too much detail from both motifs can quickly make a design feel cluttered rather than intentional. Most successful combinations feature one dominant element, typically the wing shape, with smaller floral accents placed sparingly to complement rather than distract from the main design.
Designing Minimalist Butterfly Silhouettes
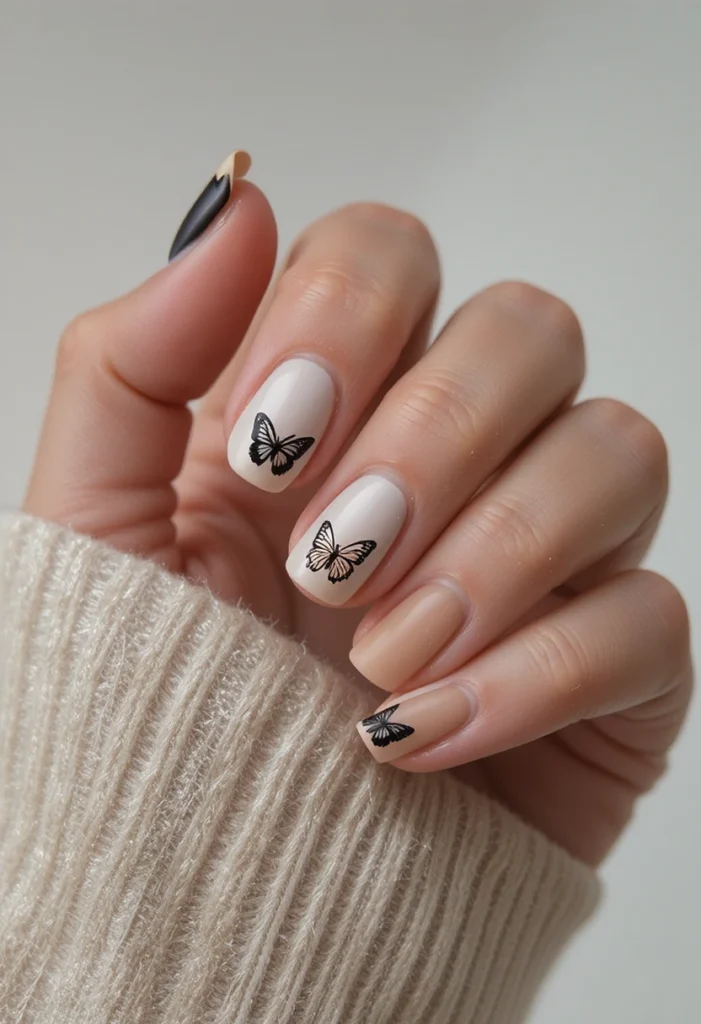
For those who prefer a more understated take on this theme, a simple, solid-color silhouette offers a clean, modern alternative to more detailed, multi-colored designs. Rather than incorporating gradients, line work, or foil accents, this approach relies on the recognizable wing shape alone, often in a single contrasting color against a neutral base. This minimalist style feels particularly suited to everyday wear, where a subtler nod to the theme feels more appropriate than an elaborate design.
The simplicity of this approach also makes it one of the more accessible entry points into this theme for those newer to nail art, since it requires less precision than detailed line work or gradient blending. A clean, well-proportioned silhouette can look just as striking as a more intricate design, proving that this motif doesn’t require elaborate detailing to feel effective.
Placing A Single Accent Butterfly Nail
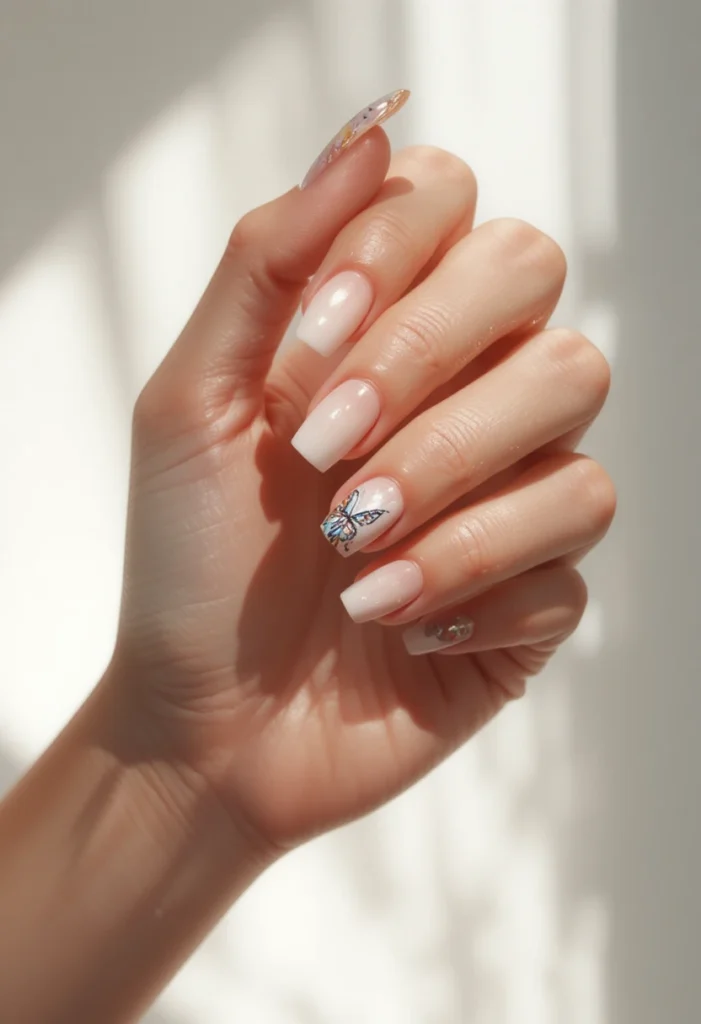
Rather than incorporating this motif across every nail, many designs feature it as a single accent detail, allowing the remaining nails to stay simple with a solid, complementary color. This approach lets the wing design stand out as a clear focal point, drawing attention without overwhelming the overall look of the manicure. It also tends to be a more manageable option for those wanting to try this theme without committing to a full set of detailed nails.
Choosing which nail to feature typically comes down to personal preference, though the ring finger remains a popular choice for accent designs across many nail art themes. This selective placement allows for more intricate detailing on a single nail without the time investment required to replicate the same level of detail across an entire set.
Exploring 3D Butterfly Embellishments
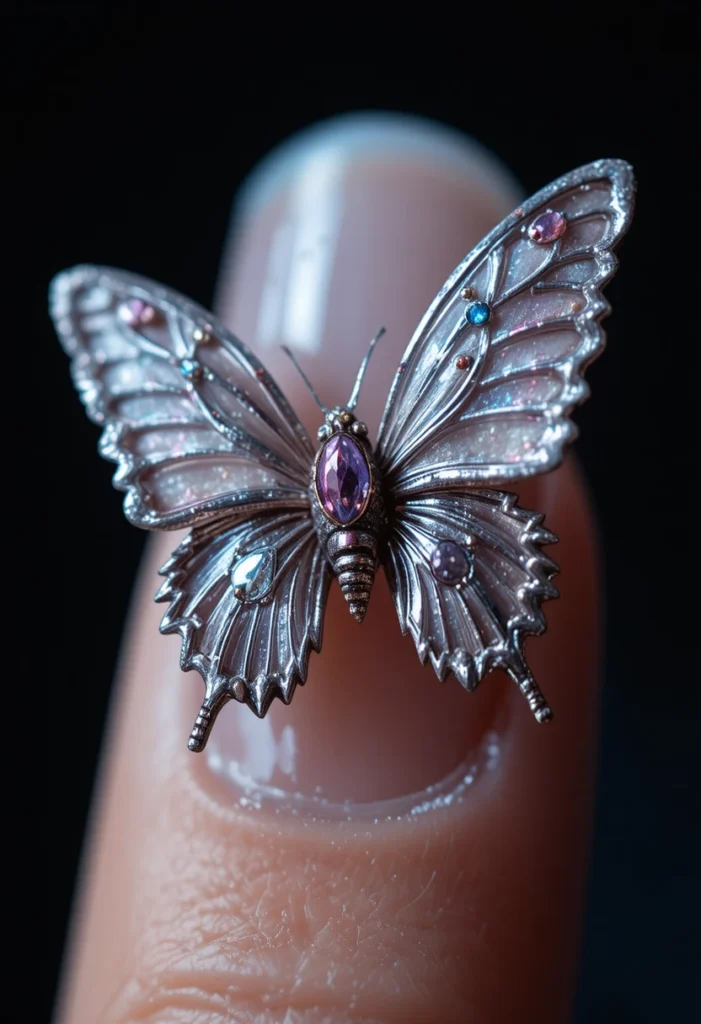
Small, pre-made charm accents shaped like wings add a dimensional, tactile quality to this theme that flat, painted designs can’t replicate. These embellishments are typically adhered to the nail using a strong nail glue or embedded into gel polish before curing, creating a raised, textured detail that catches light differently than a flat surface. This dimensional quality tends to make the design feel more like a decorative accessory than a traditional painted motif.
These charms come in a range of sizes and finishes, from matte fabric-like textures to glossy, jewel-toned options, allowing for significant customization depending on the desired final look. Because these embellishments add noticeable dimension, they’re often reserved for a single accent nail rather than applied across an entire set, preventing the design from feeling overly heavy or impractical for daily wear.
Creating Ombre Backgrounds Behind Wings
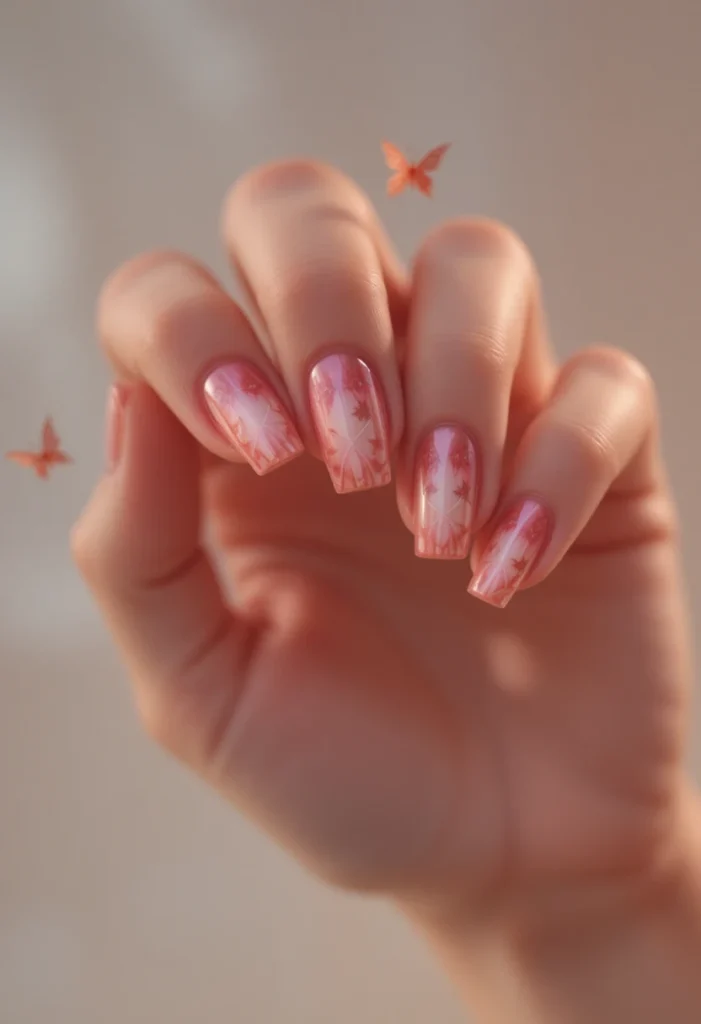
Rather than keeping the base color flat and solid, blending a soft gradient across the entire nail before adding the wing design creates a more atmospheric, layered backdrop. This technique often uses complementary pastel or jewel tones that transition smoothly from the cuticle to the tip, giving the impression of a soft sky or dreamy backdrop behind the main motif. This layered approach adds depth to the overall design without requiring additional detailing on the wing shape itself.
This background technique pairs particularly well with a single-color wing silhouette, since the simplicity of the motif allows the gradient backdrop to share equal visual weight rather than competing for attention. The result is a design that feels cohesive and intentional, with the background enhancing rather than distracting from the central wing pattern.
Adding Rhinestone Body Details
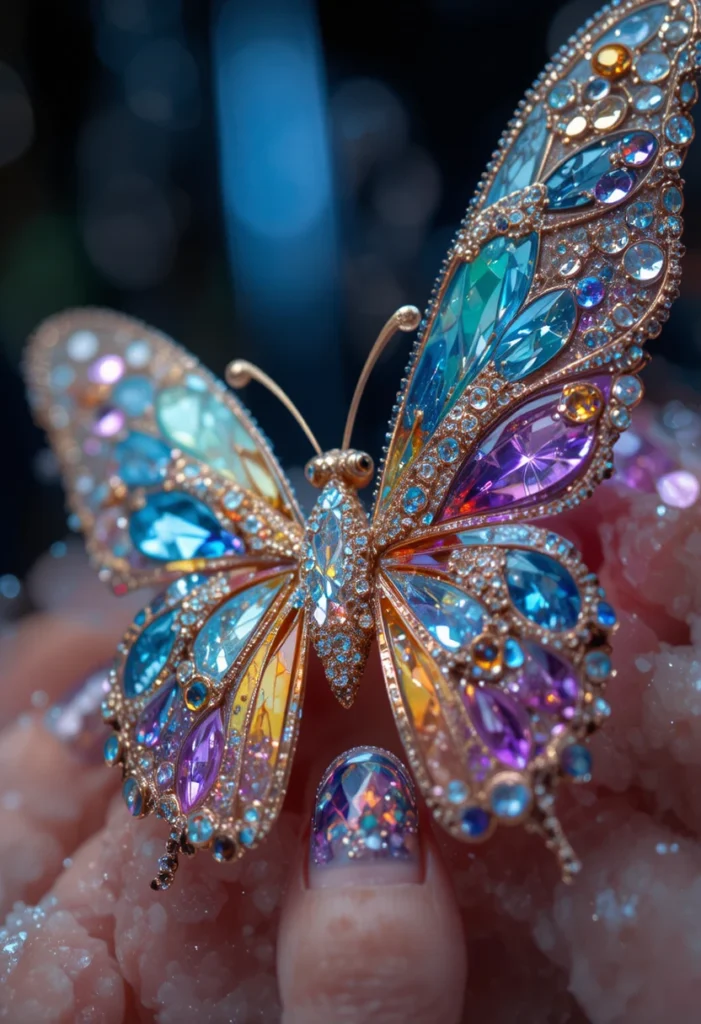
Small rhinestones placed along the body section connecting two wing shapes add a touch of sparkle to this design without requiring extensive additional detailing. This placement mimics the segmented body structure found in real specimens, while also drawing subtle attention to the center of the design where the two wings meet. A single line of small stones or a cluster of varying sizes both work well for this detail, depending on the desired level of sparkle.
This technique works particularly well alongside more minimalist wing designs, since the rhinestone detailing adds visual interest without requiring the wings themselves to carry elaborate patterns or gradients. This balance between simple wings and a sparkling body detail creates a design that feels polished without becoming overly busy or difficult to maintain.
Choosing Seasonal Color Themes For Butterflies
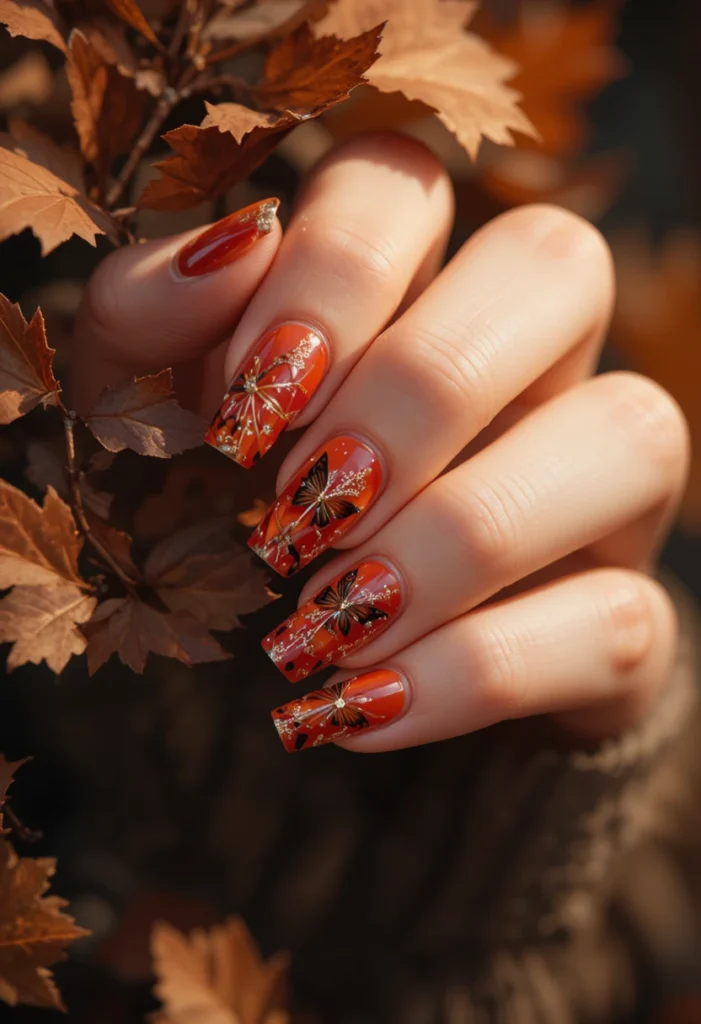
Adjusting the color palette of this design based on the season helps keep the theme feeling fresh throughout the year, rather than relying on the same combination regardless of timing. Warmer tones like orange, red, and gold suit autumn-inspired designs, echoing the changing colors found in nature during that season, while cooler pastels and soft blues feel more fitting for spring. This seasonal adjustment allows the same underlying motif to feel relevant and current no matter the time of year.
This flexibility is part of what makes this theme so enduring, since the wing shape itself remains recognizable regardless of the color palette applied to it. Choosing seasonal colors also gives those who return to this design repeatedly a way to keep their manicure feeling new, rather than repeating the exact same look every time.
Sealing Designs For Long-Lasting Wear
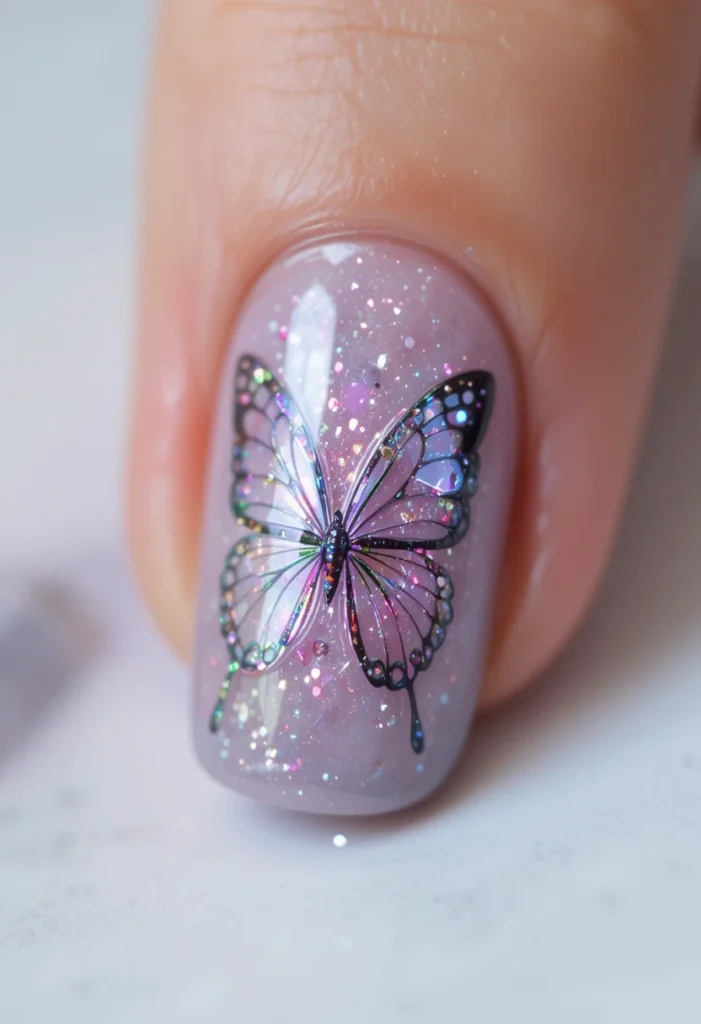
Given the level of detail often involved in this theme, a durable top coat becomes essential for protecting fine line work, foil accents, or gradient blending from everyday wear. A high-quality, chip-resistant sealant applied in thin, even layers helps preserve delicate details without smudging the intricate patterns underneath. Reapplying a fresh top coat every few days can extend the life of the design considerably, especially for those with more detailed, multi-step wing patterns.
For gel-based applications, proper curing at each stage plays a significant role in how well the design holds up over time, since under-cured layers are more prone to lifting or chipping around delicate detail work. Taking the extra time to seal and maintain the design properly ensures that the effort put into fine lines, gradients, or embellishments continues to look polished well beyond the first few days of wear.
Conclusion
This fluttering, wing-inspired motif continues to hold its place in nail art precisely because it offers so much room for personal expression, from soft minimalist silhouettes to richly detailed, jewel-toned masterpieces. Whether styled as a single accent detail or a fully embellished statement design, this theme adapts easily to any season, skill level, or occasion. With the right color choices and a little patience for detail work, it remains one of the most rewarding designs to bring to life on your own nails.

Mehboob Ahmad is the founder and writer behind BeautyVibeWorld. With a genuine passion for skincare, makeup, and everyday beauty routines, Mehboob started this platform to share simple, practical, and research-backed advice that real people can actually use without the confusion of conflicting trends and overhyped products.
Every article on BeautyVibeWorld is written with care, backed by research, and regularly updated to stay accurate and relevant. Mehboob believes good beauty advice should be honest, easy to follow, and free of unnecessary complexity.
Outside of writing, Mehboob enjoys exploring new beauty trends and staying up to date with the latest in skincare and haircare research to keep bringing fresh, reliable content to BeautyVibeWorld readers.