
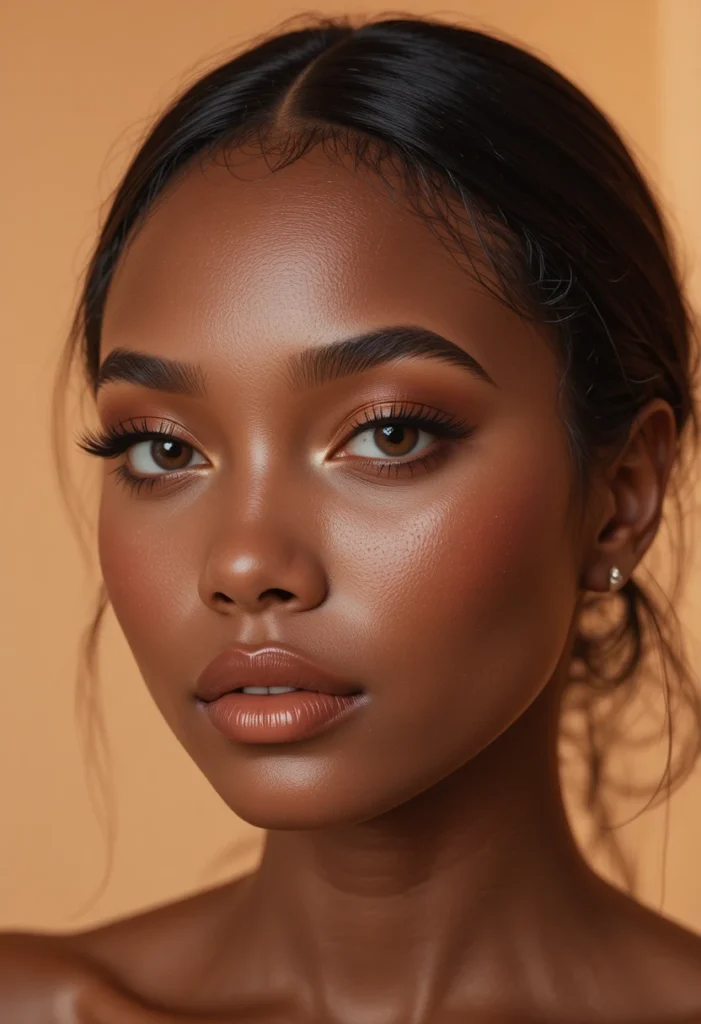
Skin MakeupMakeup for dark skin is not about hiding your features—it’s about celebrating the depth, warmth, and richness that lighter complexions simply cannot replicate. Whether you are new to beauty routines or looking to refine your everyday look, embracing natural techniques ensures your skin breathes and your true self shines through. The following fifteen concepts guide you through enhancing your melanin-rich complexion without heavy layers or complicated steps, keeping every application fresh, glowing, and authentically you.
1. Understanding Your Undertone for Seamless Base Application
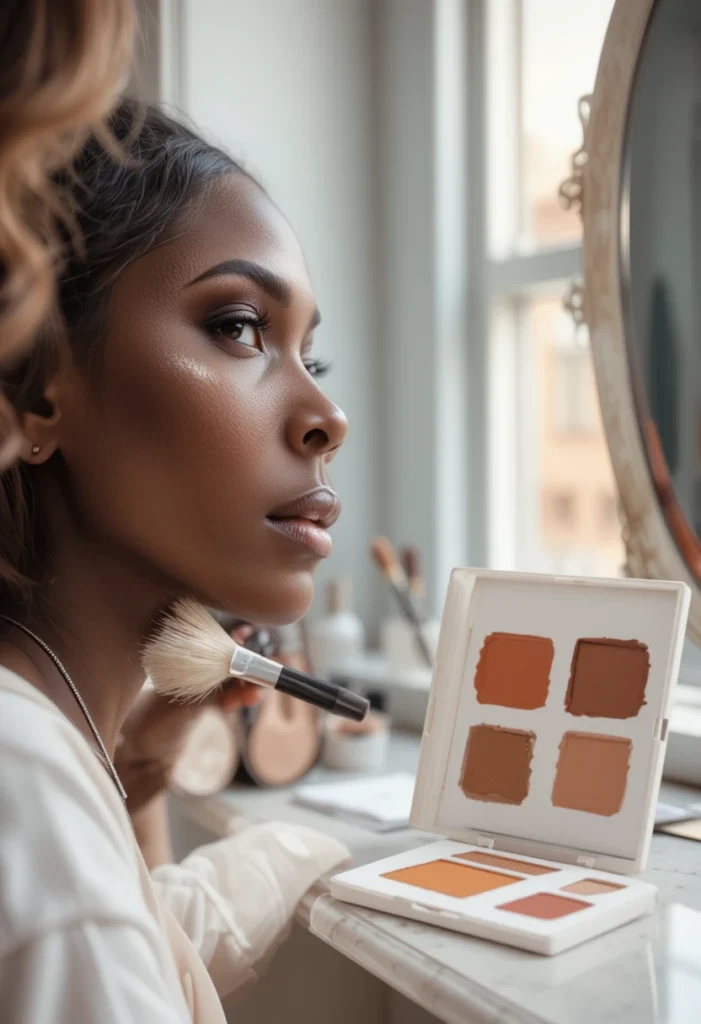
Before any product touches your face, recognize the subtle hues beneath your surface. Dark skin can carry red, yellow, blue, or neutral undertones, and identifying this makes every subsequent choice—from foundation to blush—look like second skin. Hold a white paper next to your jaw in natural light; if your skin appears more golden or peachy, you lean warm. A hint of rosiness or blue suggests cool, while a mix points to neutral.
Once you know your undertone, selecting a natural finish foundation becomes intuitive. Many brands now offer extended ranges, but the goal is not full coverage—opt for a light to medium buildable formula that evens out discoloration without masking your natural warmth. Apply with a damp sponge or your fingers, focusing on the center of the face and blending outward toward the hairline and neck for a gradient effect that looks like skin, not a mask.
2. Hydration as the First Layer for a Dewy, Not Greasy, Canvas
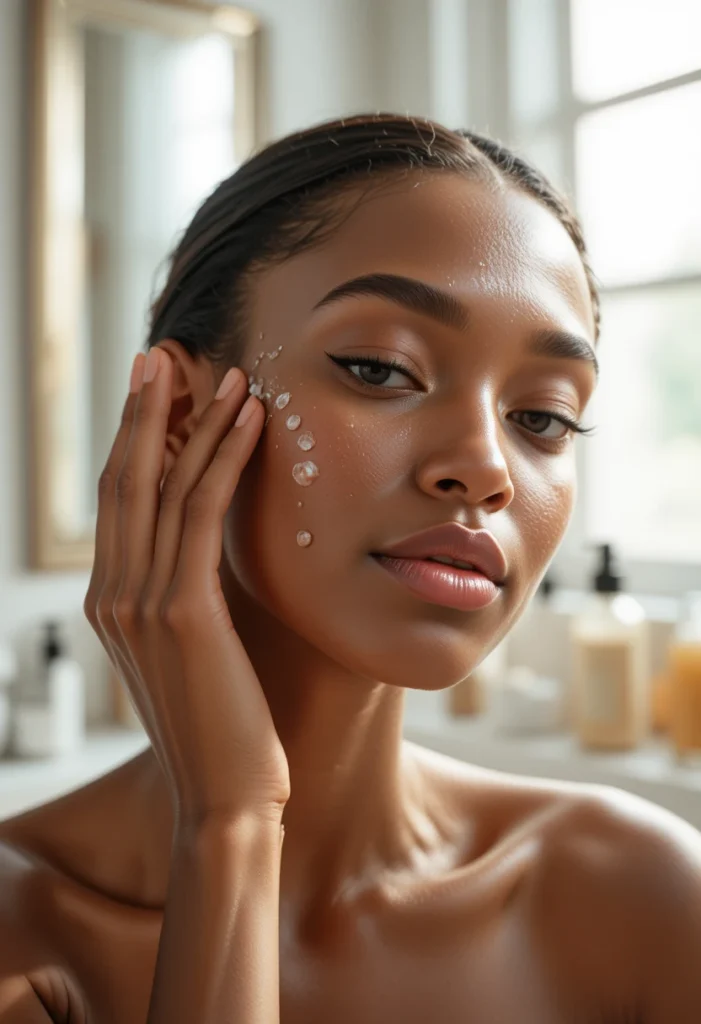
Hydrated skin naturally reflects light, which is the secret behind that sought-after lit-from-within look. On dark skin, dehydration often appears as ashiness or a dull gray cast, especially around the mouth, forehead, and knees. Instead of reaching for a heavy moisturizer right before makeup, build hydration into your morning routine with a water-based serum and a lightweight, non-comedogenic cream. Let each layer absorb for two minutes before moving on.
Once your skin feels plump and bouncy, observe how your natural oils emerge. Many women with dark skin assume they need mattifying primers everywhere, but a strategically placed dewy finish works better. Apply a liquid highlighter or face oil only to the high points—cheekbones, brow bone, and the bridge of the nose—then press it in with your palms. This mimics your skin’s natural glow pattern and prevents the dreaded chalky or flat appearance that heavier products can cause.
3. Primer Choices That Respect Melanin Density and Texture
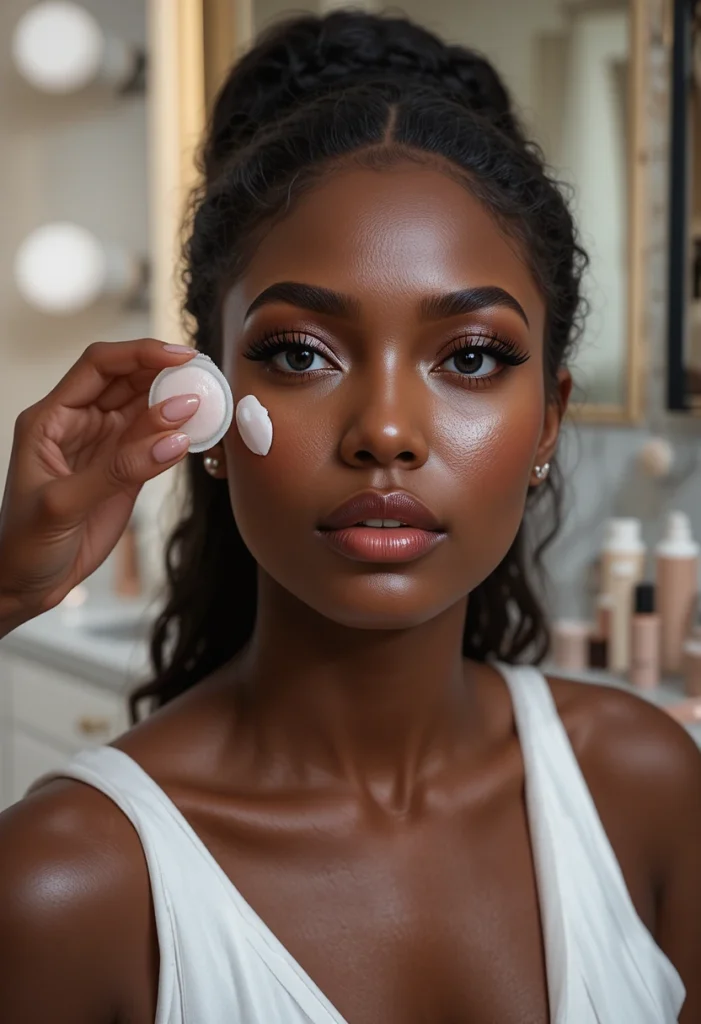
Not all primers serve dark skin equally; some leave a white cast or feel overly silicone-slick, causing foundation to separate within hours. Look for gel-cream hybrid primers that melt into skin without altering your natural tone. Avoid “tone-adjusting” purple or green primers unless you have specific redness to neutralize, as they often leave an ashy veil on richer complexions. A clear, hydrating primer with a slightly tacky finish works best to grip makeup without muting your warmth.
Apply primer only where you need it—center of the forehead, nose, cheeks, and chin—rather than slathering it everywhere. This technique respects the fact that darker skin often has multiple textures across the face; the T-zone might be oilier while the perimeter stays normal. By targeting application, you allow different areas of your face to behave naturally while still creating a unified base for the natural-looking complexion you want.
4. Foundation Matching Beyond the Wrist Swatch Test
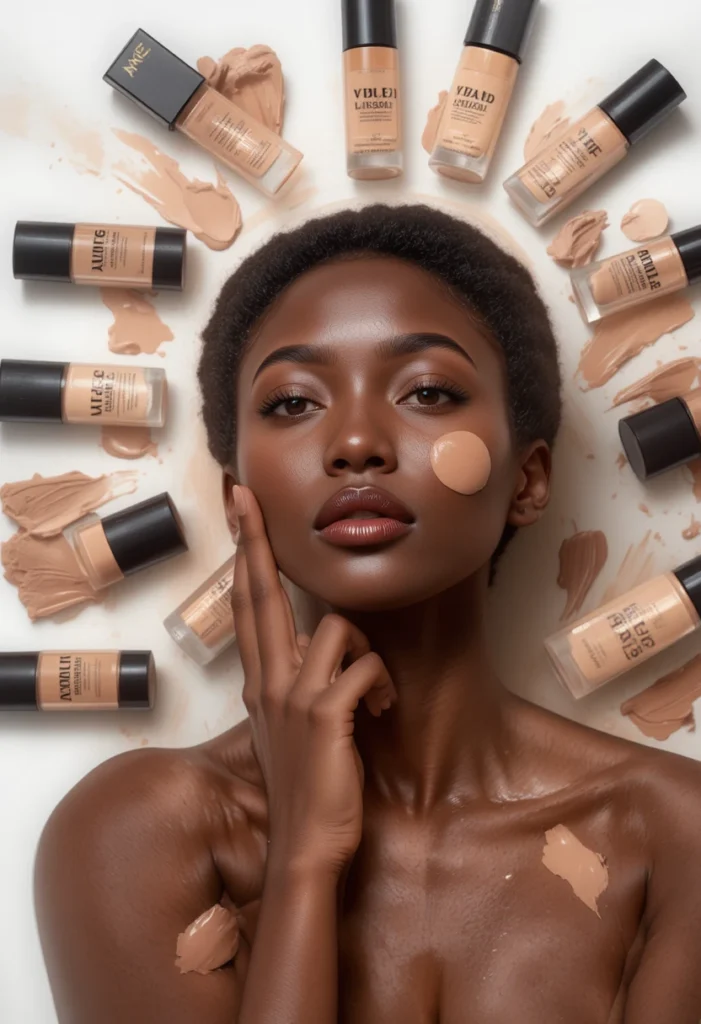
The common advice to test foundation on your wrist or hand fails most dark skin tones because those areas are often lighter or differently textured than your face. Instead, swipe three candidate shades along your jawline and blend slightly into your neck. Walk to a window with indirect daylight—store lighting lies. The correct match disappears into your skin without leaving a demarcation line. If you’re between shades, choose the slightly deeper one, as you can always warm it up with bronzer.
When you find your match, resist the urge to coat your entire face. Apply foundation only where you have unevenness—typically the center panel of your face (nose, around the mouth, under eyes) and blend outward. The outer perimeter of your face often has beautiful, even skin that only needs a whisper of product. This “center-first” method preserves your natural skin texture and prevents the dreaded mask-like finish, making your natural undertones visible through the makeup.
5. Concealer That Brightens Without Turning Gray
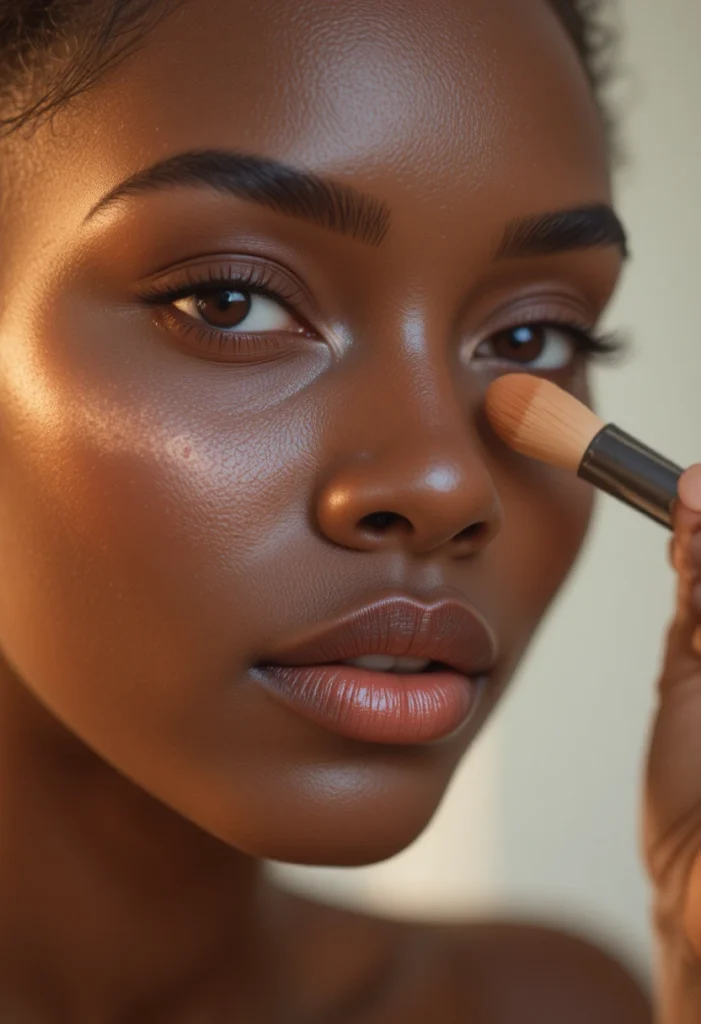
Dark skin requires a different concealer strategy than lighter tones, especially under the eyes. Many concealers marketed as “brightening” contain a white or lavender base that oxidizes to an ashy gray within an hour on melanin-rich skin. Instead, choose a concealer with a peach or orange undertone for under-eye circles and a shade that matches your foundation exactly for blemishes. The warmth of peach cancels blue-purple shadows without leaving a ghostly residue.
Apply concealer only in the inner and outer corners of the under-eye area, not in a full triangle down to your cheeks. Then blend with your ring finger or a tiny sponge, using patting motions rather than dragging. For blemishes or dark spots, dot concealer on the center of each mark and let it sit for thirty seconds before blending the edges only. This leaves coverage exactly where needed while the skin around it breathes naturally, avoiding that over-concealed, flat look.
6. Setting Without Powdering Away Your Glow
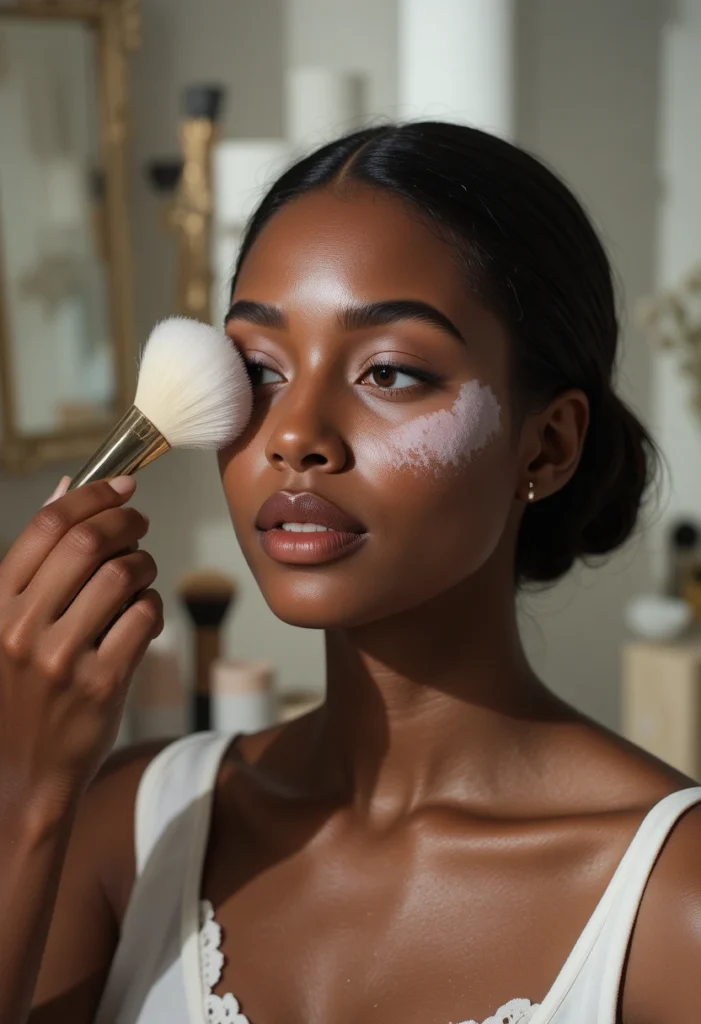
The fear of shine leads many women with dark skin to over-powder, but powder particles look especially visible on deeper tones because the contrast between matte powder and natural skin can appear chalky. Set only the areas that truly need it—your T-zone, smile lines, and under your eyes if you crease. Use a translucent powder that truly disappears, or better yet, a tinted powder close to your skin tone. Avoid silica-based powders, which flash back in photos and dry out your skin.
Press the powder into your skin with a velvety puff, then dust off excess with a fluffy brush. This “press and sweep” method locks your concealer and foundation in place while allowing your skin’s natural oils to peek through on the cheeks and forehead. For an even more natural finish, skip powder entirely on the high points of your face and instead set your makeup with a hydrating setting spray. The result is a complexion that looks fresh hours later, never dusty or mask-like.
7. Blush Placement That Mimics a Real Flush
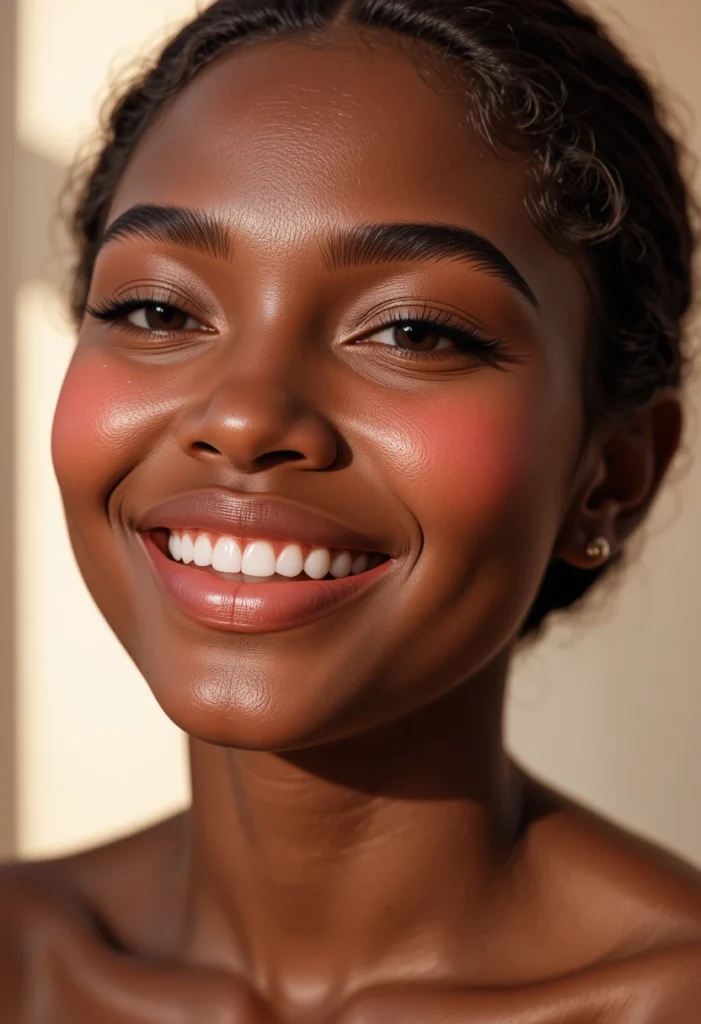
Dark skin wears blush beautifully, but the instinct to smile and swipe color onto the apples of your cheeks often creates an unnaturally round patch. Instead, look for where you naturally flush after a brisk walk—typically higher and farther back toward your temples. Place blush along the upper cheekbone, starting at the outer corner of your eye and sweeping diagonally upward. This lifts the face and adds warmth without looking like a separate layer of color.
Choose cream or liquid blushes in rich berry, brick, or deep rose tones. Avoid pastel pinks or light corals, which can look ashy. Apply a tiny dot to the back of your hand, then tap a stippling brush into it and bounce the brush onto your skin. Build slowly—you can always add more, but removing excess on dark skin often disturbs your base. The goal is a diffused wash of color that looks like blood rushing to the surface, not a painted stripe.
8. Bronzer and Contour: Defining Without Dirtiness
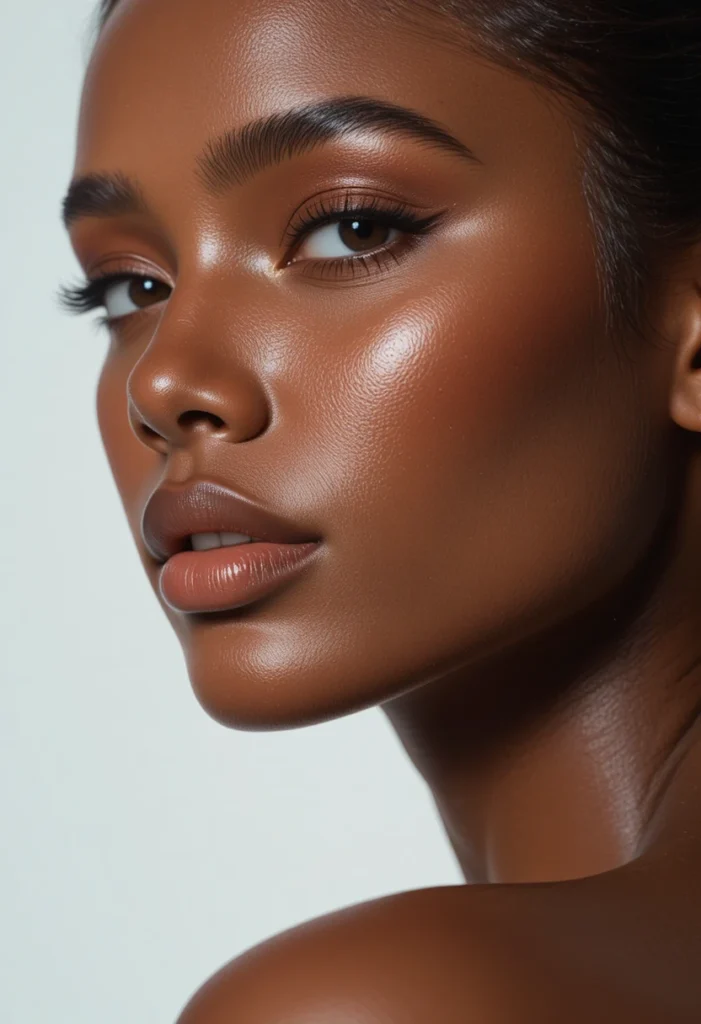
Many women skip bronzer on dark skin because early formulas looked orange or muddy, but the right technique adds life, not dirt. Use bronzer to warm up your complexion where the sun naturally hits—top of the forehead, bridge of the nose, and the very tops of the cheeks. Choose a bronzer with a red or golden undertone, never one that pulls gray or ashy. A pressed powder bronzer that’s only two shades deeper than your skin works best; dramatic darkness will look artificial.
Contour, on the other hand, should be cool-toned to mimic natural shadow. Apply a cream contour stick that has a taupe or deep olive undertone under your cheekbones, along your jawline, and on the sides of your nose. Blend with a dense brush or sponge until you see no harsh lines. The test of a natural contour is that someone notices your bone structure, not the product itself. Keep both bronzer and contour soft and blended—sharp lines belong on editorial shoots, not daily wear.
9. Eyebrow Filling That Frames Without Overpowering
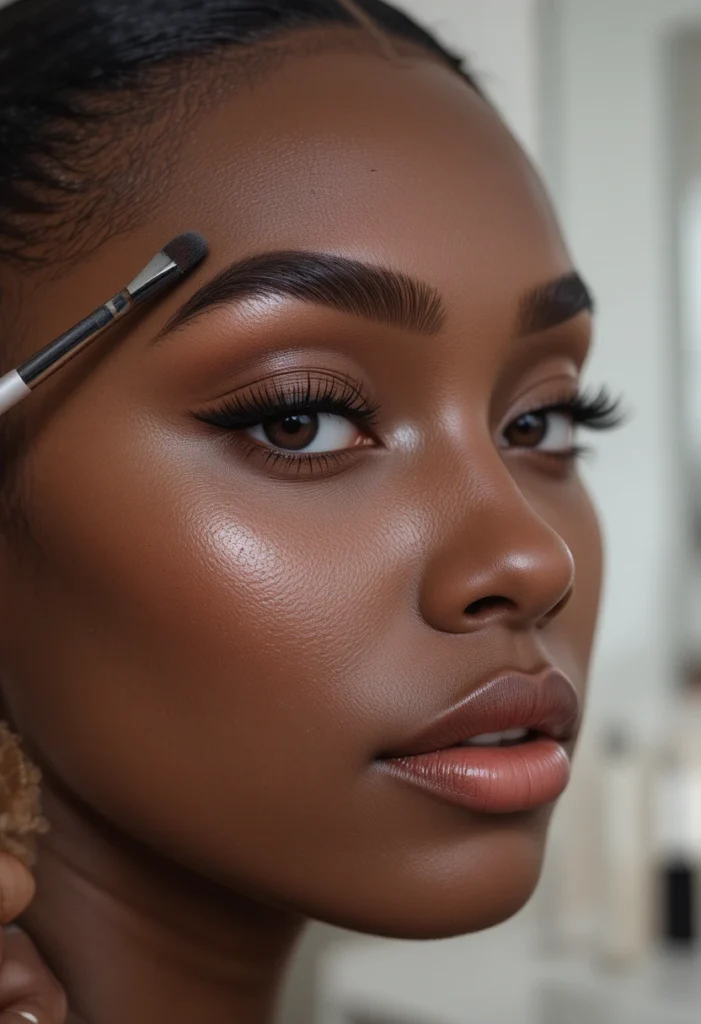
Dark skin often comes with naturally strong brows, but even sparse areas need a gentle hand. The biggest mistake is using a shade that’s too black or too warm, which creates an unnatural outline around your face. Choose a brow product two shades lighter than your hair if you have black or very dark brown hair. For example, a deep ash brown or soft charcoal looks far more natural than jet black. Avoid red or auburn tones unless your hair has visible warm highlights.
Use fine, hair-like strokes only where your brows are sparse, focusing on the arch and tail. Brush through with a spoolie after every few strokes to diffuse the color. If you’ve overdone it, a quick sweep of translucent powder over the brow softens everything. The goal is brows that look naturally full and groomed, not drawn or carved. Remember that bold brows can dominate your face, so when in doubt, use less product and step back from the mirror to assess.
10. Eyeshadow for Depth Without Chalkiness
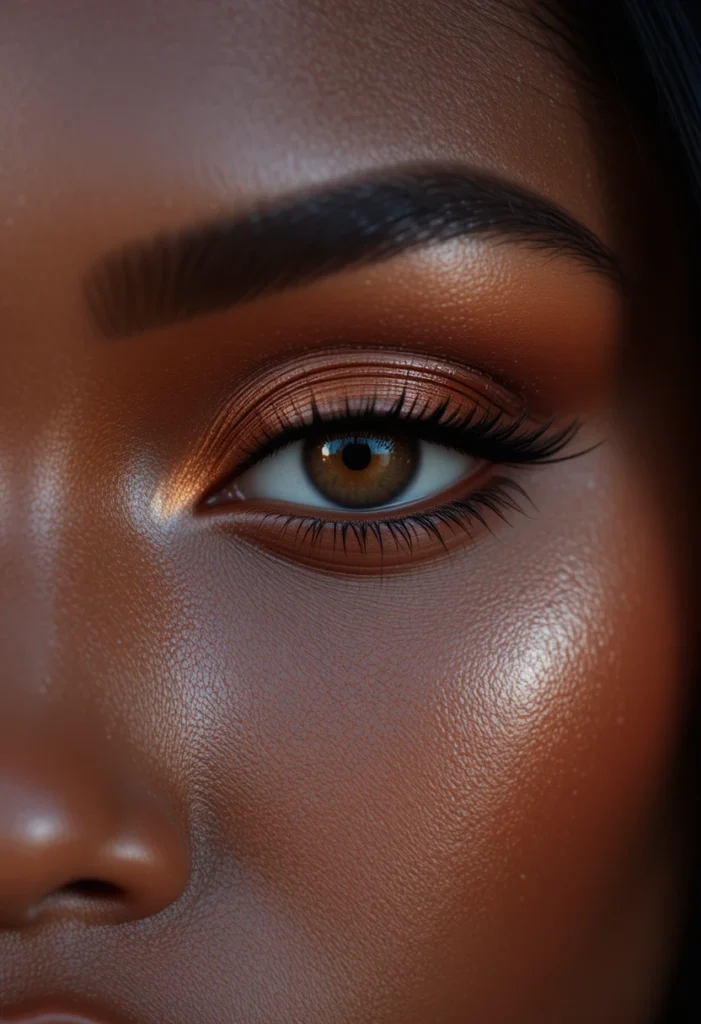
Many neutral eyeshadow palettes fail dark skin because the so-called “transition shades” are too light or too ashy. Start with a matte shadow that matches your skin tone or is only one shade deeper—this becomes your true transition. From there, build depth using rich browns, plums, deep olives, or terracottas. Avoid stark whites or pastels in the crease, as they create a dusty line rather than a soft gradient. Shimmer shades with a metallic or wet-look finish pop beautifully on dark lids.
Apply your deepest shade only to the outer V and along the lower lash line, then blend with a clean brush using small circular motions. Keep the inner corner of your eye bright with a champagne or gold shimmer—this opens up your eyes without looking frosty. The key to natural eyeshadow on dark skin is texture over color: a well-blended matte with a single shimmer accent looks far more sophisticated than five colors fighting for attention. Less is truly more.
Read also:15 Natural Makeup Black Women Looks: Unlock Your Most Confident, Glowing Self
11. Eyeliner That Defines Without Harsh Lines
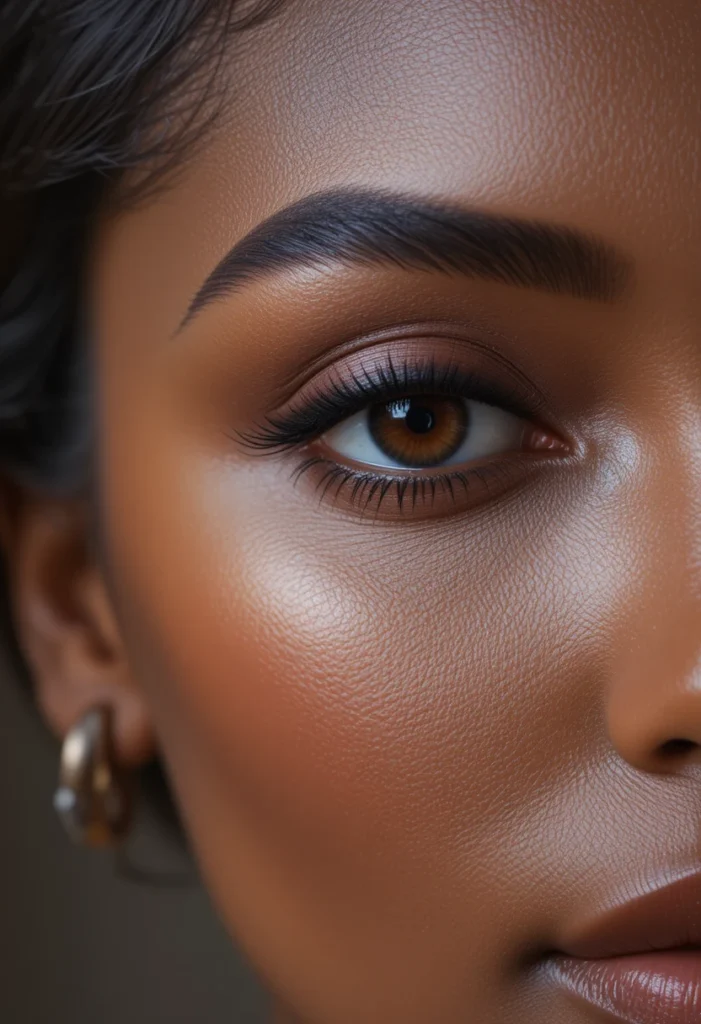
Black eyeliner can look striking on dark skin, but for a natural day look, it often reads as too severe. Switch to a dark brown or deep plum liner for the upper lash line. These shades define your eyes while blending softly into your lashes, creating the illusion of thicker lashes without a visible line. If you love black, try a charcoal or soft black instead of an intense jet black, and always smudge it slightly with a small brush or your fingertip.
For the lower lash line, never draw a solid line. Instead, press a dark shadow into the outer third of your lower lashes using an angled brush. This technique, called “tightlining from below,” adds depth without closing off your eyes. You can also skip lower liner entirely and just focus on curling your lashes and adding mascara. The most natural eyeliner is the one that people don’t notice as eyeliner—they just notice your eyes looking brighter and more awake.
12. Mascara and Lashes for Visible Definition
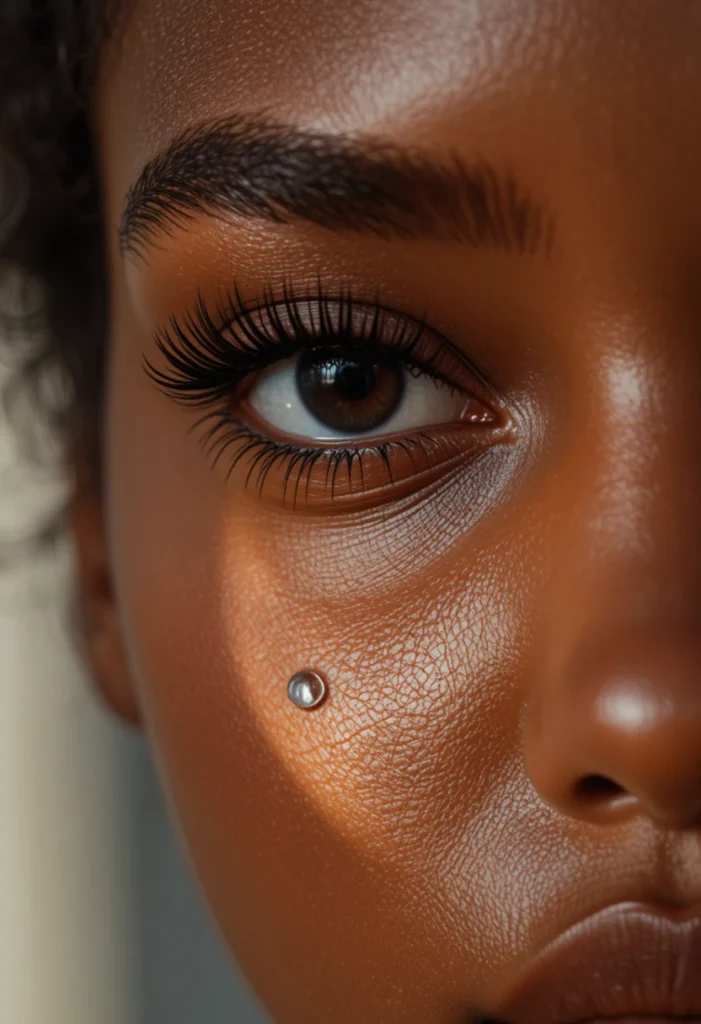
Dark skin and dark lashes can sometimes blend together, making your eyes appear smaller even with mascara. Use a brown-black or pure brown mascara on your lower lashes and the inner half of your upper lashes, reserving black mascara only for the outer corners. This subtle shift adds dimension and makes your lash line visible against your skin. If you wear false lashes, choose ones labeled “natural” or “wispy” with a thin, clear band, and trim them to fit your eye shape.
Before applying mascara, curl your lashes and hold the curler for a full ten seconds. Then wiggle the mascara wand at the base of your lashes before pulling through to the tips. Apply only one or two thin coats to avoid clumping. For a truly effortless look, skip mascara on your bottom lashes entirely and just use a tiny bit of eyeshadow smudged along the outer edge. The result is eyes that look open and awake without any heavy, spidery texture.
13. Lip Color That Enhances Your Natural Pigment
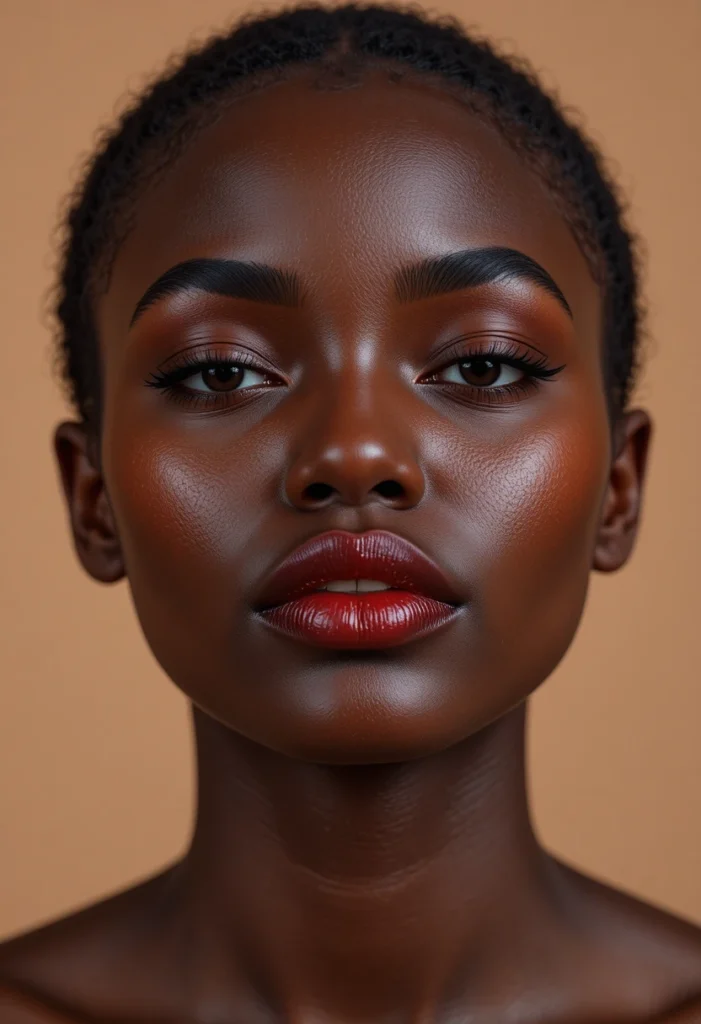
Dark lips are common on melanin-rich skin, and trying to hide them with nude lipsticks often leads to a pasty, unflattering result. Work with your natural lip color instead of against it. Apply a tinted lip balm or sheer gloss in a shade like dried rose, fig, or rich caramel—these enhance your existing pigment rather than covering it. If you prefer a lipstick, choose a satin or cream formula in a shade that matches the darkest part of your lip line for a my-lips-but-better effect.
To avoid the “floating lip” look where your lipstick appears disconnected from your skin, blot once with a tissue after application, then press your lips together. This removes excess product and leaves a stain that looks naturally part of you. For a soft gradient, apply lipstick only to the center of your lips and blend outward with your finger. This technique is especially flattering on fuller lips, as it creates a diffused, kiss-stained finish that feels modern and easy.
14. Highlighting Without Extreme Shine
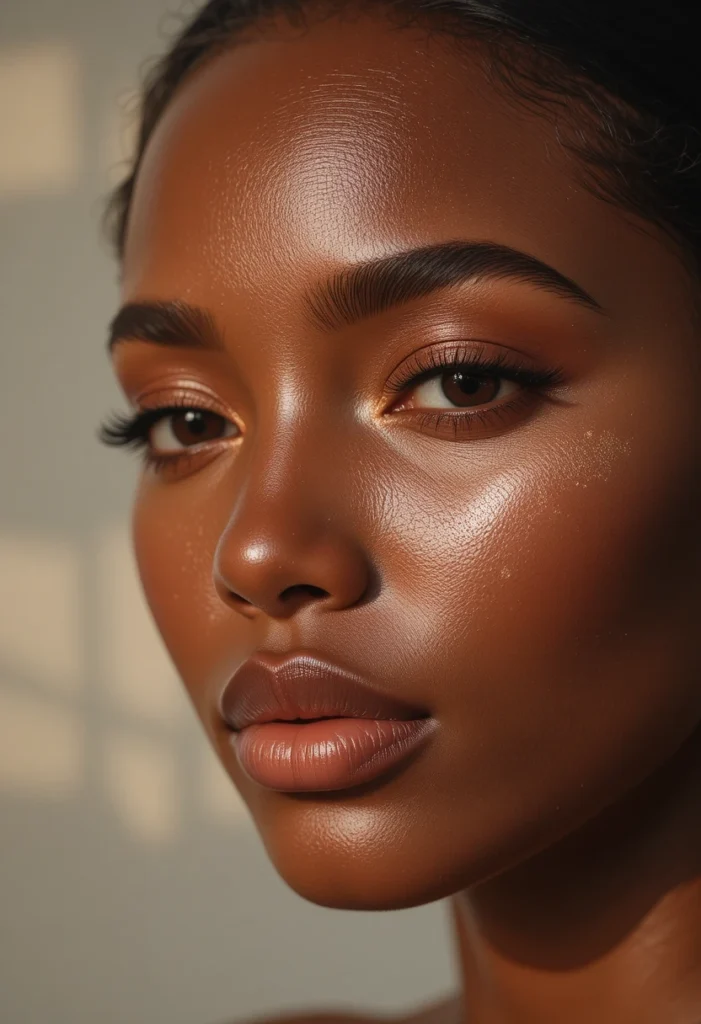
Highlighter can either look like healthy dew or a metallic stripe, and on dark skin the margin for error is smaller because high-shine products reflect more starkly against deep tones. Choose a highlighter with a golden, bronze, or rose-gold base—avoid silver or icy white reflectors, which create an obvious gray sheen. Liquid or cream formulas melt into skin better than powders, which can sit on top and look separate. Apply a tiny amount to the back of your hand, then tap it on with your finger.
The most natural places to highlight are the tops of your cheekbones, the inner corners of your eyes, and just above your brow bone. Skip the tip of your nose and cupid’s bow unless you want a more glamorous effect. Blend until you see a gentle glimmer rather than a distinct line of product. On dark skin, a subtle highlight actually reads as healthy and radiant, while an overdone highlight reads as greasy or artificial. When in doubt, use half the amount you think you need.
15. Setting Sprays That Lock Everything Without Tightness
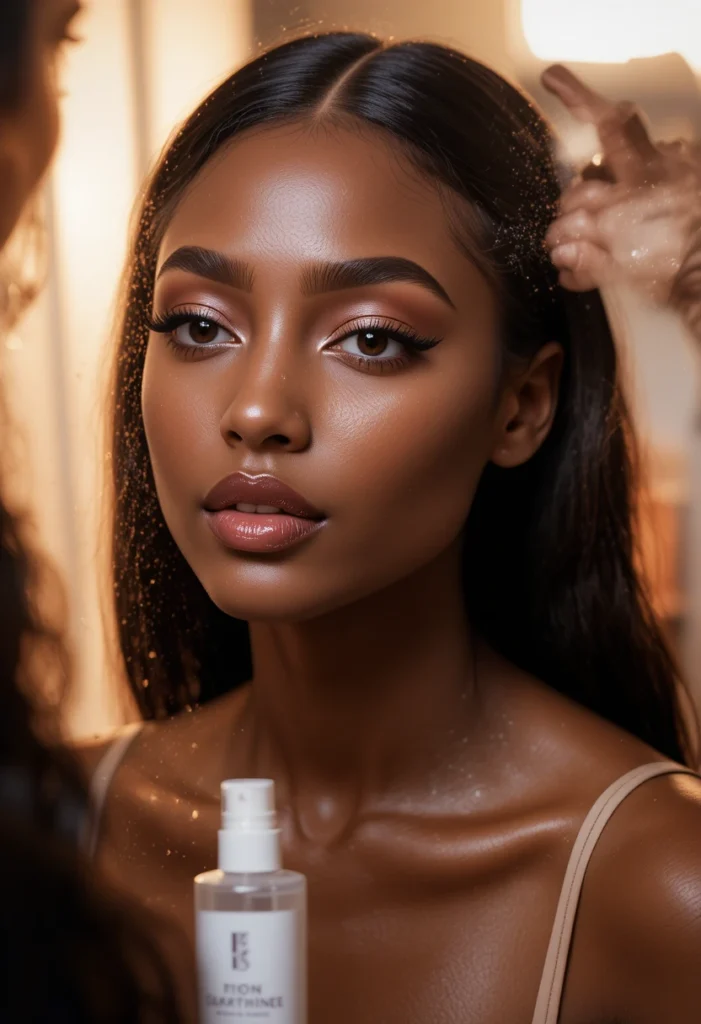
The final step in any natural makeup routine is locking your work in place without adding weight or altering your finish. Use a setting spray that contains glycerin or hyaluronic acid rather than alcohol. Alcohol-based sprays dry down quickly but also dehydrate your skin, leading to that tight, pulled feeling that eventually causes cracking and separation. Hold the bottle eight to ten inches from your face and mist in an X and T pattern—this covers all areas evenly without oversaturating any one spot.
After spraying, let your face air dry for thirty seconds, then gently fan yourself or press a clean sponge over any areas that feel too wet. This final step melts all the powder and cream layers together into one cohesive film that moves with your expressions. For a truly natural finish throughout the day, carry a small bottle of facial mist (not setting spray) and give your face a light spritz when you feel your makeup looking dry or cakey. Your dark skin will respond with renewed radiance every time.
Embracing your natural beauty doesn’t require a dozen new products or hours in front of the mirror. These fifteen approaches prove that dark skin thrives with less, not more—when you understand your undertones, hydrate intentionally, and place color where it belongs, every look becomes an extension of your own features. The next time you reach for your makeup bag, start with just one of these ideas and notice how your confidence grows. Your skin already has the richness; these natural tips simply help it shine.

Mehboob Ahmad is the founder and writer behind BeautyVibeWorld. With a genuine passion for skincare, makeup, and everyday beauty routines, Mehboob started this platform to share simple, practical, and research-backed advice that real people can actually use without the confusion of conflicting trends and overhyped products.
Every article on BeautyVibeWorld is written with care, backed by research, and regularly updated to stay accurate and relevant. Mehboob believes good beauty advice should be honest, easy to follow, and free of unnecessary complexity.
Outside of writing, Mehboob enjoys exploring new beauty trends and staying up to date with the latest in skincare and haircare research to keep bringing fresh, reliable content to BeautyVibeWorld readers.