

Skin Foundation The pursuit of glass skin—that famously smooth, translucent, and intensely hydrated complexion—has moved from K-beauty trend to global skincare obsession. But achieving that mirror‑like finish isn’t just about what you do before makeup; your foundation routine plays a starring role. Many people struggle with cakey, patchy, or dull results because they treat foundation as an afterthought rather than the final touch in a layered skincare ritual. When done correctly, the right application method can mimic the natural light reflection of healthy, glass‑like skin, creating a finish so radiant that you barely recognize yourself in the mirror.
This collection of twenty practical insights will reshape how you approach your daily base makeup. Instead of layering on thick products to hide imperfections, you will learn to work with your skin’s natural texture and moisture levels. From pre‑foundation hydration tricks to the surprising way a damp sponge can transform coverage, each idea builds toward the same goal: a second‑skin finish that looks like you just stepped out of a facial. Forget the matte, heavy masks of the past. Your new routine will feel weightless, breathe with your skin, and leave you feeling effortlessly polished from morning until night.
1. Start With a Double Cleanse That Removes Every Barrier to Light
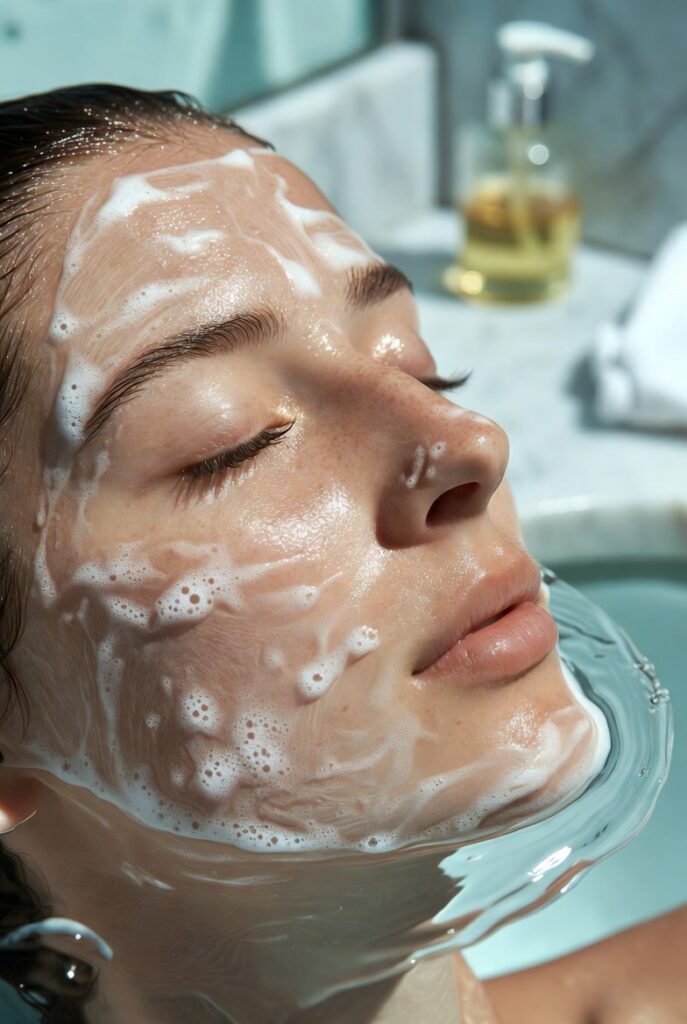
Before you even think about foundation, your canvas must be impeccably clean. Oil‑based cleansers break down sunscreen, sebum, and pollution particles that sit on the surface, while a water‑based gel or cream cleanser sweeps away sweat and dead cells. When residue lingers, foundation clings to uneven patches, creating a dull, textured look instead of that smooth glass finish. Take a full sixty seconds massaging the oil cleanser into dry skin, focusing on the nose and chin where pores collect debris. Follow with the second cleanser using lukewarm water—hot water strips natural oils, leading to flaky spots that foundation will only emphasize.
After cleansing, pat your face dry with a soft, clean towel. Rubbing creates micro‑tears and irritation that disrupt the light‑reflecting surface you are trying to build. Notice how your skin looks slightly plump and squeaky‑clean without feeling tight. That ideal state of balanced hydration is your starting line. If you skip this step or rush through it, no amount of expensive foundation can mask the uneven texture underneath. Think of double cleansing as erasing the scribbles on a whiteboard—only then can you draw something beautiful and luminous.
2. Apply a Hydrating Toner in Layers to Pre‑Plump Your Skin
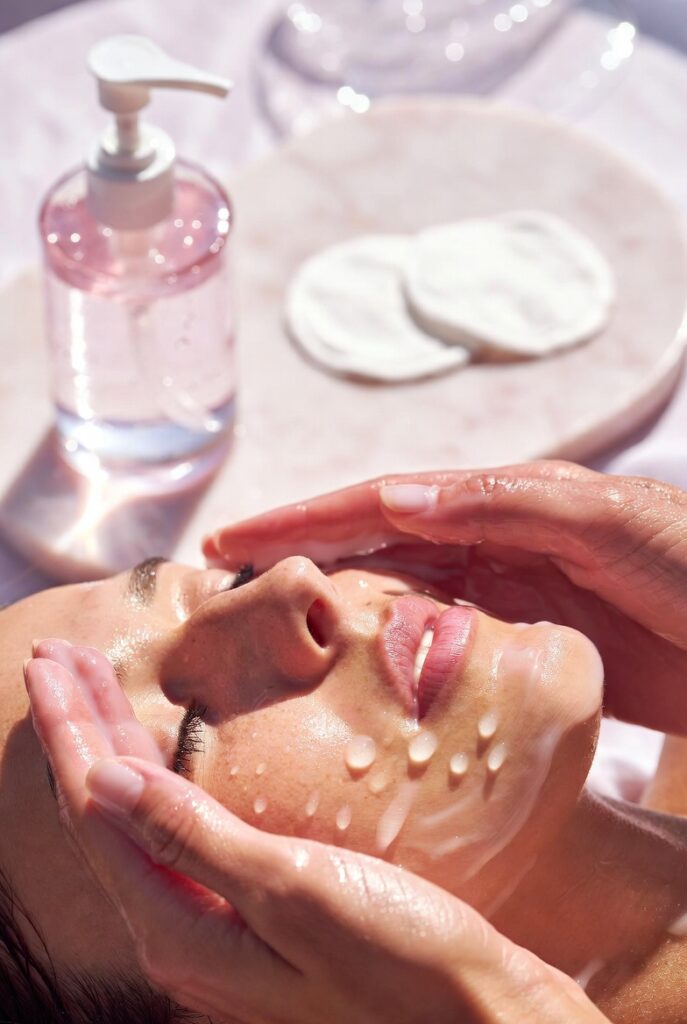
Most people underestimate how much toner contributes to foundation performance. A good hydrating toner—free of alcohol and packed with humectants like glycerin or hyaluronic acid—does more than refresh. When you pat on three to five thin layers, each application sinks into the stratum corneum, swelling the skin cells with moisture. This plumped‑up surface becomes naturally smoother, reducing the appearance of fine lines and large pores before foundation ever touches your face. The result is a subtle, bouncy texture that grabs onto base makeup evenly rather than absorbing it into dry crevices.
Pour a small amount into your palms and press it into your skin gently, never rubbing. Wait fifteen seconds between layers to let each one absorb partially. You will feel the surface transform from damp to dewy to almost tacky—that tackiness is exactly what helps foundation adhere like glass. If your skin drinks up the toner instantly, you probably need a richer formula or more layers. This simple pre‑makeup ritual costs almost no extra time but changes everything about how your foundation sits, moves, and reflects light throughout the day.
3. Seal Hydration With a Lightweight, Water‑Based Gel Moisturizer
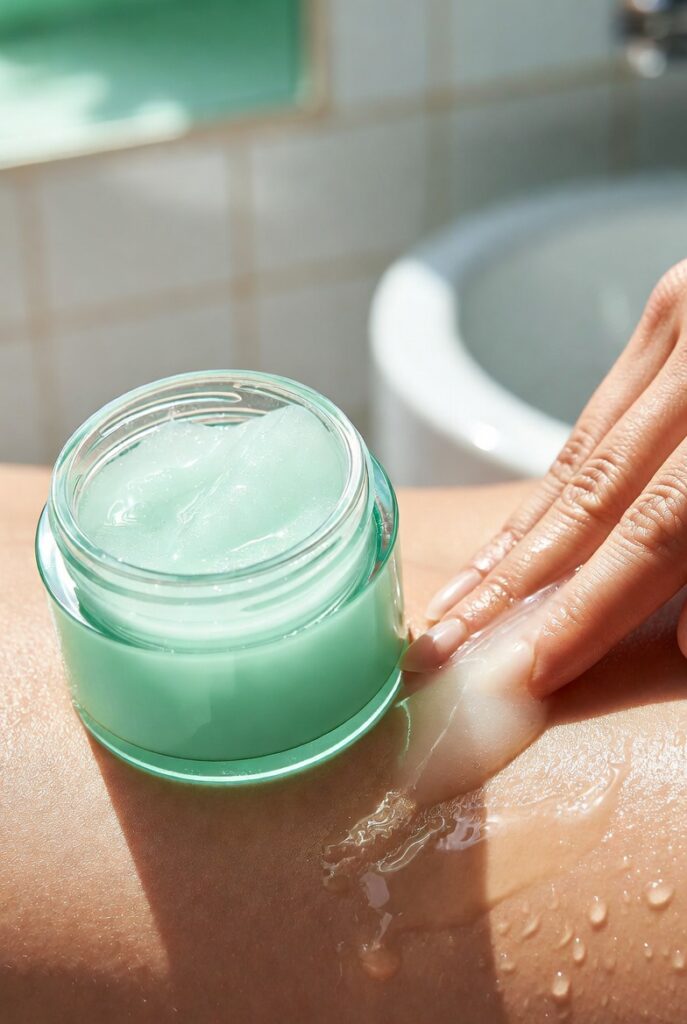
Creamy, heavy moisturizers often contain oils and waxes that break down foundation or cause it to slide around. For glass skin under makeup, choose a gel or water‑cream formula that locks in the toner’s hydration without adding greasiness. Look for ingredients like niacinamide (which also strengthens the skin barrier) or squalane in a light molecular weight. Apply a pea‑sized amount and spread it evenly, then wait two full minutes before moving to the next step. This waiting period allows the moisturizer to form a semi‑set film that smooths the surface without becoming slippery.
You might worry that skipping thick creams will leave you dry by midday. But a gel moisturizer paired with layered toner actually provides longer‑lasting hydration because it doesn’t interfere with your skin’s natural oil regulation. The glass skin effect depends on light bouncing off a uniform, slightly tacky surface. Heavy creams create an uneven oily layer that shifts under foundation, leading to patchy wear and premature fading. Test this approach for one week—you will notice your foundation looking fresher at 5 p.m. than it did at 8 a.m. with your old heavy moisturizer.
4. Use a Pore‑Refining Primer Only Where You Need Texture Control
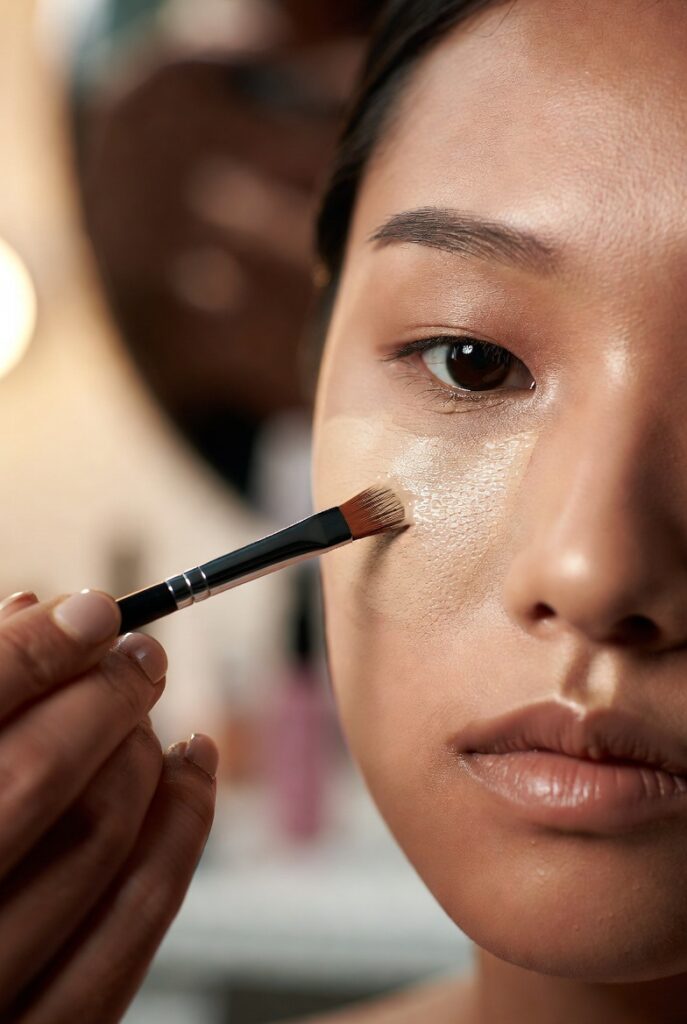
Many people smear primer all over their face, unknowingly creating a slippery barrier that prevents foundation from bonding properly. For glass skin foundation routine, primer should be a targeted tool, not an all‑over base. Squeeze a tiny amount of silicone‑based, pore‑blurring primer onto your fingertip and press it only into your T‑zone (forehead, nose, and inner cheeks) where pores are largest. Avoid the outer cheek areas, jawline, and around your mouth—these zones typically have smaller pores and finer texture that foundation can grip naturally without help.
The purpose here is to create uniform light reflection, not to erase every line and pore completely. When you over‑prime, foundation sits on top of the primer rather than fusing with your skin, resulting in a mask‑like appearance that moves separately from your expressions. After applying primer, tap it in with your ring finger until you no longer feel slipperiness—just a velvety smoothness. Let it set for sixty seconds. Now your canvas is partially matte in the center and naturally dewy around the edges, which mimics the way real glass skin reflects more light from the high points of your face.
5. Choose a Serum Foundation With Skin‑Like Pigments and Light Reflective Particles
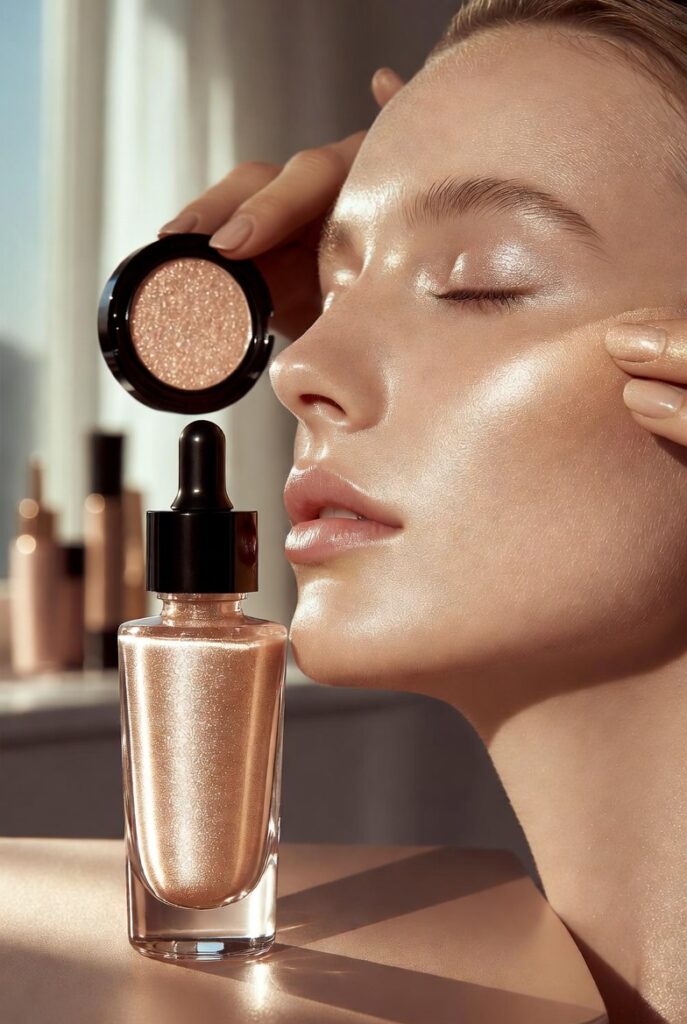
The foundation formula itself determines eighty percent of your glass skin success. Traditional matte foundations contain heavy powders that absorb oil but also absorb light, leaving a flat, lifeless finish. Instead, reach for a serum foundation or dewy‑finish liquid foundation that lists water or hyaluronic acid as the first ingredient. These formulas use light‑diffusing minerals like mica or synthetic fluorphlogopite, which scatter light across your face rather than trapping it. When you glide the product onto your prepped skin, the pigments should blend seamlessly without clinging to dry patches or settling into fine lines.
Avoid words like “full coverage matte” or “oil‑control” on the label unless you have exceptionally oily skin. Even then, a glass skin look requires some degree of luminosity. Many modern serum foundations offer buildable coverage from sheer to medium, which is perfect because heavy coverage often looks like paint. Test a few drops on your jawline in natural daylight—the right formula will almost disappear into your skin while subtly evening out redness and discoloration. Remember: glass skin is about translucence, not opacity. You want your natural skin to shine through, just polished and perfected.
6. Mix Two Drops of Liquid Highlighter Directly Into Your Foundation
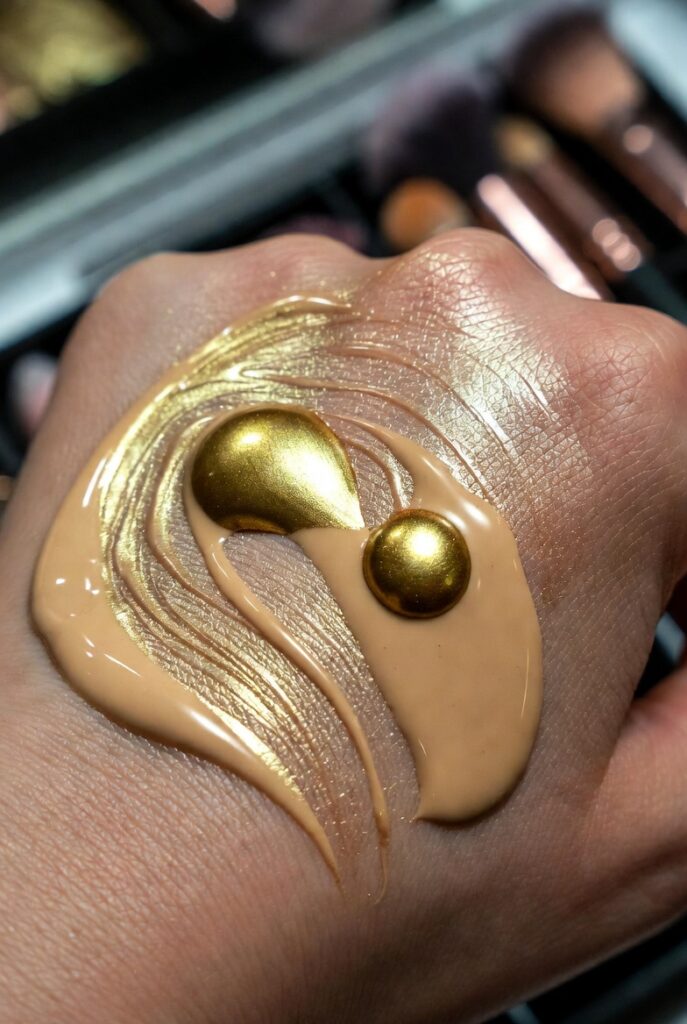
Here is a professional makeup artist secret that elevates any foundation to glass‑level radiance. Before applying, squeeze one pump of foundation onto the back of your hand, then add two small drops of a pearly or champagne liquid highlighter. Use your ring finger to swirl them together until the mixture looks like molten pearl. Do not use a glittery highlighter—only formulas with ultra‑fine shimmer particles that melt into the skin. This homemade hybrid gives your base an internal glow that no single product can achieve alone, because the light‑reflecting particles become suspended evenly throughout every drop of foundation.
Apply the mixture immediately before it separates. You will notice that your cheeks, forehead bridge, and chin naturally catch light without any obvious shimmer sitting on top of the skin. The effect is subtle but transformative—your complexion looks healthy, rested, and almost wet with dewiness. Be careful not to overmix; two drops per full face application is plenty. If you have oily areas, concentrate the mixture more on the outer parts of your face and use less on your T‑zone. This single technique can turn a basic drugstore foundation into a high‑end glass skin product.
Read also:21 Sephora Skin Care Tips: Reveal Healthier, Glowing Skin with Smarter Beauty Choices
7. Dampen Your Makeup Sponge Until It Doubles in Size and Weight
How you apply foundation matters just as much as what you apply. A dry sponge or brush absorbs product unevenly and can leave streaks or patchy spots that ruin the illusion of seamless glass skin. Take a beauty sponge and run it under cool water until it expands fully, then squeeze out every drop of excess moisture until the sponge is just damp—not dripping. When you bounce this damp sponge across your face, it sheers out the foundation slightly while pressing it into the skin rather than pushing it around on the surface. The water also adds an extra micro‑layer of hydration as you work.
Many people make the mistake of using the sponge too dry, which creates a cakey, thick finish. A properly damp sponge gives you that airbrushed, skin‑like texture because it removes just enough product to leave a whisper‑thin layer behind. Use a bouncing motion, never dragging, and work in small sections from the center of your face outward. You will hear a soft tapping sound—that means you are pressing foundation into your pores and fine lines instead of coating over them. Clean your sponge after every two uses to prevent bacteria buildup, which can cause breakouts that no foundation can hide.
8. Apply Foundation in Thin, Concentric Layers Starting From the Center
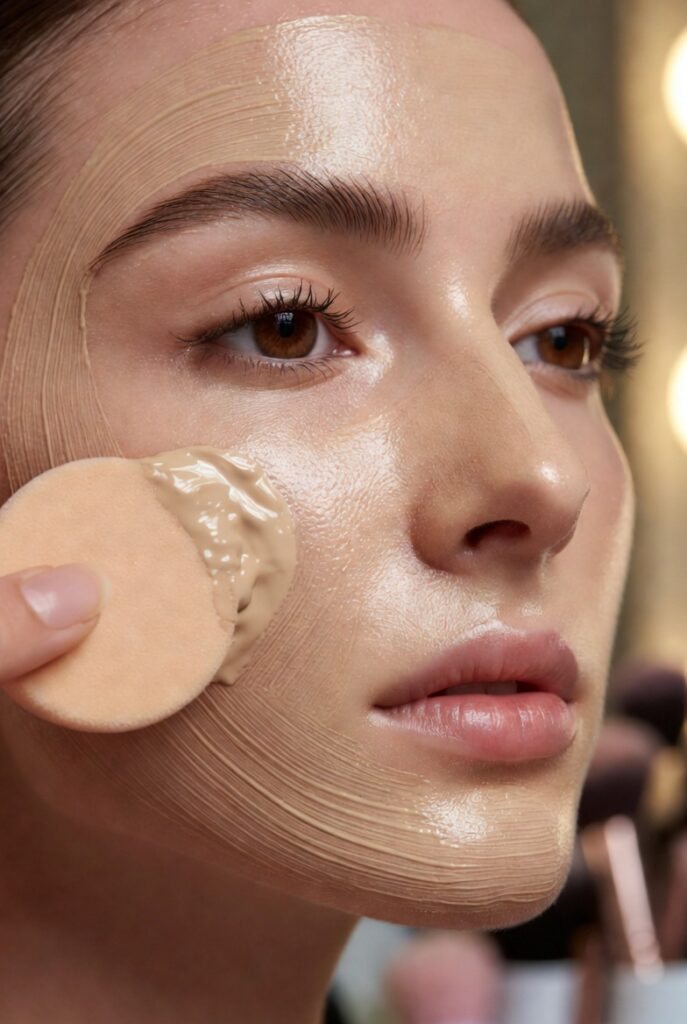
Resist the urge to dot foundation all over your face and then blend. That technique usually results in too much product on the outer edges where you need the least coverage. Instead, squeeze a small amount onto your sponge or brush and start applying at the center of your face—your nose, the apples of your cheeks, and your forehead center. Blend outward in gentle circles or bouncing motions, using progressively less product as you move toward your jawline, hairline, and ears. This creates a natural gradient where coverage is highest where you have the most redness or unevenness, and thinnest where skin is already smooth.
Wait sixty seconds after your first thin layer, then assess. Glass skin rarely requires more than one sheer layer, but if you have specific spots like a blemish or dark circle, add a second tiny layer only on that spot using your fingertip. Do not keep adding all‑over layers, or you will lose that translucent, lit‑from‑within quality. Think of building foundation like watercolor painting—each transparent wash adds depth without destroying the paper’s texture beneath. By the time you finish, your skin should look naturally flawless, not obviously covered. If you can see a visible line of foundation stopping at your neck, you have applied too much or not blended enough.
9. Press Rather Than Swipe Your Foundation Into the Skin
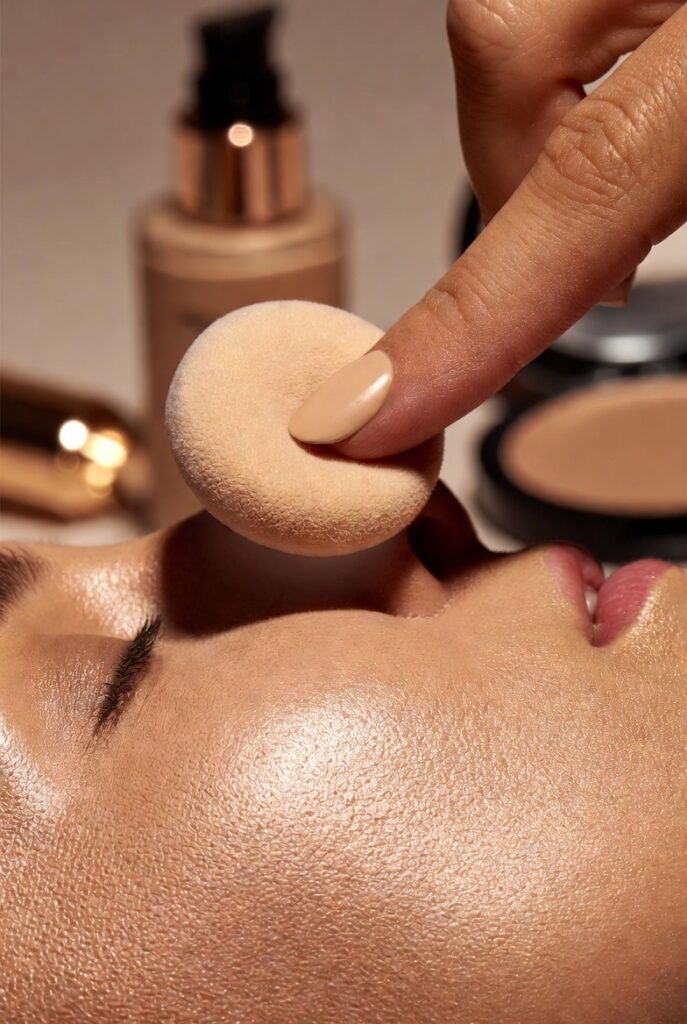
The motion of your tool dramatically changes how foundation settles into texture. Swiping or dragging pulls the product across the surface, which can lift up dry flakes, create streaks, and disturb the moisturizer underneath. The press‑and‑roll technique is what professional artists use for glass skin. Take your damp sponge and press it firmly against your skin, then release. Imagine you are stamping the foundation onto your face. For larger areas, press multiple times in a rolling pattern—press, lift, move an inch, press again. This motion forces the foundation into the tiny dips and peaks of your skin texture rather than sitting on top.
After a few seconds of pressing, you will notice the foundation starts to look like your skin but better. The edges of the product melt away completely, leaving no demarcation lines. Pay special attention to areas around your nose and the corners of your mouth, where swiping often leaves foundation gathered in creases. With the pressing method, those problem zones become smooth because the product is pushed into the pores instead of accumulating on the surface. This single habit change will immediately elevate your routine from amateur to professional‑grade finish.
10. Use a Velvet Powder Puff to Set Only the Oiliest Zones
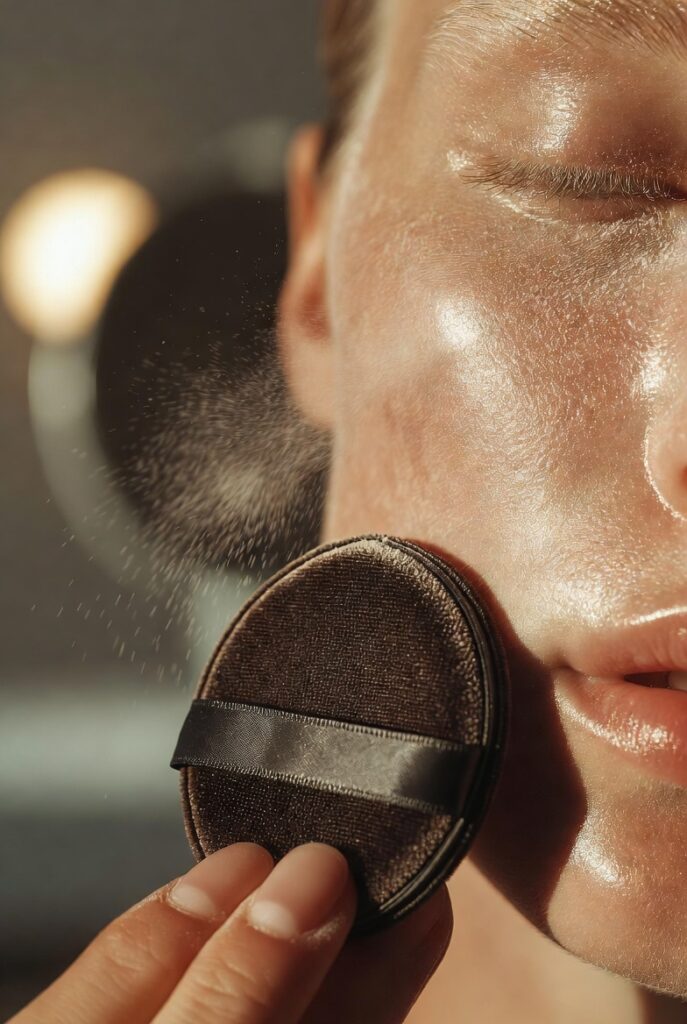
Powder is the enemy of glass skin if used incorrectly. Many women dust powder all over their face, instantly killing the dewy, wet look they worked so hard to create. For glass skin, you want to set only the areas that naturally break down foundation first: your nose, the center of your forehead, and your chin. Take a velvet powder puff (not a fluffy brush, which scatters powder everywhere) and press a tiny amount of translucent loose powder into the puff. Fold the puff and rub it together to distribute the powder evenly, then gently press it onto those oily zones. Do not swipe or dust.
The velvet puff deposits a whisper‑thin, even layer that absorbs excess oil without mattifying the surrounding skin. Your cheeks, temples, and jawline should remain completely powder‑free, so the natural radiance of the foundation continues to shine through. If you have dry skin, you might skip powder entirely and rely on a mattifying setting spray instead. The goal is selective setting—only where your skin produces oil throughout the day. Check your face after two hours: if your nose looks shiny but your cheeks still look dewy, you have achieved the perfect balance. If everything looks flat, you used too much powder in the wrong places.
11. Finish With a Fine‑Mist Setting Spray That Contains Glycerin
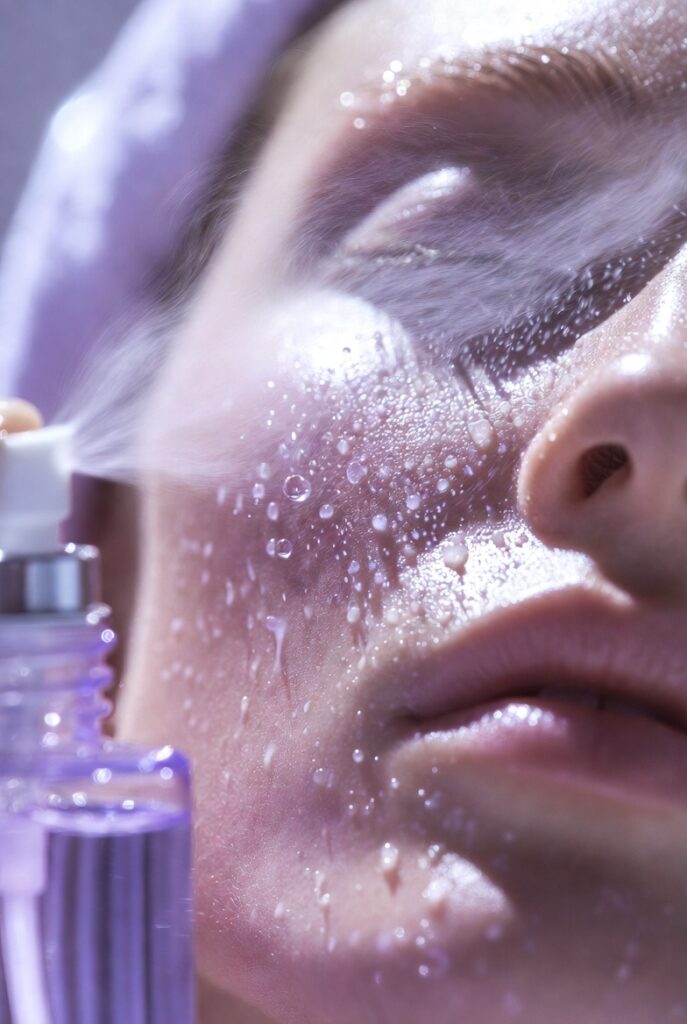
A setting spray can either lock in your glass skin or ruin it within seconds. Avoid sprays that contain alcohol or denatured alcohol, which evaporate moisture and leave a tight, dry film that cracks as you smile. Instead, choose a glycerin‑based or hyaluronic acid setting spray that adds a final veil of hydration while extending wear. Hold the bottle eight to ten inches from your face and mist in a gentle “X” and “O” pattern—two passes across the face ensure even coverage without soaking any one area. You want the mist to feel like a cool cloud, not a shower.
After spraying, let the mist air dry completely without fanning or blotting. As the water evaporates, the glycerin forms a flexible, dewy film that melds all the layers of foundation, primer, and skincare into one unified surface. This is the magic step that creates the illusion of a single, flawless membrane rather than separate products sitting on your skin. You will see the powder soften and the highlights intensify within thirty seconds. Many people skip this step thinking it is unnecessary, but a quality setting spray can add two to three hours of freshness to your glass skin look and prevent that dreaded late‑afternoon separation.
12. Gently Pat Your Face With a Clean Tissue to Remove Excess Product
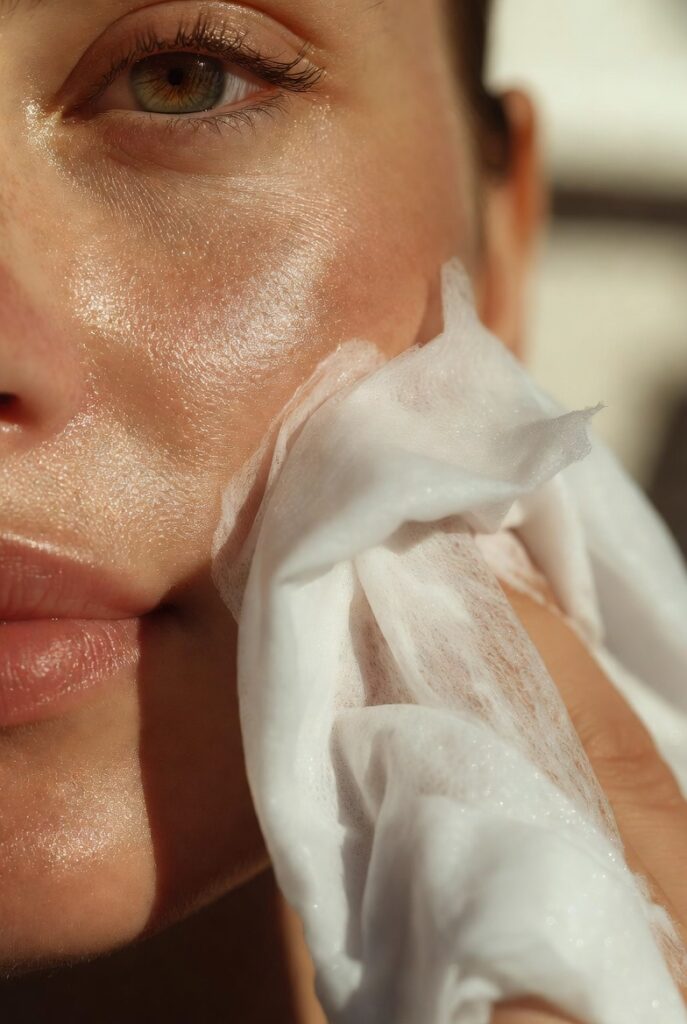
After setting spray dries, take a single‑ply tissue (separate a two‑ply tissue into one thin layer) and fold it into a small square. Lightly press the tissue over your T‑zone and any areas where foundation feels tacky. Do not rub or wipe—just a soft, quick press. This counterintuitive step removes the microscopic excess of foundation, powder, and spray that can settle into expression lines over time. What remains is the thinnest possible layer of product, which mimics the natural thickness of healthy skin. The tissue absorbs only the surface‑level surplus without disturbing the bonded layers beneath.
You will be surprised how much difference this makes to the final glass‑like sheen. Before the tissue, your face might look slightly wet or overly shiny. After pressing, the finish becomes satiny and lit‑from‑within—more like polished glass than wet glass. This technique is especially useful if you accidentally applied too much setting spray or your foundation looked a bit heavy. Professional makeup artists use this trick before sending models onto red carpets because it ensures that no product will migrate or crease during hours of wear. Keep a tissue in your purse for a midday refresh if you notice any slickness developing.
13. Layer a Cream Highlighter Only on the High Points of Your Cheeks
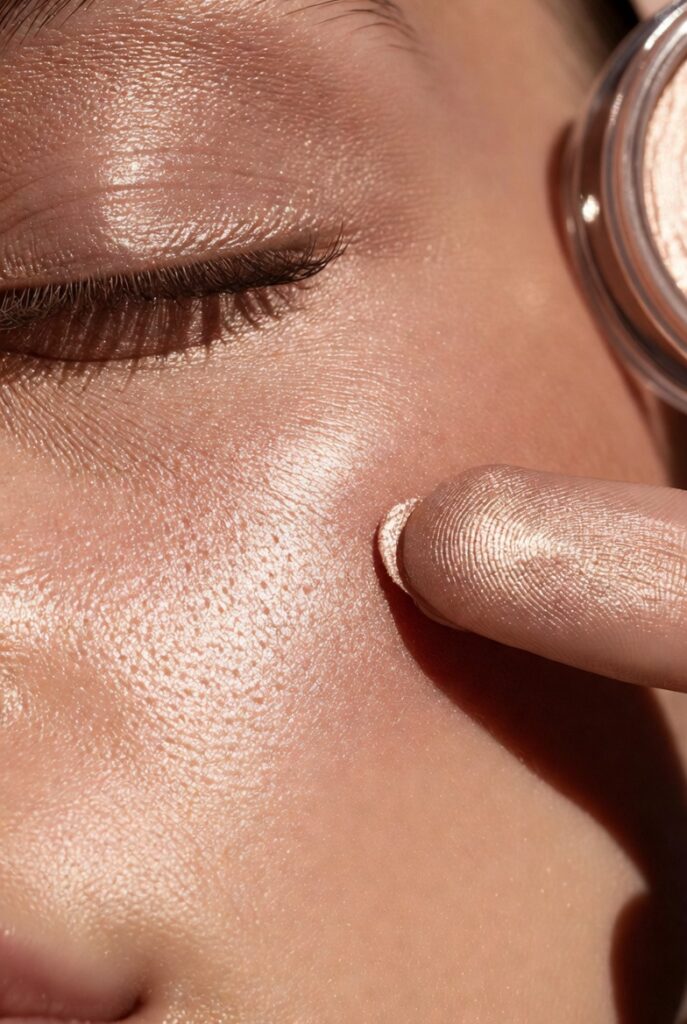
Even with a luminous foundation, adding a targeted cream highlighter creates the ultimate glass skin illusion. Choose a cream formula (not powder or liquid stick) because creams melt into foundation rather than sitting on top. Using your ring finger, dab a tiny amount onto the highest points of your cheekbones, the bridge of your nose, the cupid’s bow, and the inner corners of your eyes. These are the areas where light naturally hits first. The key is minimal product—you want a subtle gleam, not a stripe of shimmer. Blend the edges until you cannot tell where highlighter ends and foundation begins.
Powder highlighters look too textured over dewy foundation, often emphasizing pores or dry patches. Cream formulas contain emollients that fuse with your base, creating a seamless wet‑look reflection that moves naturally with your expressions. If you have oily skin, place the highlighter only on the very tops of your cheekbones, avoiding the apples where oil already creates shine. For dry or mature skin, blend a touch over your entire cheek area for an all‑over radiance boost. Step back and look in a mirror from three feet away—your face should glow like a pearl, not a disco ball.
14. Mist Your Face Again With a Cucumber or Rose Water Spray Midday
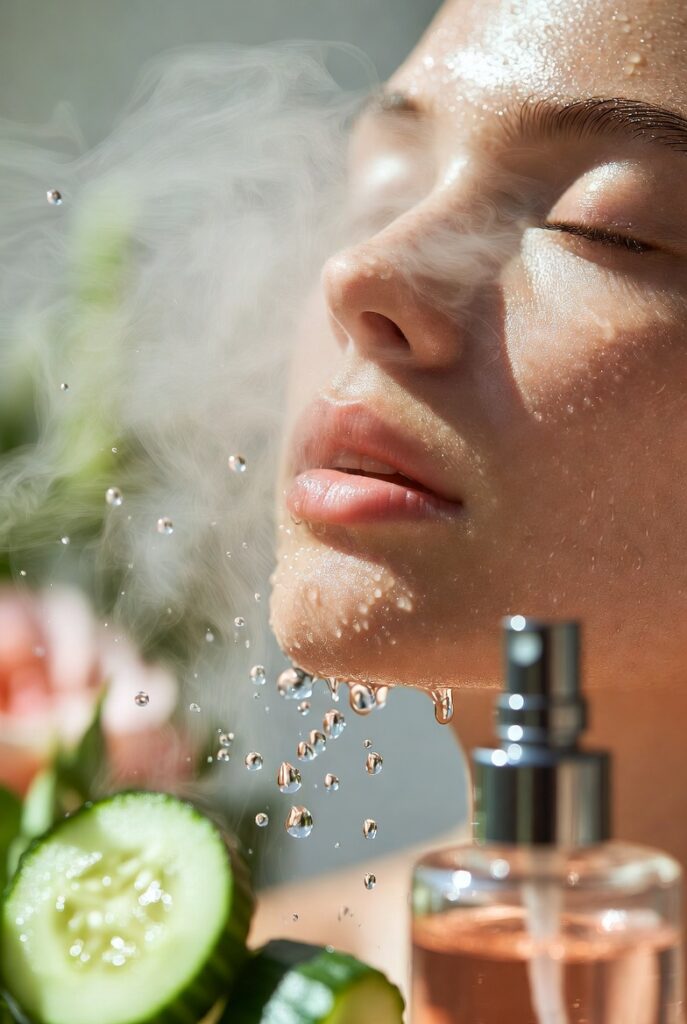
Glass skin is not a static achievement; it fades as your skin’s moisture evaporates throughout the day. Instead of reapplying powder or foundation, carry a small facial mist containing cucumber, rose water, or green tea extract. Around lunchtime, hold the bottle six inches away and spray two to three pumps over your makeup. The fine droplets will not disturb your foundation if you used setting spray earlier. Instead, the water reactivates the glycerin and humectants already in your base, re‑plumping the surface and restoring that just‑applied dewiness.
Wait ten seconds, then gently pat your face with clean fingers (not a tissue) to help the moisture absorb. Avoid using matte blotting papers before misting, as they remove the natural oils that contribute to the glass effect. If you feel oily rather than dewy, mist first, then blot very lightly—the mist helps the oil spread into a thin, even layer rather than sitting in greasy patches. This one midday habit can extend your glass skin finish from morning until evening without adding more product. Choose a mist without alcohol, fragrance, or essential oils, which can irritate skin and break down makeup over time.
15. Sleep on a Silk Pillowcase to Preserve Your Morning Finish

Your nighttime habits directly affect how easily you can achieve glass skin the next morning. Silk pillowcases create less friction than cotton, which means your skin’s natural moisture barrier and any residual skincare stay intact. Cotton absorbs your night cream and pulls at your skin, creating micro‑tears and dehydration lines that foundation will cling to. Silk also prevents the dreaded “sleep crease”—those deep lines across your cheek that appear after pressing your face into a cotton pillowcase for eight hours. When you wake up with smooth, hydrated skin, your morning foundation routine starts ten steps ahead.
Additionally, silk is naturally hypoallergenic and resists dust mites, bacteria, and fungal growth. If you struggle with acne or sensitivity, changing to a silk pillowcase (and washing it every three days) can reduce breakouts that force you to use more foundation. The slippery surface also means your hair products and facial oils stay on your skin rather than being absorbed into the fabric. Over one month, you will notice that your skin looks calmer, less red, and more uniformly textured—all of which contribute to that effortless glass skin radiance when you apply foundation the next morning.
16. Exfoliate Gently Twice a Week With a PHA or Lactic Acid Toner
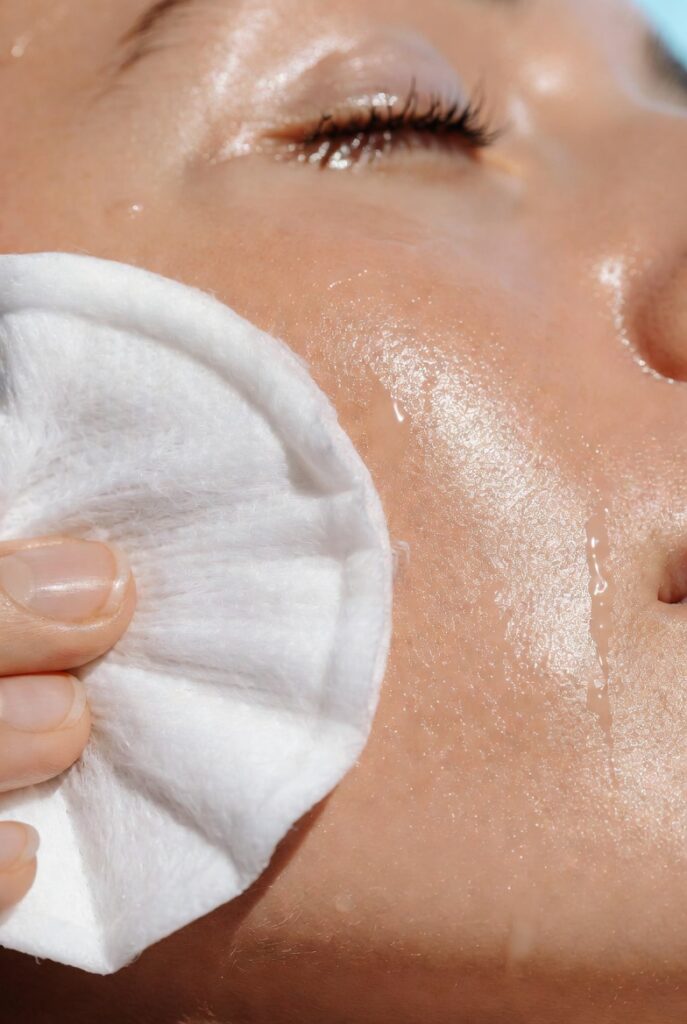
No amount of foundation can cover rough, flaky skin. But aggressive scrubs cause micro‑tears and inflammation, which worsen texture over time. For glass skin prep, use a chemical exfoliant containing polyhydroxy acids (PHAs) or lactic acid two nights per week. These larger‑molecule acids dissolve dead skin cells on the surface without penetrating deeply enough to cause irritation. Apply a few drops to a cotton pad after cleansing, swipe over your face, and follow with moisturizer. By morning, your skin will feel smoother, and any dry patches that normally catch foundation will have softened.
Do not exfoliate on the same morning you plan to wear foundation—give your skin at least twelve hours to recover and rebuild its moisture barrier. Over‑exfoliation leads to a shiny, tight appearance that foundation cannot grip, resulting in slipping and separation. The goal is to refine texture gradually, not strip away all natural oils. After four weeks of consistent gentle exfoliation, you will notice that your foundation glides on with zero resistance and looks equally smooth from every angle. Remember: glass skin requires a smooth surface, but that surface must still be soft and hydrated, not raw and sensitized.
17. Apply Eye Cream 15 Minutes Before Foundation to Avoid Creasing
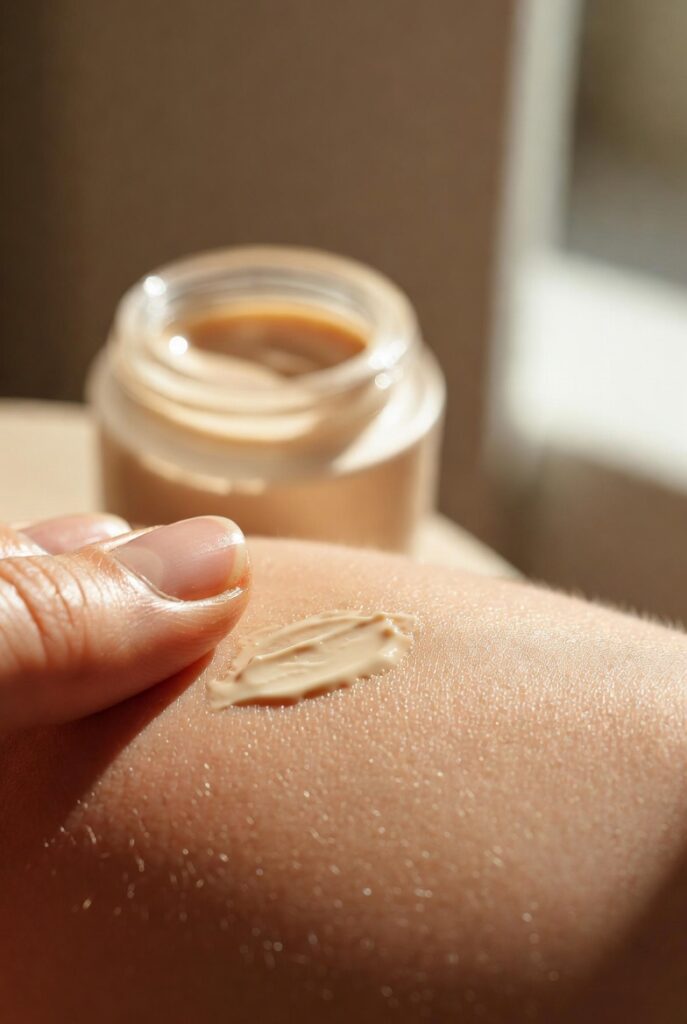
The under‑eye area is the number one place where foundation looks cakey or crepey. To achieve glass skin continuity, apply a hydrating but lightweight eye cream at the very beginning of your routine—right after cleansing. Then wait a full fifteen minutes before applying foundation or concealer. This waiting period allows the eye cream to absorb completely, leaving behind only the moisturizing ingredients without any greasy residue. If you apply foundation immediately after eye cream, the two products mix and separate inside your fine lines, creating those tiny white lines that age you instantly.
Choose an eye cream with caffeine (to reduce puffiness) and hyaluronic acid (to plump). Avoid thick, buttery formulas that never fully absorb. When you finally apply foundation, use the leftover product on your sponge after doing your cheeks—do not add fresh foundation directly under your eyes. The sheerest possible layer is all you need because the eye cream has already smoothed the texture. Set this area with a pinch of translucent powder using your ring finger, pressing gently. With this technique, your under‑eyes will look as luminous and smooth as the rest of your face, completing the glass skin illusion.
18. Use a Jade Roller After Foundation to Melt Everything Together

A jade roller or gua sha tool is not just for skincare—it works beautifully after foundation application. Once you have finished your foundation, concealer, and cream highlighter, take a chilled jade roller and gently roll it over your face in outward, upward motions. The cool stone smooths away any microscopic ridges or sponge marks, while the pressure presses everything into a single, seamless layer. Start from your chin and roll toward your ears, then from your nose toward your temples. Do not press hard; the weight of the roller alone is enough.
This final finishing step eliminates the “made up” look that happens when foundation sits on top of skin. The rolling motion mimics the effect of professional airbrushing—it feathers out the edges of every product until they become indistinguishable from your natural skin. If you do not own a jade roller, use the back of a cold metal spoon in the same rolling motion. The cooling effect also constricts blood vessels slightly, reducing any remaining redness that foundation did not fully cover. After rolling, hold a mirror an arm’s length away. That soft, diffused, poreless radiance is the definition of glass skin achieved.
19. Clean Your Tools After Every Use to Prevent Bacterial Breakouts
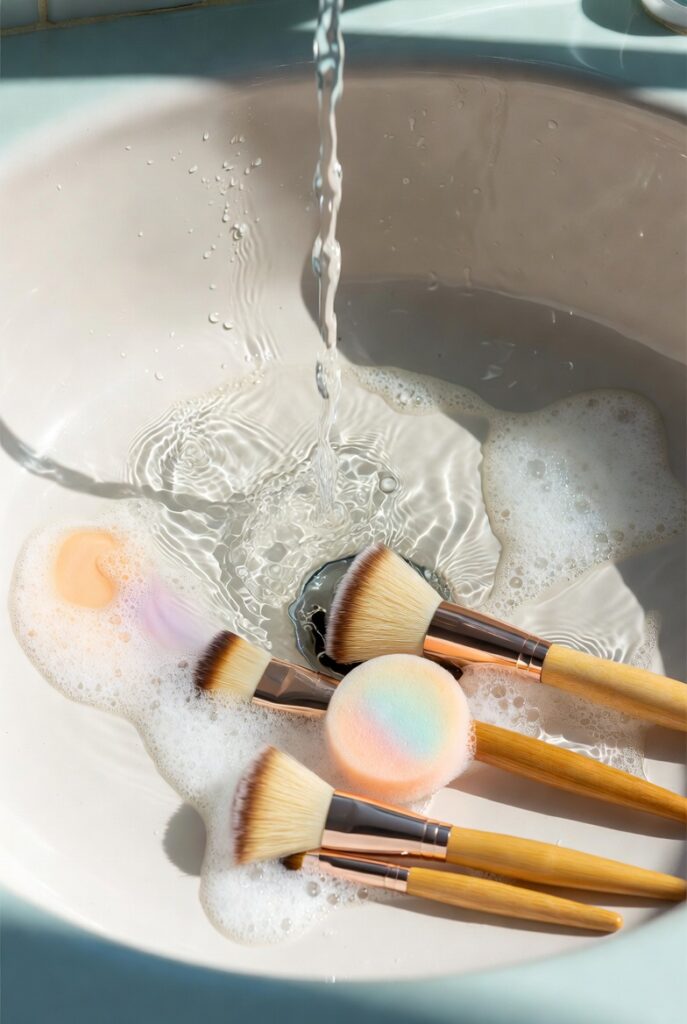
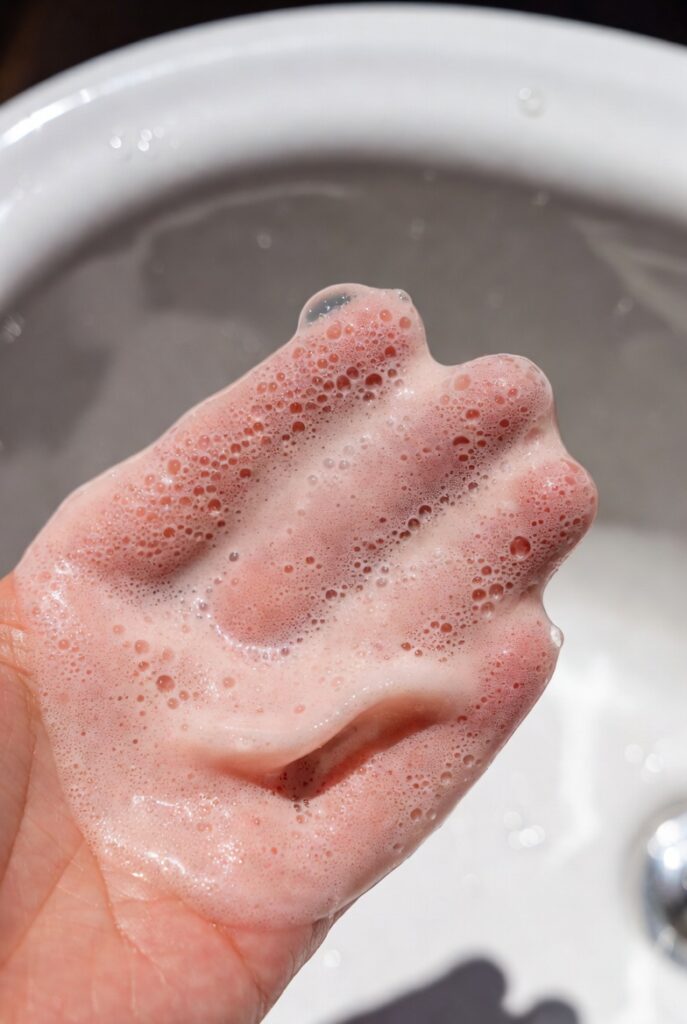
Dirty sponges and brushes harbor old foundation, dead skin cells, and bacteria that cause clogged pores and inflammation. When you apply fresh foundation with a dirty tool, you are literally painting bacteria onto your clean, prepped skin. Breakouts then force you to use more foundation to cover them, creating a vicious cycle that destroys the glass skin effect. Wash your beauty sponge after each use with gentle liquid soap or a specialized brush cleaner, squeezing until the water runs clear. Lay it flat to dry completely before the next use—never store a damp sponge in a closed container, where mold thrives.
Brushes need cleaning every two to three uses. Use a silicone brush cleaning pad or your palm, and rinse until no product residue remains. Sanitizing spray can be used between deep cleans for brushes you use daily. Many people ignore tool hygiene because it feels tedious, but five minutes of cleaning every night saves you from weeks of skin congestion and uneven foundation application. A clean sponge applies foundation more evenly and uses less product because there is no old makeup blocking the pores. Your glass skin routine deserves fresh tools just as much as it deserves fresh skincare.
20. End Your Day With a Double Cleanse to Remove Every Trace of Foundation
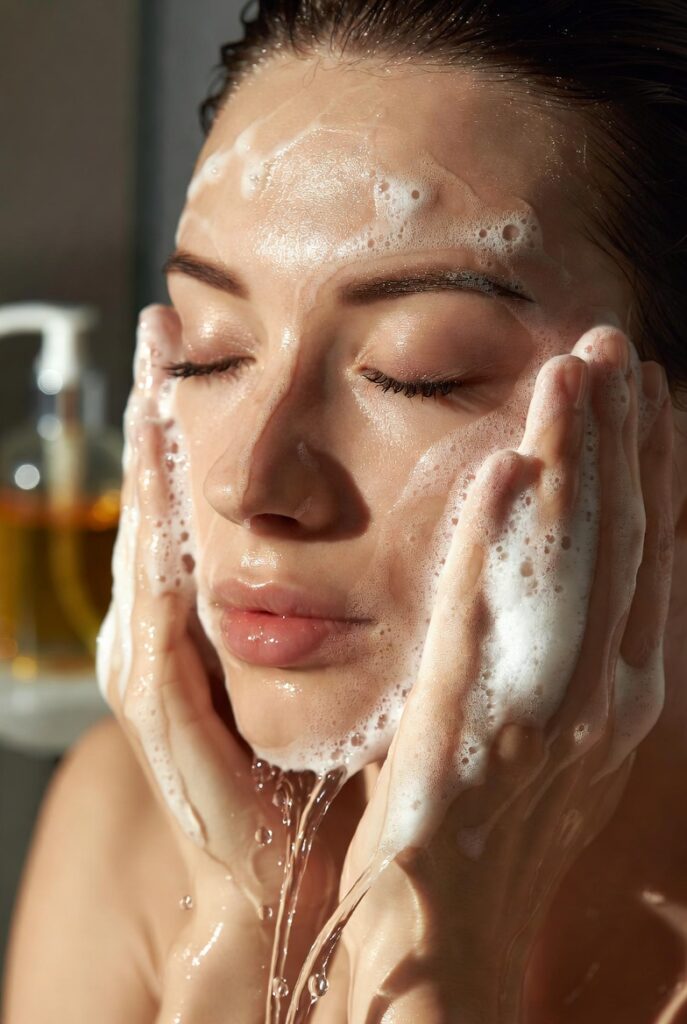
The final tip in this glass skin foundation routine happens at night, not in the morning. After wearing foundation all day, you must remove it completely to let your skin breathe and regenerate. Start with an oil‑based cleanser massaged onto dry skin for sixty seconds—this dissolves foundation, setting spray, and sunscreen down to the last molecule. Watch the oil turn milky as it breaks down the pigments. Then rinse and follow with your water‑based cleanser to remove any oily residue. Never go to bed with foundation on your skin, even if you feel tired. Sleeping in foundation clogs pores, traps bacteria, and accelerates aging by preventing natural cell turnover.
After cleansing, apply your night serum and moisturizer without any actives that might irritate. Your skin repairs itself most actively between 11 p.m. and 4 a.m., and a clean surface allows that process to happen efficiently. Over time, thorough nightly removal improves your skin’s texture, hydration, and resilience, which means you will need less foundation to achieve glass skin in the first place. The routine becomes a positive feedback loop: clean skin → better foundation application → easier removal → healthier skin. This is the sustainable, confident glow that goes beyond makeup—it becomes your real skin, shining through.
Conclusion
Building a glass skin foundation routine is not about owning the most expensive products or following a rigid checklist. It is about understanding how each small habit—from double cleansing to pressing with a damp sponge—works together to let your natural beauty shine through. You do not have to adopt all twenty tips at once. Start with the two or three that address your biggest frustration, whether that is cakey texture, short wear time, or a flat finish. Once those become second nature, add another. Within a few weeks, you will notice that your foundation looks less like makeup and more like your own skin, only smoother, brighter, and more alive. That quiet confidence, the kind that makes you forget you are wearing foundation at all, is the real reward of the glass skin journey.

Mehboob Ahmad is the founder and writer behind BeautyVibeWorld. With a genuine passion for skincare, makeup, and everyday beauty routines, Mehboob started this platform to share simple, practical, and research-backed advice that real people can actually use without the confusion of conflicting trends and overhyped products.
Every article on BeautyVibeWorld is written with care, backed by research, and regularly updated to stay accurate and relevant. Mehboob believes good beauty advice should be honest, easy to follow, and free of unnecessary complexity.
Outside of writing, Mehboob enjoys exploring new beauty trends and staying up to date with the latest in skincare and haircare research to keep bringing fresh, reliable content to BeautyVibeWorld readers.